Web Service Connector configuration options
This article describes the steps to configure a new Web Service Connector or to make changes in an existing Web Service Connector through Microsoft Identity Manager (MIM) Synchronization Service UI.
Important
Download and install the Web Service Connector before attempting the steps in this article.
Configure the Web Service Connector in the Synchronization Service
You can create a new Web Service Connector using Management Agent designer. After creating the Connector, you can define multiple Run Profiles to perform different tasks. While configuring an existing Connector, you can change a task by clicking the appropriate page in Management Agent Designer. Follow the below steps to configure a new Web Service Connector.
Open Microsoft Identity Manager 2016 Synchronization Service. On the Tools menu, select Management Agents.
On the Actions menu, select Create. The Management Agent Designer opens.
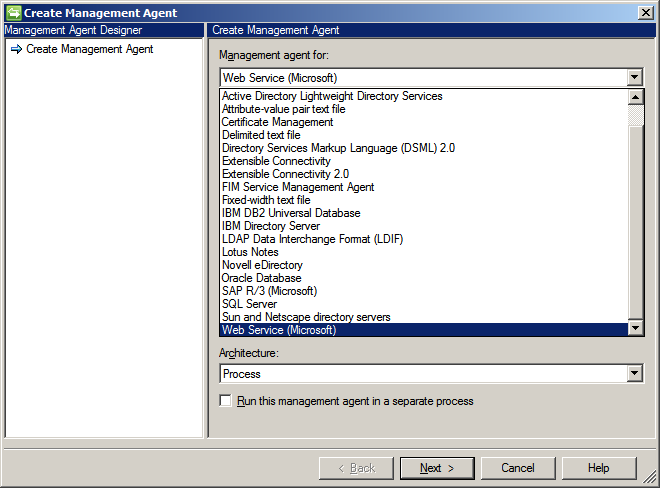
In Management Agent Designer, under Management Agent for, select Web Service (Microsoft). Then, select Next.
On the Connectivity screen, select the default Web Service Connector project. Provide values for the Host and Port. Then, select Next.

Define the Global Parameters. Use the login credential procured from the Web Service Admin for connecting to the Host. Then, select Next.
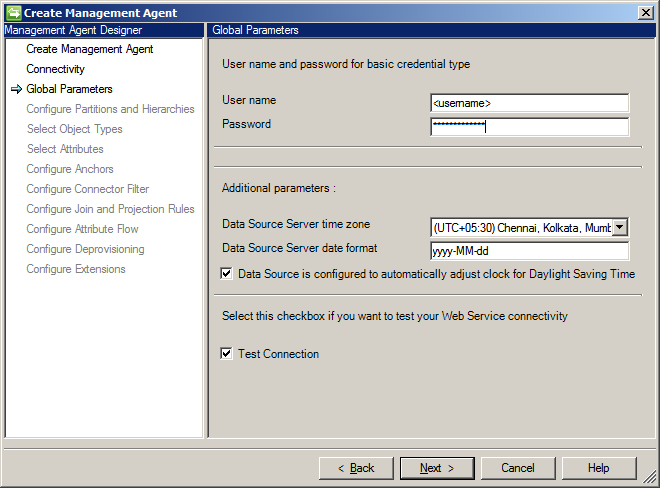
- If the location of the data source observes Daylight Saving and the data source is configured to automatically adjust to daylight saving settings, check the Data Source is configured to automatically adjust clock for Daylight Saving Time option.
- If you want to trigger the test connection workflow from this connector, check the Test Connection option.
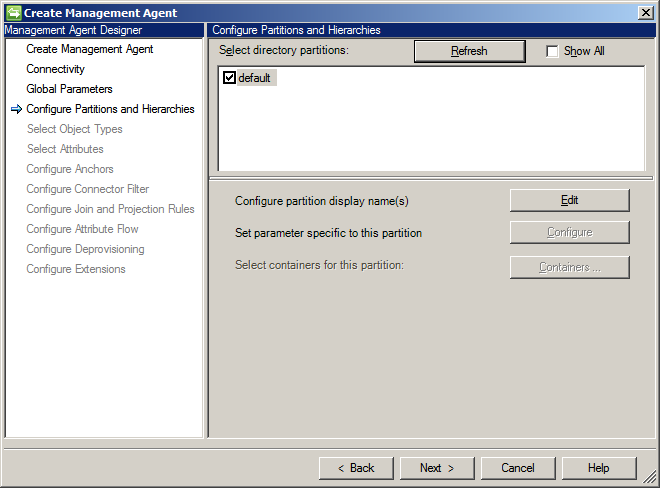
On next screen, select default for Select directory partitions. Then, select Next.
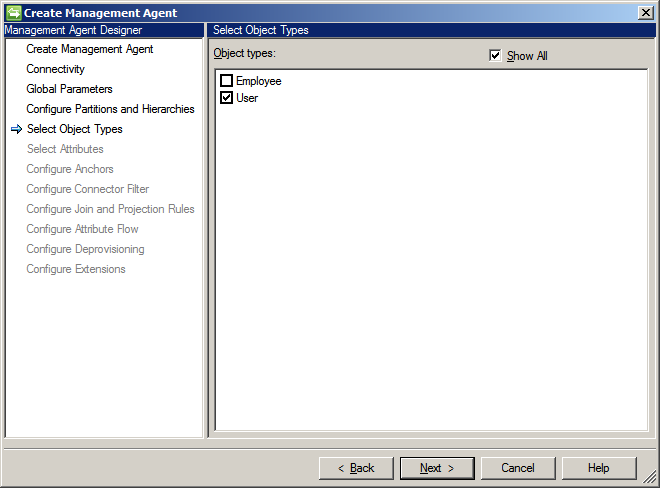
On the Select Object Types screen, select the object type that you want to work with. By default, Web Service Connector supports two object types: Employee and User. Then, select Next.
On the Select Attributes page, select all of the mandatory attributes for the selected objects and attributes that you need to work with. Then, select Next.

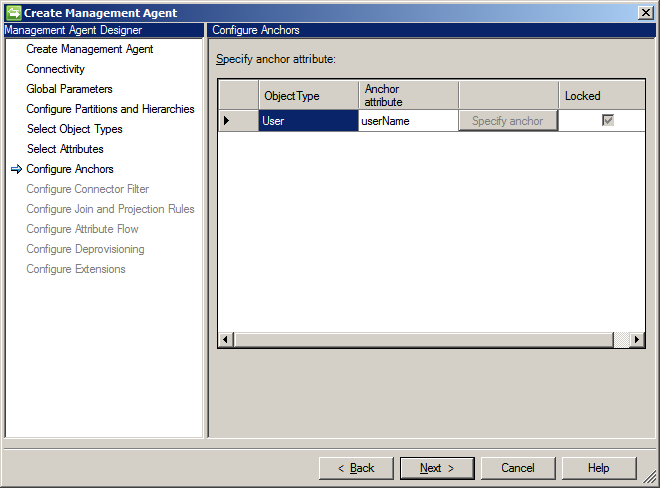
On the Configure Anchors page, specify the anchor attributes. Then, select Next.
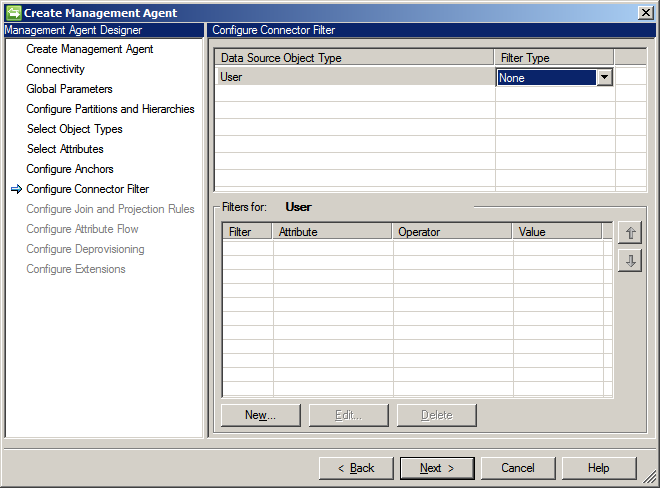
On Configure Connector Filter page, specify the Connector Filter. Then, select Next.
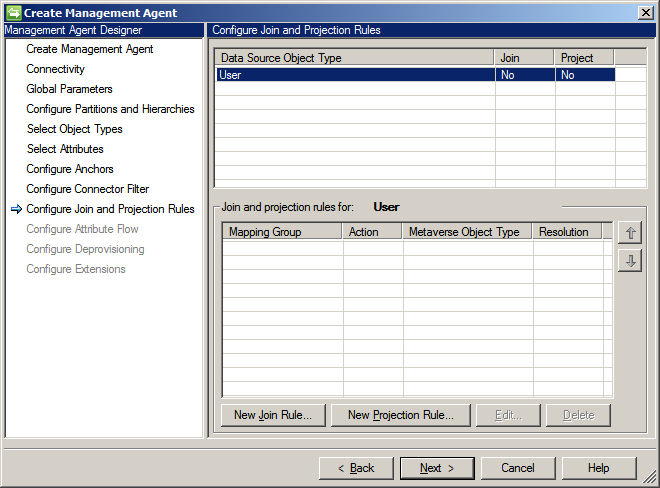
On Configure Join and Projection Rules page, specify the join and projection rules. You can create a new join rule and projection rule by selecting New Join Rule and New Projection Rule, respectively. Then, select Next.
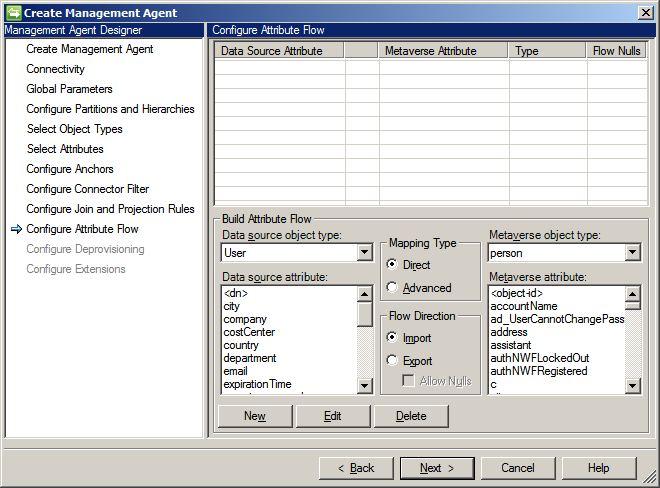
On the next page, configure the attribute flow. You must specify the Mapping Type and Flow Direction for the attributes for the selected object types. Then, select Next.
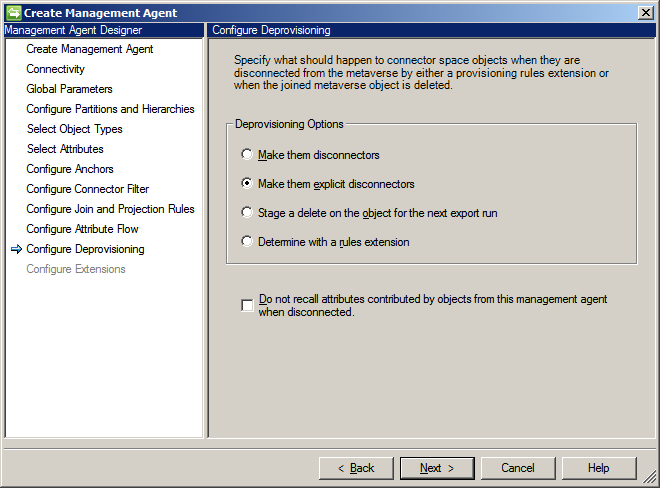
Specify the type of deprovisioning to apply to the objects. Then, select Next.
In the case of an Import flow, the Configure Extensions page is disabled. You can configure extensions for Export flows by first selecting the Advanced mapping type on the Configure Attribute Flow page.
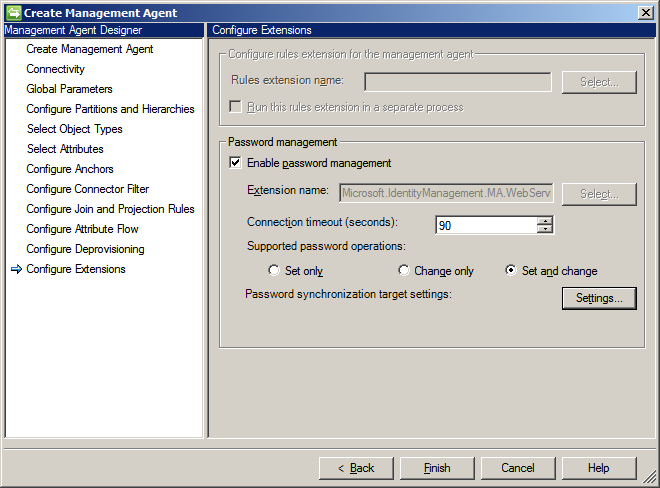
Click Finish.
Your Connector is now configured:
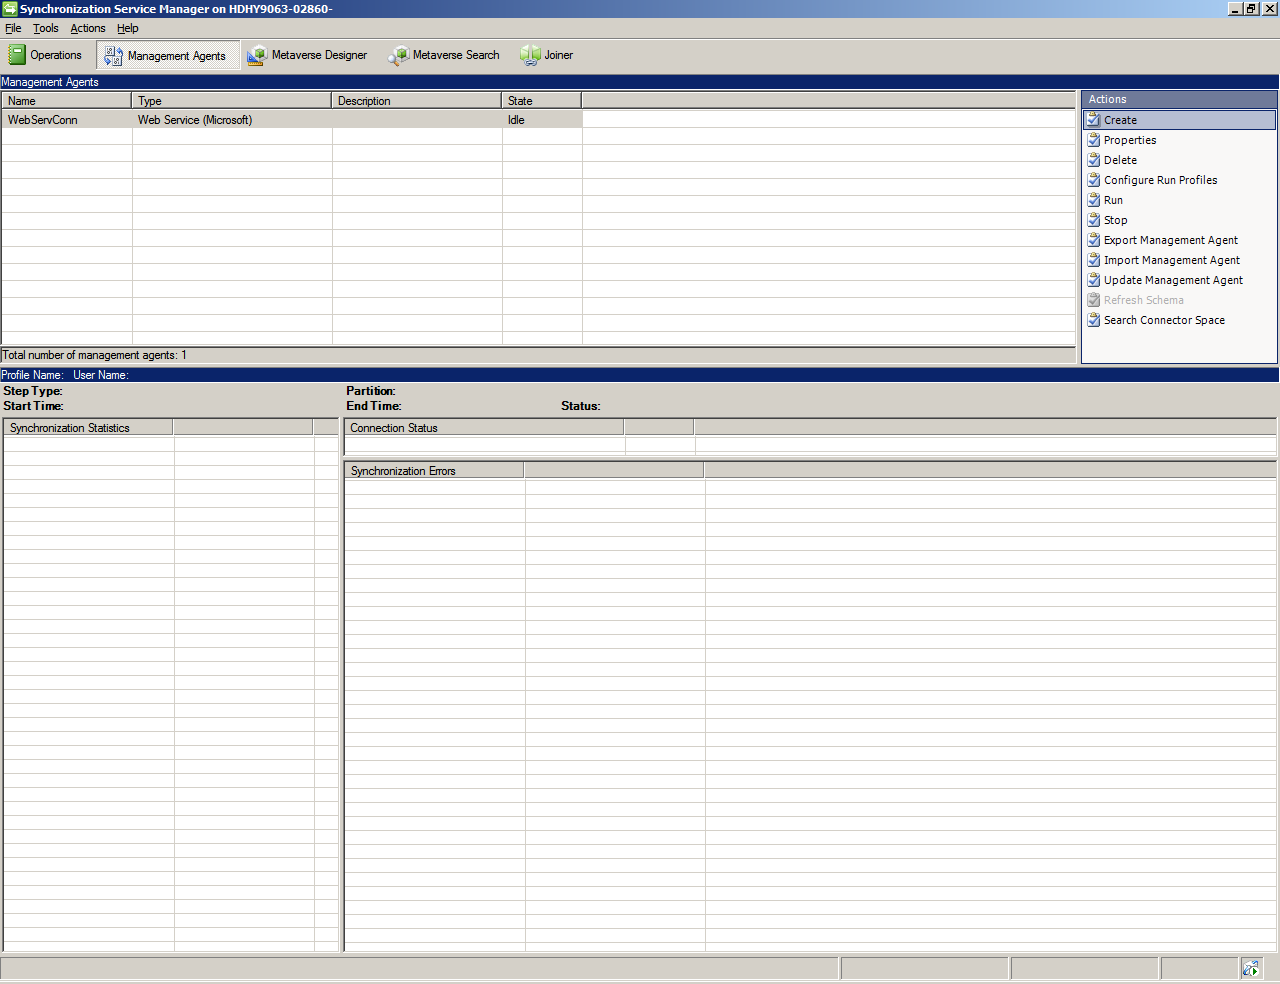
After a Connector is configured, you can configure the Run Profiles by selecting Configure Run Profiles.
Additional steps
When certificate-based authentication is used, an additional change is needed after the Web Service Configuration Tool generates a WSConfig file, before that file can be imported into a Web Service Connector project in MIM Synchronization Service.
To enable certificate-based authentication:
- Configure your project to use Basic Authentication in the Web Service Configuration Tool
- Create a copy of my_project.wsconfig file and rename it to my_project.zip
- Open this archive and modify generated.config file to replace basic authentication with certificate-based authentication (an example provided below)
- Replace generated.config file in my_project.zip and rename it to my_project_updated.wsconfig
- Select my_project_updated.wsconfig when creating a management agent in MIM Synchronization Server
Find generated.config sample file with certificate-based authentication below:
<?xml version="1.0" encoding="utf-8"?>
    <configuration>
        <appSettings>
            <add key="SoapAuthenticationType" value="Certificate"/>
        </appSettings>
        <system.serviceModel>
            <bindings>
                <wsHttpBinding>
                    <binding name="binding">
                        <security mode="Transport">
                            <transport clientCredentialType="Certificate"/>
                        </security>
                    </binding>
                </wsHttpBinding>
            </bindings>
            <client>
                <endpoint address="https://myserver.local.net:8011/sap/bc/srt/scs/sap/zsapconnect?sap-client=800"
                    binding="wsHttpBinding" bindingConfiguration="binding"
                    contract="SAPCONNECTOR.ZSAPConnect" name="binding"/>
            </client>
            <behaviors>
                <endpointBehaviors>
                    <behavior name="endpointCredentialBehavior">
                        <clientCredentials>
                            <clientCertificate findValue="my.certificate.name.local.net"
                                storeLocation="LocalMachine"
                                storeName="My"
                                x509FindType="FindBySubjectName"/>
                        </clientCredentials>
                    </behavior>
                </endpointBehaviors>
            </behaviors>
        </system.serviceModel>
    </configuration>
Next steps
Feedback
Coming soon: Throughout 2024 we will be phasing out GitHub Issues as the feedback mechanism for content and replacing it with a new feedback system. For more information see: https://aka.ms/ContentUserFeedback.
Submit and view feedback for