How to deploy Microsoft Support and Recovery Assistant using Microsoft Intune
Summary
Microsoft Support and Recovery Assistant can be manually installed on one computer at a time by using either the internet download or a network installation. However, you can also get SaRA deployed to users more efficiently as a Win32 app by using Microsoft Intune. To deploy SaRA as a Win32 app by using Microsoft Intune, use the steps in the following sections.
For complete information about app deployment by using Microsoft Intune, see the following articles:
More information
Get a copy of SaraSetup.exe
To download a copy of SaraSetup.exe, follow these steps:
- Go to About Microsoft Support and Recovery Assistant.
- Select Download.
- Save the file to your local hard disk.
The steps to save the download will vary based on your browser.
Prepare SaraSetup.exe as a Win32 app for upload to Microsoft Intune
Convert SaraSetup.exe to the .intunewin format by using the Microsoft Win32 Content Prep Tool. (See Intune Standalone - Win32 app management for complete details about this process.)
The following figure shows an example PowerShell session by using an interactive session in the Microsoft Win32 Content Prep Tool (IntuneWinAppUtil.exe) to create the Sarasetup.intunewin file.

Add the app to Microsoft Intune
After you create the Sarasetup.intunewin file, use the following steps to add your app in the Microsoft Intune Apps dashboard.
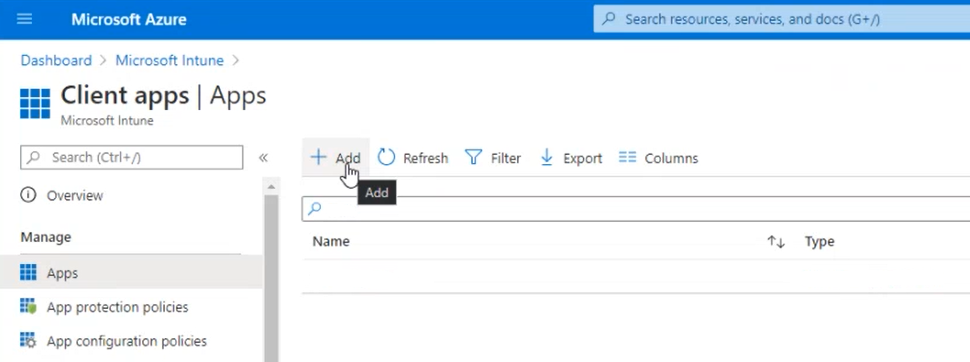
In Client apps section of Microsoft Intune dashboard, beneath Manage, select Apps.
Select Add.
Under Select app type, select Windows app (Win32).

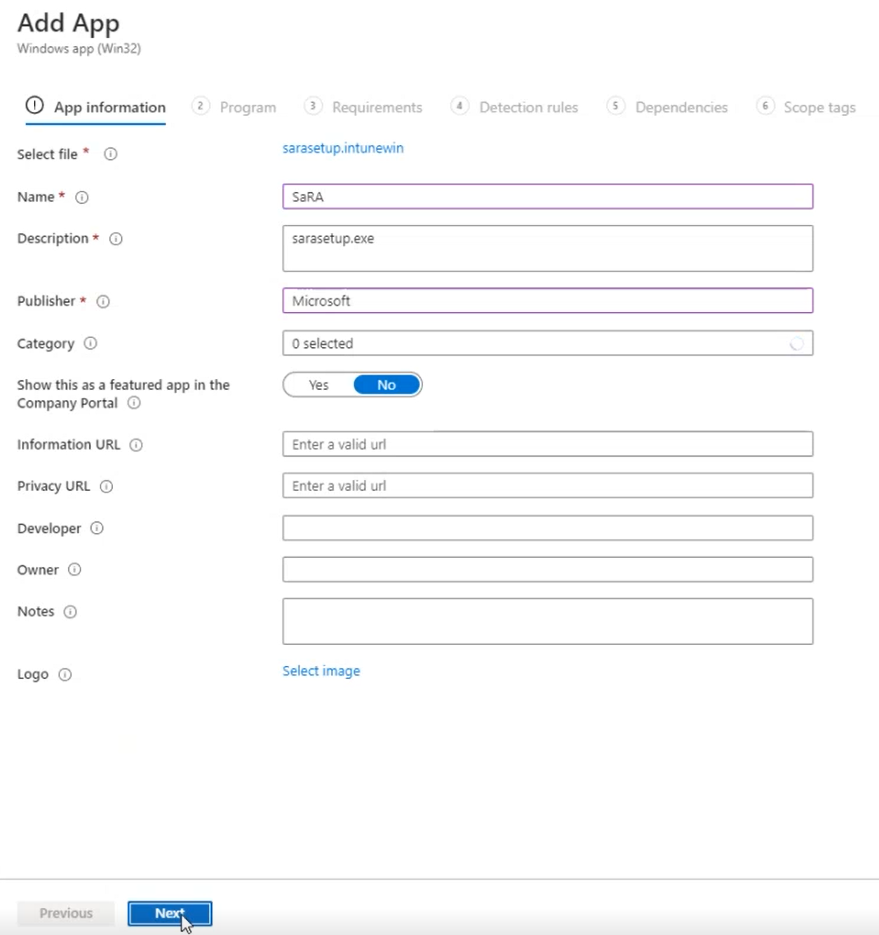
Select Select app package file.

Browse and select the Intunewin file that you created, and then select OK.


Enter the name for the Publisher (required) and update the Name of the app (optional), and then select Next.
For Program settings, enter the Install command (required), select User for Install behavior, and then select Next.
Use the following program values for SaRA:
- Install command: sarasetup.exe /q
- Uninstall command: rundll32.exe dfshim.dll,ShArpMaintain Microsoft.Sara.application, Culture=neutral, PublicKeyToken=1f16bd4ec4c2bb19, processorArchitecture=msil
- Install behavior: User

Note
The uninstall command provided above requires user interaction to complete the removal of SaRA. This user interaction is shown in the following screenshot.

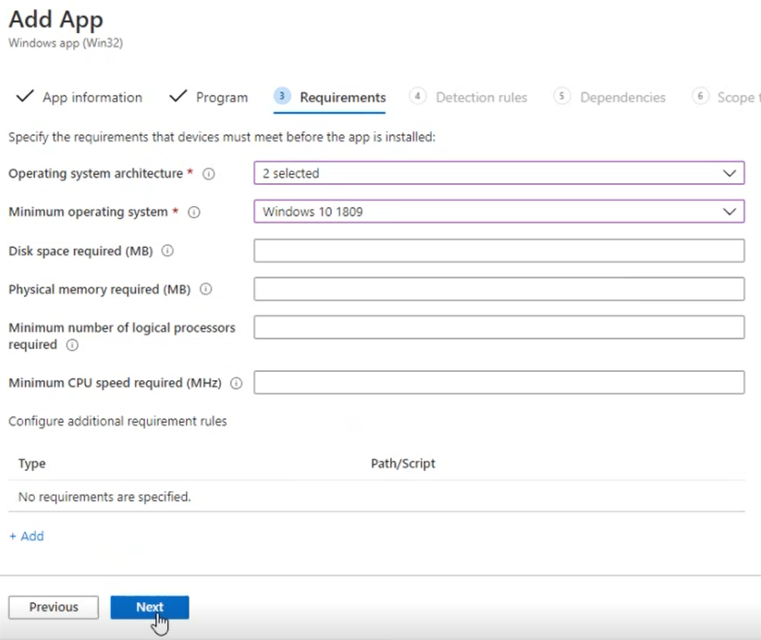
For Requirements:
Select both 32-bit and 64-bit in the Operating system architecture list.
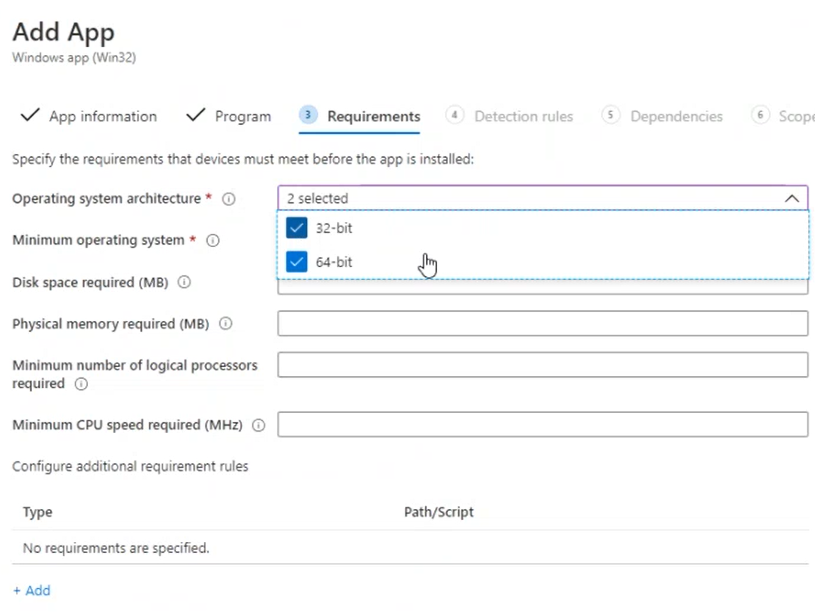
Select Windows 10 1809 (at a minimum) in the Minimum operating system list, and then select Next.
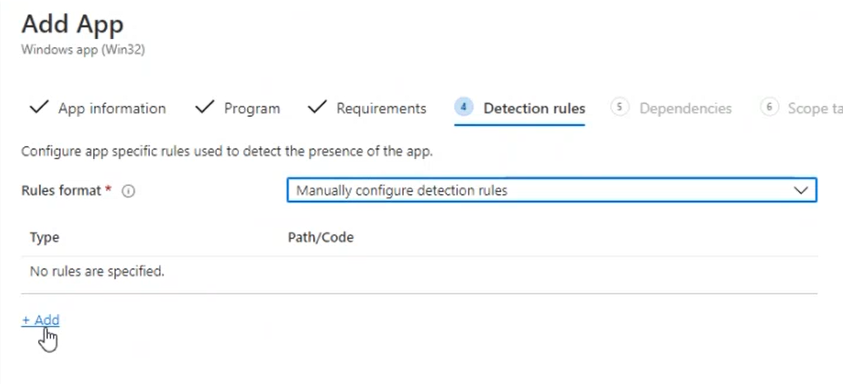
For Detection rules:
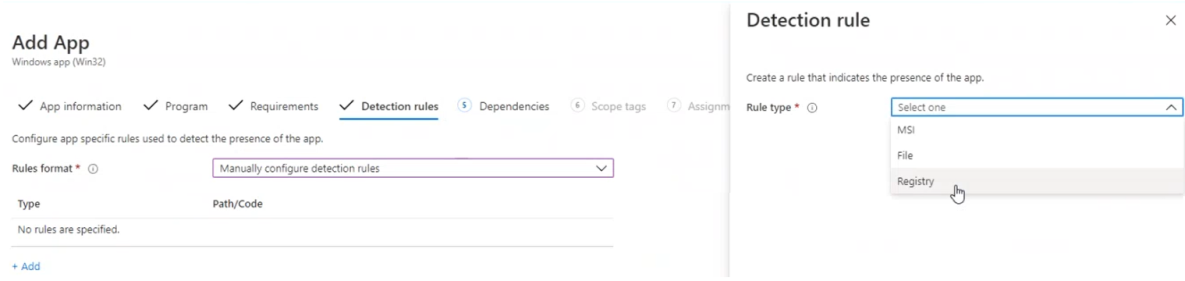
Select Manually configure detection rules in the Rules format list, and then select Add.
For Rule type, select Registry.
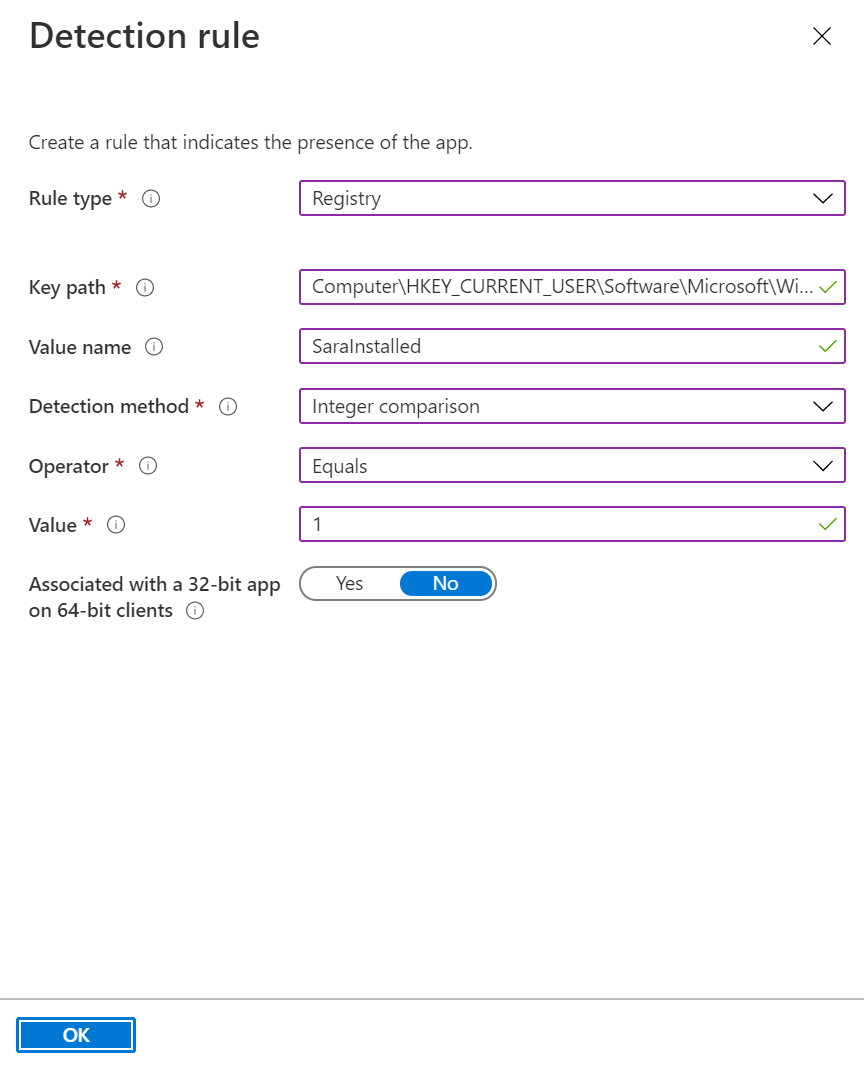
Use the following values for the Detection rule settings:
- Rule type: Registry
- Key path: Computer\HKEY_CURRENT_USER\Software\Microsoft\Windows\CurrentVersion\Uninstall\339020b868450372
- Value name: SaraInstalled
- Detection method: Integer comparison
- Operator: Equals
- Value: 1
For Dependencies, select Next without adding any dependencies.

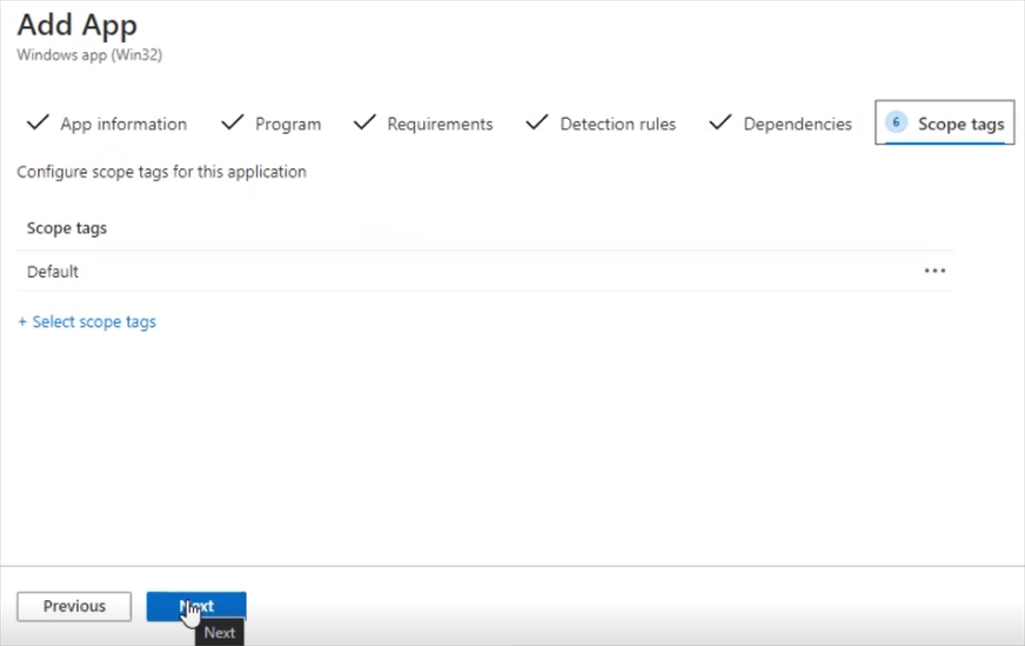
No Scope tags are required. Select Next.
For Assignments, see Assign apps to groups with Microsoft Intune for information about how to assign the app to users or devices.
 Once you have made your assignments, select Next.
On the Review + create section, review your settings, and then select Create.
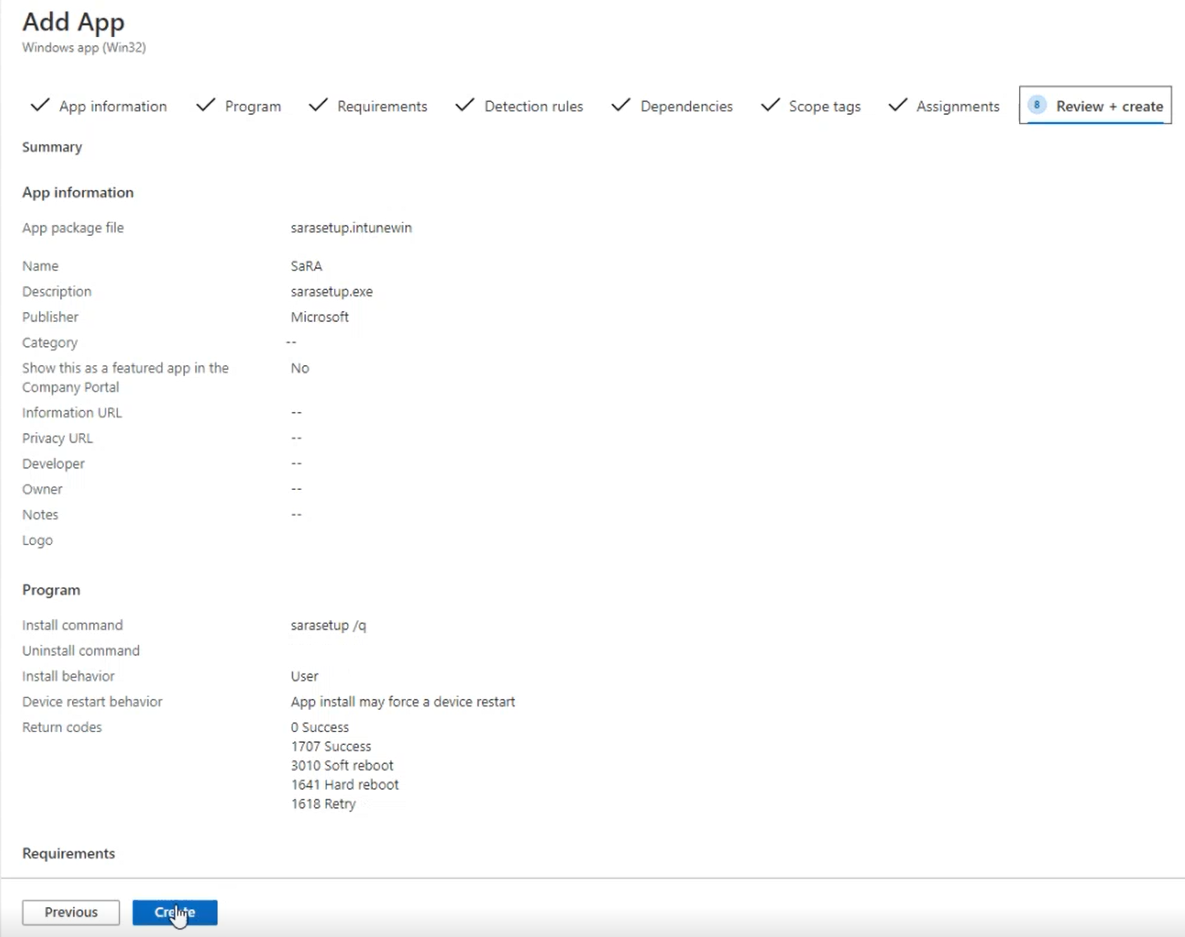
Review your Notifications.
 After you see the SaRA upload finished notification, the app is ready for deployment.
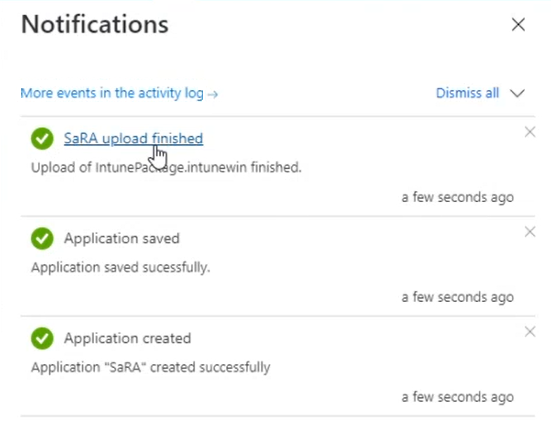 You can now review the Device install status or User install status reports to see the status of your app deployment.
 On the computers on which SaRA has been installed, follow these steps to verify that the software is installed.
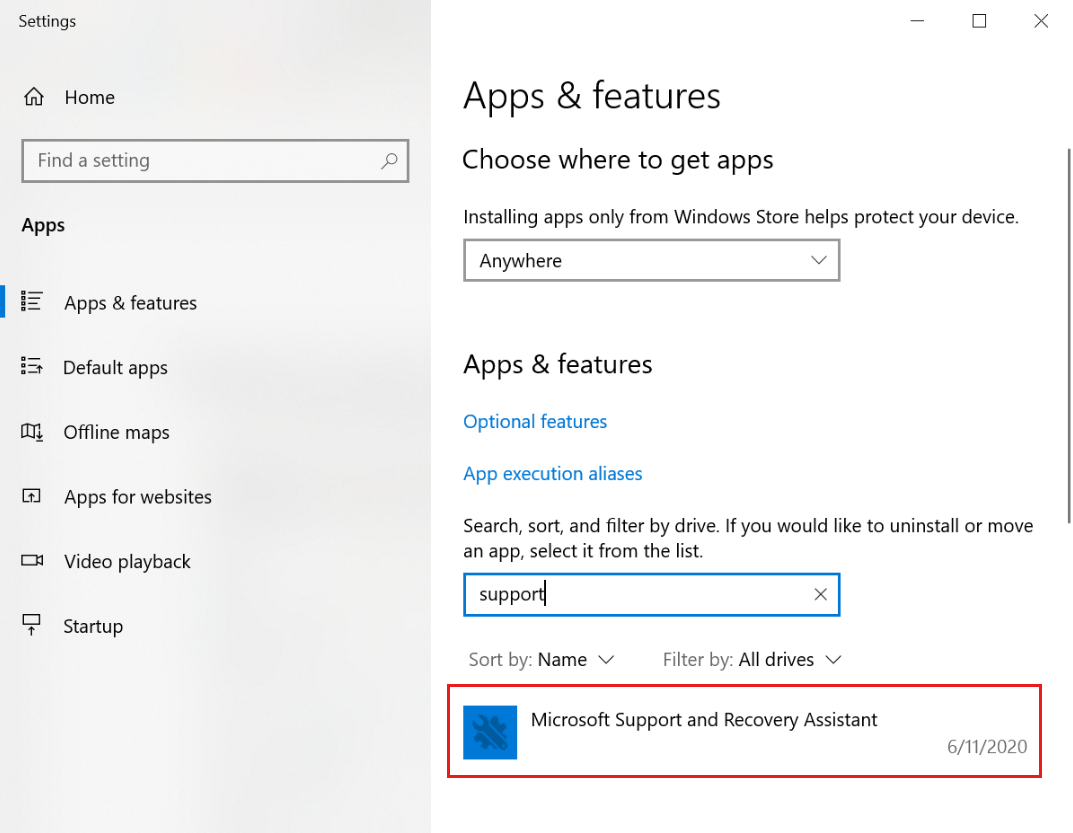
Select Settings > Apps > Apps & features.

In the Search this list box, type Support.
Note
The SaRA tool requires access to network endpoints needed for connectivity from a user of Microsoft 365 across an enterprise perimeter network. The current list of endpoint is provided in Additional endpoints not included in the Microsoft 365 IP Address and URL Web service.
Still need help? Go to Microsoft Community.
Feedback
Coming soon: Throughout 2024 we will be phasing out GitHub Issues as the feedback mechanism for content and replacing it with a new feedback system. For more information see: https://aka.ms/ContentUserFeedback.
Submit and view feedback for