Create a canvas app with deep link to a specific screen
A common scenario when building apps is the need to share a "deep link" to a specific screen. Deep links are useful when you want to get users straight to a specific screen and data rather than asking them to navigate from the "home" screen of your app.
To deep link into a Power Apps app, you'll use this URL syntax: https://apps.powerapps.com/play/{App ID}?{Query}.
In this syntax:
- App ID—ID of the app. Go to Power Apps > Apps > Select your app > Details.
- Query—The query text allows you to supply the data to deep link to. You'll need to make some code changes to your canvas app to use the provided parameters to open the app using the query URL.
In this article, you'll learn about how to:
- Set up a canvas app to handle the query parameter.
- Create a UI for emailing a deep link directly from a screen of your app.
- Use the app to browse to a specific account, send an email with the deep link, and use the link from the received email to open the app directly to that account.
Prerequisites
- Power Apps license
- If you're new to Power Apps, familiarize yourself with Power Apps basics by generating an app and then customizing that app's controls, gallery, forms, and cards.
- To create an app, you must be assigned to the Environment Maker security role.
Create the app
Create an app using the Accounts table in Microsoft Dataverse.
Your app opens to the BrowseScreen, that shows a list of accounts in a gallery. By default, this gallery shows an email address, a city, and an account name. The app also contains DetailScreen and EditScreen.
Update navigation
Now you'll set the navigation to use a context that we'll use to take the user to another screen.
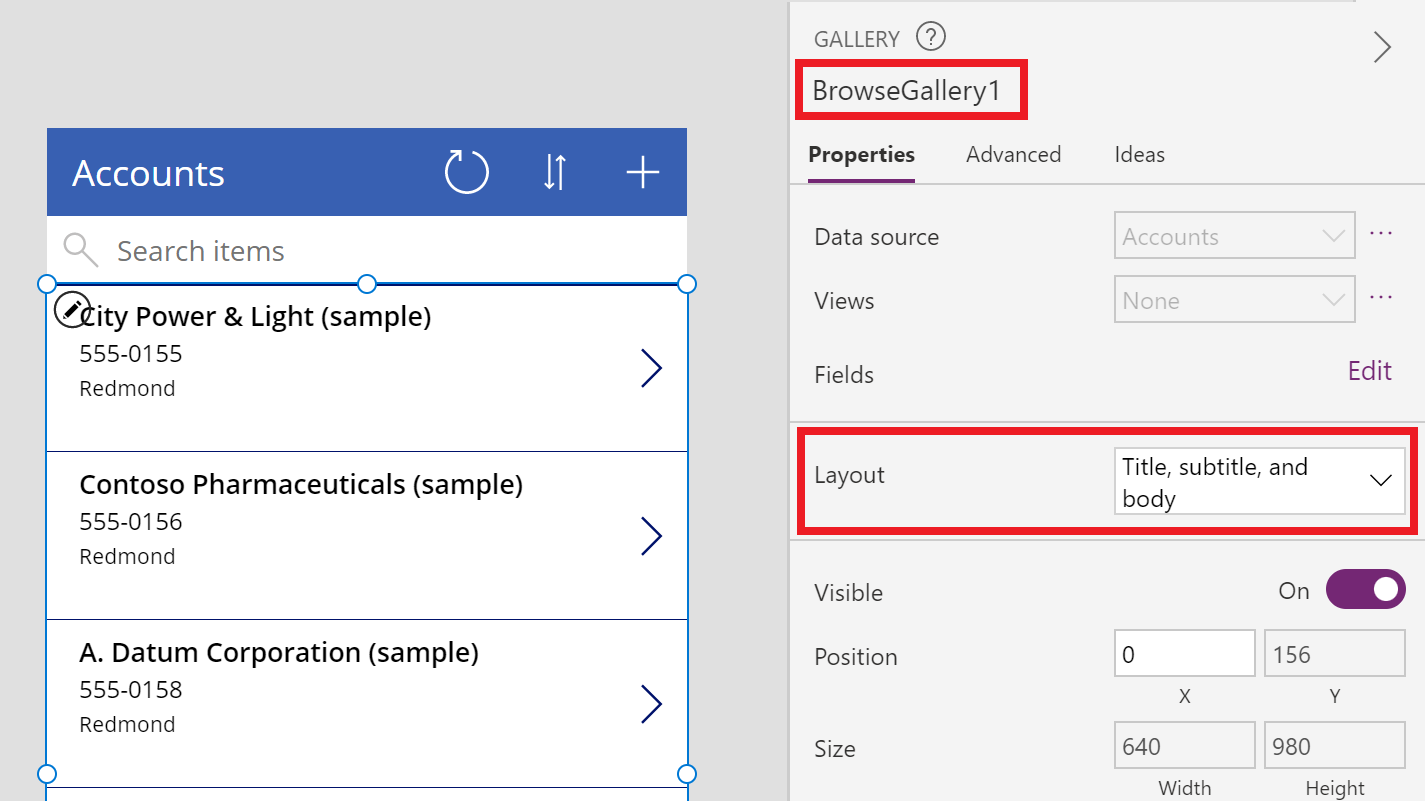
On BrowseScreen screen, select Layout under gallery properties, and select Title, subtitle and body
Select first record of BrowseGallery gallery. And then, under OnSelect, enter the following:
Navigate(DetailScreen1, Fade, {accountVal:ThisItem})
The Navigate() function creates a context variable called accountVal. This variable is populated whenever you select a record from the gallery. Upon selecting record, you'll be taken to the DetailScreen with the selected value (in this example, account) in accountVal.
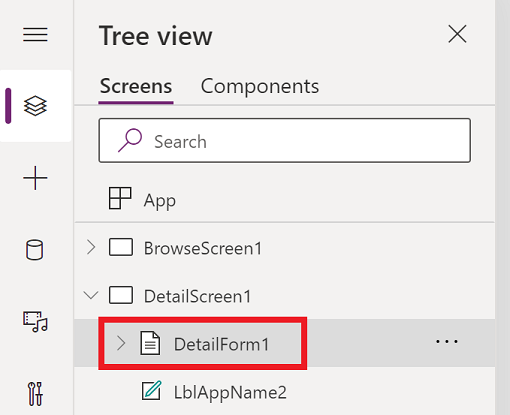
From the Tree view on the left-side of the screen, expand DetailScreen1, and select DetailForm1.
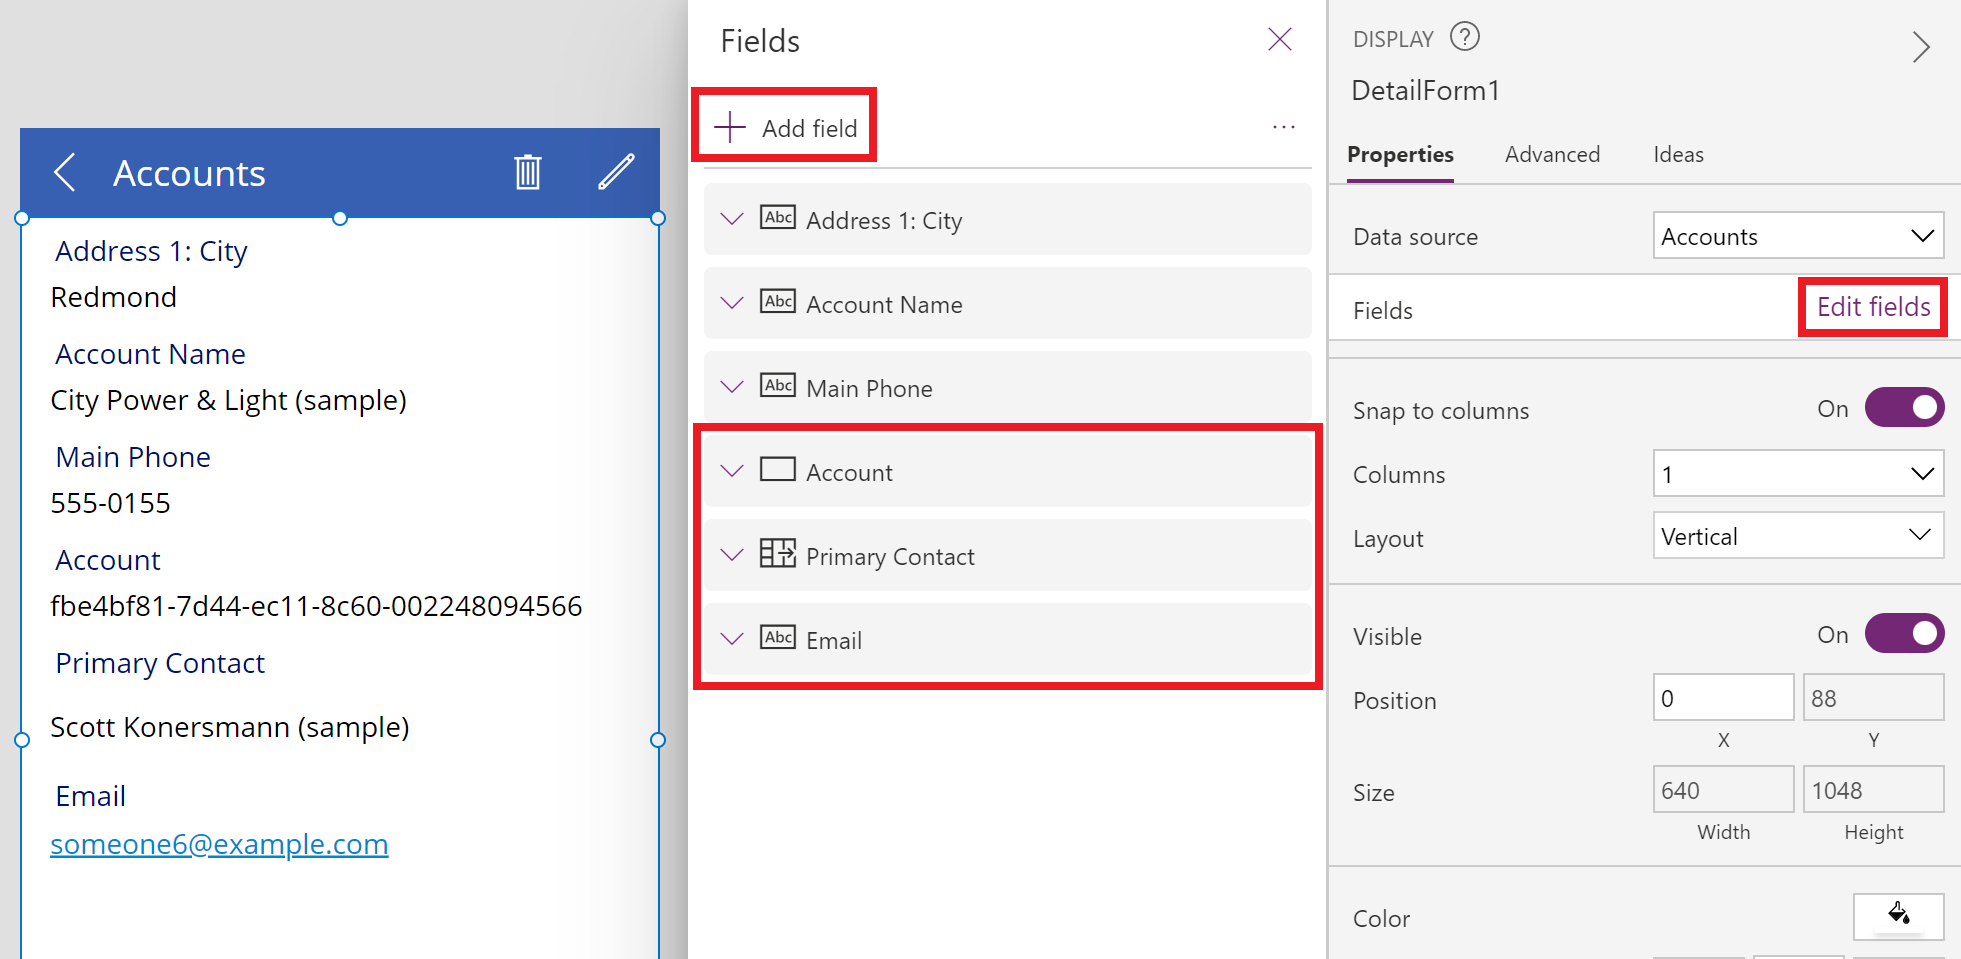
From the properties pane on the right-side of the screen, select Edit fields, and add Account, Primary Contact, and Email fields.
Select DetailForm, and set Item to accountVal.

Save with the name "Account deep linking".
Get the App ID
App ID is a unique GUID representing a given app, and generated when you save the app to cloud.
To get the App ID, open a new tab and go to Power Apps > Apps > Select your app > Details. More information: Get an App ID

Enable deep link to a screen
The goal of this example is to take users to the DetailsScreen1 when the app is launched with the accountId query parameter as part of the app URL. For this purpose, we'll use function Param() that retrieves the query string parameter supplied while launching the app.
Select App from the Tree view on the left-side of the screen.
Tip
If you've closed Power Apps Studio, reopen the saved "Account deep linking" app by editing the app.
Select OnStart property from the list of properties.
To store the App ID value, update the OnStart property formula as below.
Set(AppID, "GUID");
If(Not(IsBlank(Param("accountId"))),Set(accountId,Param("accountId")));
In this formula, function Set() sets the App ID to the GUID of the app. And function Param() stores the value in the accountId variable, when not blank.
Note
Ensure you replace "GUID" in the above formula to your App ID as appropriate.

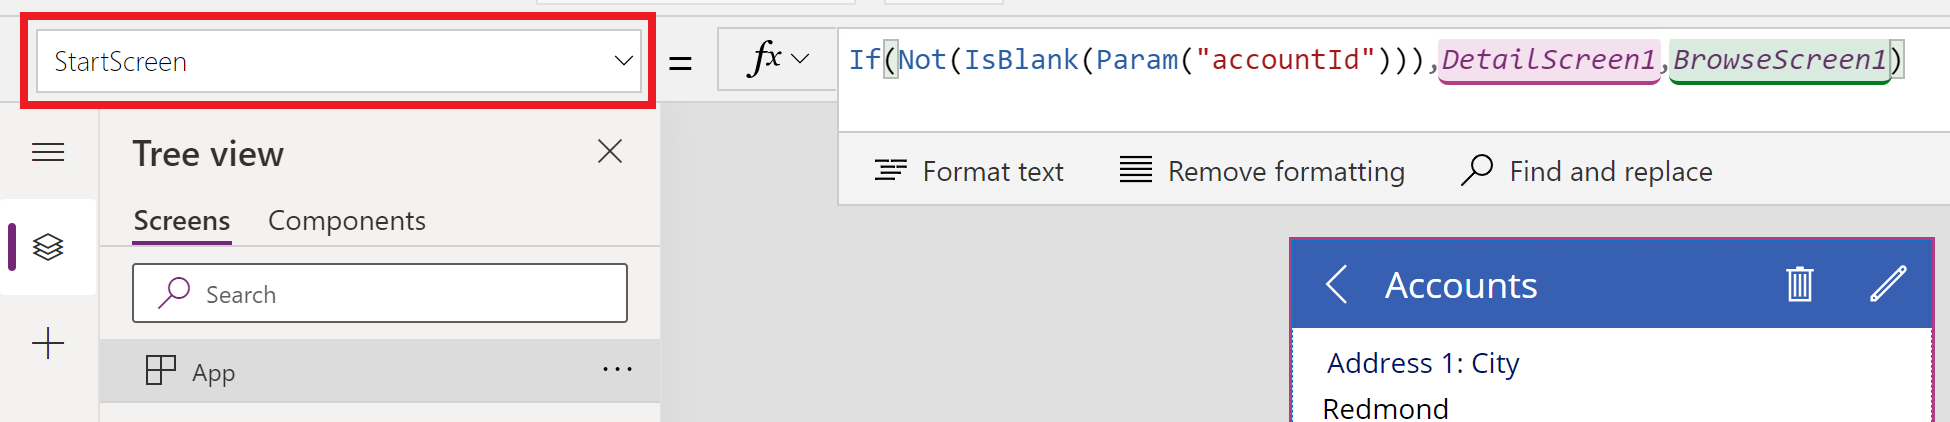
Select StartScreen property for the app, and add the following:
If(Not(IsBlank(Param("accountId"))),DetailScreen1,BrowseScreen1)This function checks if the Param is blank, then stay on the BrowseScreen1. Else, go to DetailScreen1.
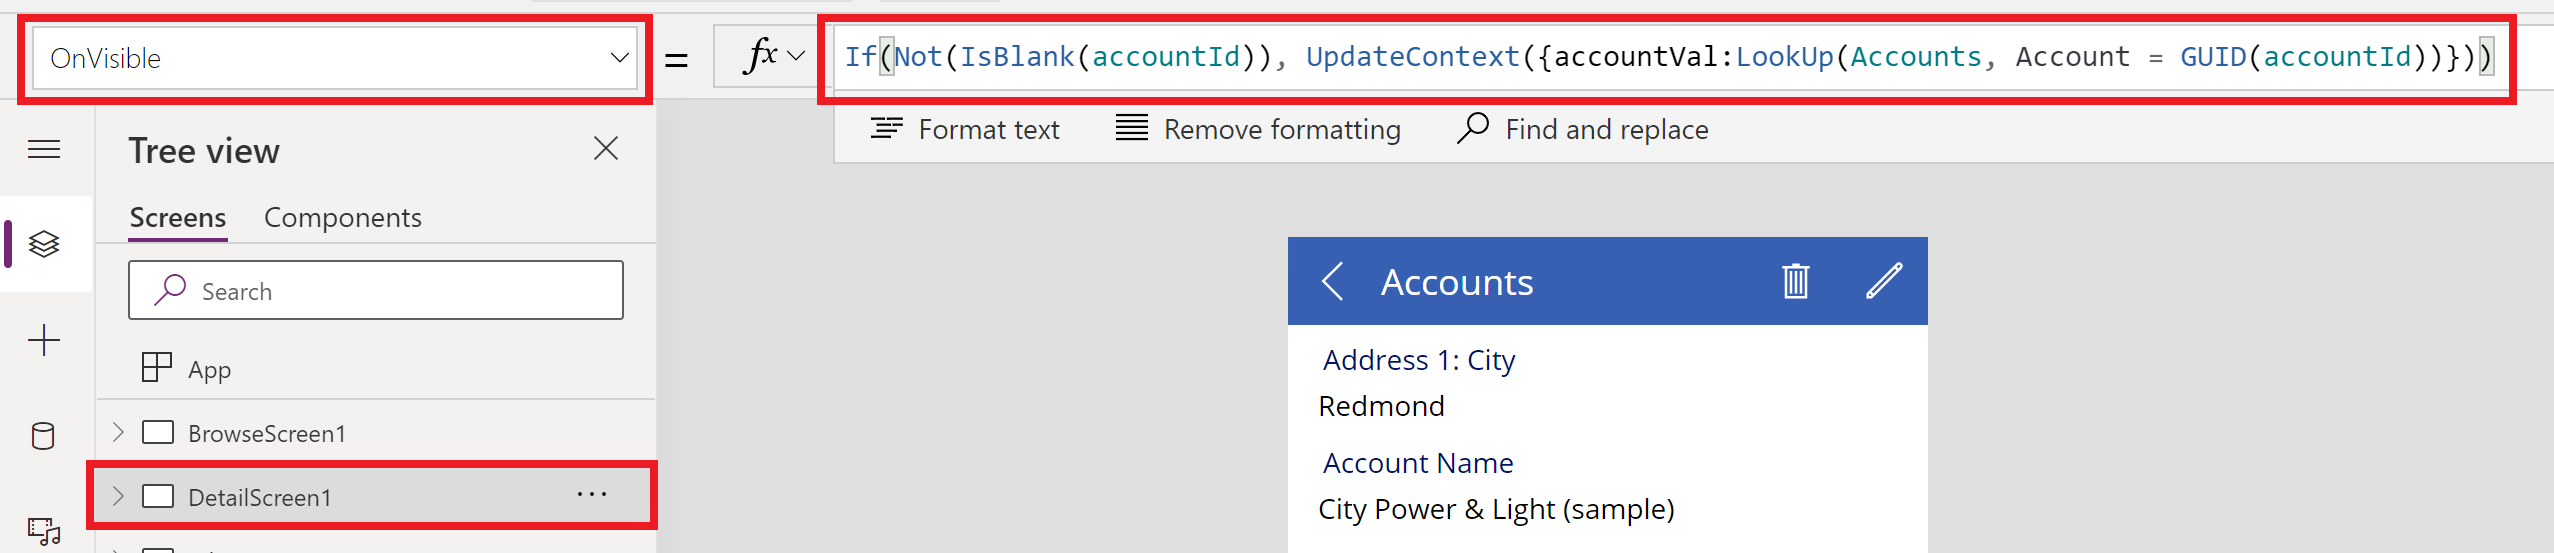
Select DetailScreen1 from the Tree view.
Select OnVisible property, and enter the following:
If(Not(IsBlank(accountId)), UpdateContext({accountVal:LookUp(Accounts, Account = GUID(accountId))}))This function uses accountId stored from the previous step to set accountVal variable.
Create the deep link URL
Your app is now configured to receive accountId as the parameter that contains the GUID for an account from the Accounts table. And when this parameter is provided with the request to the app, the app will directly open the details screen (DetailScreen1) with the given accountId.
To invoke app with the parameter value, we have to use the following syntax:
https://apps.powerapps.com/play/{App ID}?{Query}
In the above syntax, we have to add the App ID and the query that contains accountId variable with its value.
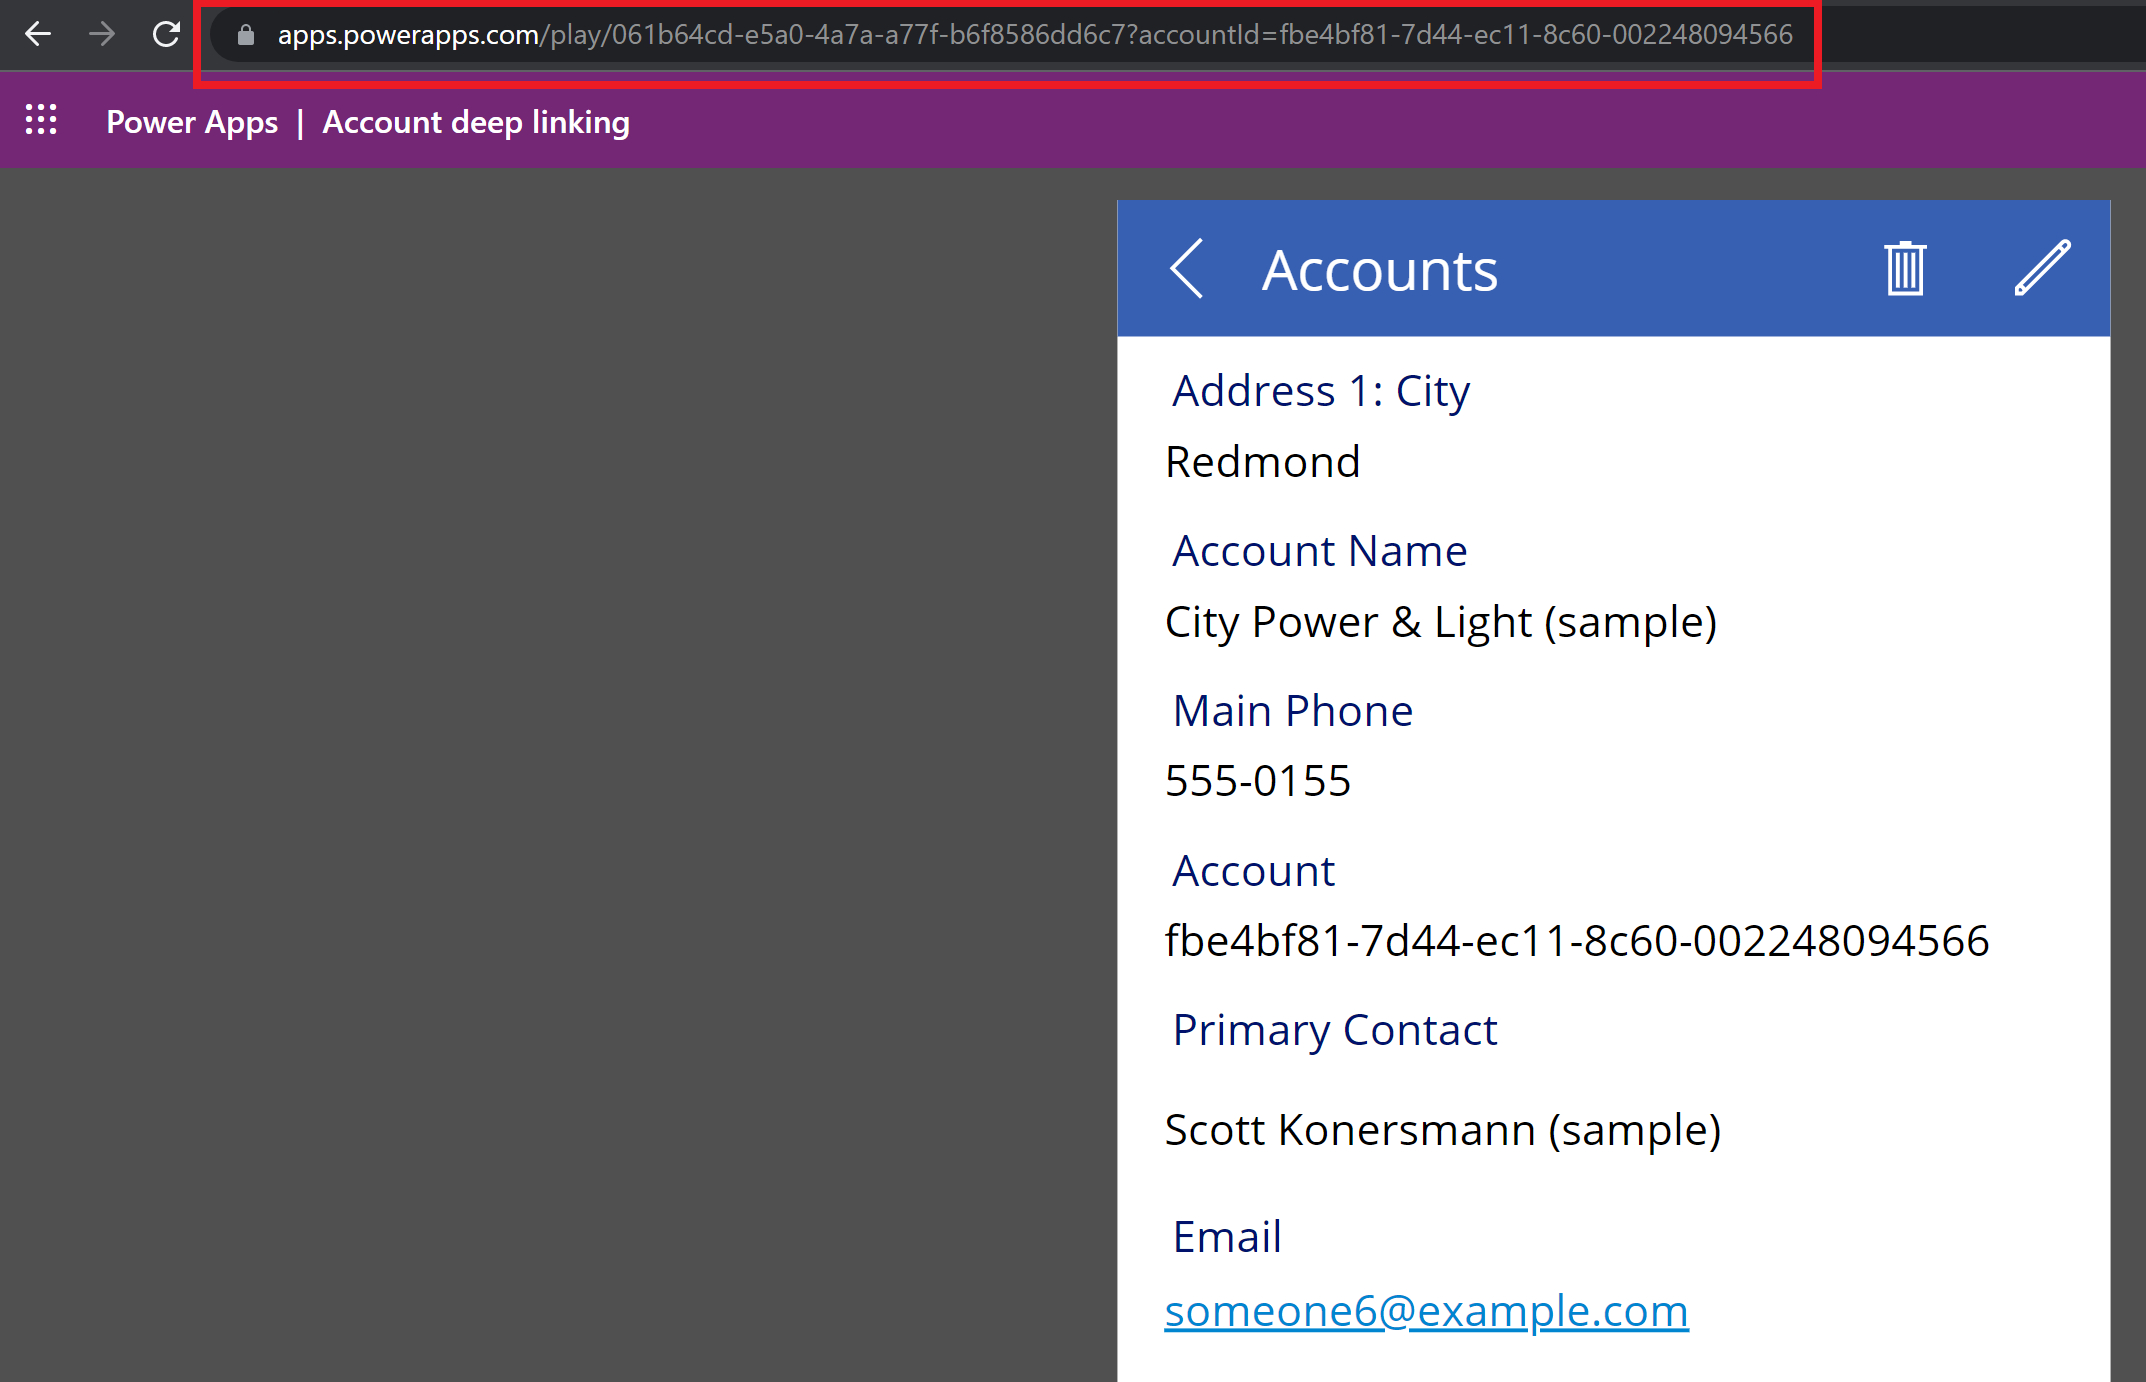
For example, when the following URL was entered in a browser for the sample tenant, the app Account deep linking opened directly with the supplied accountId parameter value (in this example, "A. Datum Corporation (Sample)"): https://apps.powerapps.com/play/061b64cd-e5a0-4a7a-a77f-b6f8586dd6c7?accountId=01e5bf81-7d44-ec11-8c60-002248094566

Send deep link in email
We can also supply a variable accountVal to point to the account's ID instead of using absolute link explained above while invoking the URL for the given account from inside the app.
For this purpose, we'll create a button and add the ability to invoke an email from within the app with the deep link to the selected account's details screen from the Account deep linking app.
Select Data from the left-side of the screen.
Select Add data > search for and select Office 365 Outlook > select Connect.
Note
This action adds the Microsoft 365 Outlook connection so that we can use the next steps to invoke composing an email to share the account information.
Select DetailScreen1 from the Tree view.
Insert a button at bottom-right of the screen, and rename it to Share Account.
On the button's OnSelect property, enter the following:
Office365Outlook.SendEmailV2("Recipient", "Subject", "Here's the deep link to the selected account - https://apps.powerapps.com/play/{App ID}?accountId=" & accountVal.Account)This formula uses the Microsoft 365 connector for Outlook to send an email using the SendEmailV2 operation.
Note
Replace Recipient, Subject, and AppID in the above formula with the email address of the recipient, subject for the email, and the ID of the app.

Save and publish the app.
Test the app
Run the app, and go to the details screen for any account. And then, select the button Share account. The OnSelect button formula triggers an email to the recipient with the subject and body configured earlier. Here's a sample email sent by the configured app:

Open the email, and copy the deep link that points to the selected account, and you'll be taken directly to the account details screen in the Account deep linking app, instead of the default browse screen.
See also
Feedback
Coming soon: Throughout 2024 we will be phasing out GitHub Issues as the feedback mechanism for content and replacing it with a new feedback system. For more information see: https://aka.ms/ContentUserFeedback.
Submit and view feedback for