Services Hub Connector - Features (Unified)
Services Hub Connector is an Azure resource that brings Services Hub On-Demand Assessment functionality directly to our Unified/Premier audience that works primarily in the Azure ecosystem. You can start and continue your On-Demand Assessment experience in Azure, reducing complexity, all without leaving the Azure ecosystem to accomplish your proactive needs.
Access Services Hub
From the Services Hub Connector, you can always get to your Services Hub. On the Services Hub Connector, select Overview on the left navigation, select Go to Services Hub on the top navigation, and a new tab opens.

Note
See documentation on how to create your Services Hub Connector.
Manage Connections
When you are in the Services Hub Connector, you're now able to connect to multiple Log Analytics workspaces without the need for multiple Services Hub – as is the current Services Hub experience. You'll be able to manage your roles and permissions in Azure and Log Analytics so that different groups won't see each other’s data if needed.
On the Services Hub Connector, select On-Demand Assessments on the left navigation and then select Manage Connections on the top navigation.

Select Add to add your desired Log Analytics workspace.

Now you're able to connect multiple Log Analytics workspaces in the Services Hub Connector experience. After adding your first Log Analytics workspace, select Add again to add your next Log Analytics workspace.
Then you'll see all of your Log Analytics workspaces that you added.

Now that you have connected multiple Log Analytics workspaces, on the On-Demand Assessment page select Log Analytics Workspace dropdown and select the Log Analytics workspace name that you want to view and the tiles change to the new workspace data.
Note
If you do not have access to the Log Analytics workspace that you choose, you will see an error on the page that you do not have access.
Note
If you don’t know the Azure owner, other roles of your Azure subscriptions, or Log Analytics workspaces, see Role assignments in Azure Subscriptions to find out who you can contact in your organization for permission to see that data.
You're also able to remove any Log Analytic workspaces from the Services Hub Connector. On the Services Hub Connector, select On-Demand Assessments on the left navigation and then select Manage Connections on the top navigation.
Then select the checkbox of the Log Analytics workspaces that you would like to remove, then select Remove. You'll no longer see that Log Analytics workspace in your dropdown box of Log Analytics workspaces.

Add On-Demand Assessments
Now that you've connected your Log Analytics workspace(s), when you are in the Services Hub Connector you're now able to “Add” multiple On-Demand Assessments at one time instead of individually as in the Services Hub experience.
On the Services Hub Connector, select On-Demand Assessments on the left navigation and then select Add Assessments on the top navigation.

You now have the ability to Select All and add all On-Demand Assessments at once or specifically check the boxes for the On-Demand Assessments that you want to add at once.

Note
Adding a new Assessment will start the new AMA experience as described in the On-Demand Assessment Setup document
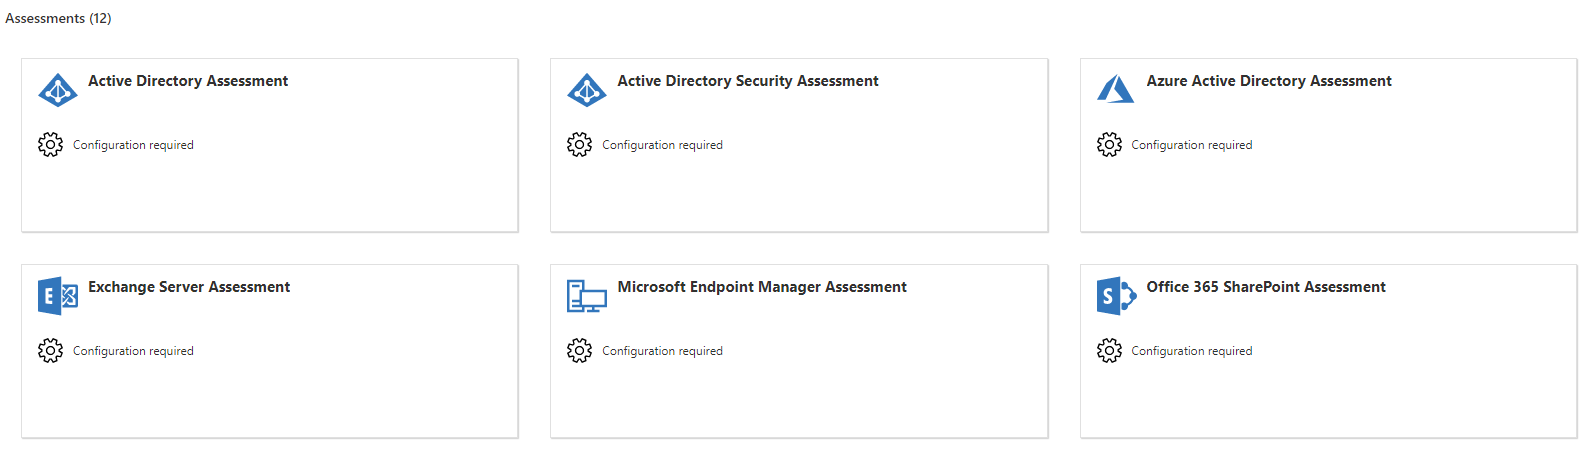
Now you'll see all of your newly added On-Demand Assessment tiles on the On-Demand Assessment blade for you and your team to configure and start seeing your proactive data.
Important
Similar to the Services Hub portal experience, you will first need to configure your data collection machine in order to be able to add Assessments using your SH Connector. This process is described in the On-Demand Assessment Setup document - Configuration Methods

Different Tile statuses
There are different statuses for your On-Demand assessments depending on where you are at in the journey.
Added On-Demand Assessment and needs configuration

This tile directs you to the configuration page in Log Analytics.
Configured On-Demand Assessment and showing data
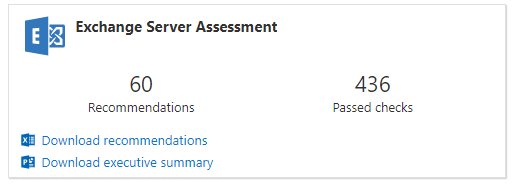
This tile directs you to the On-Demand Assessment Detail page in Log Analytics to view all of your data.
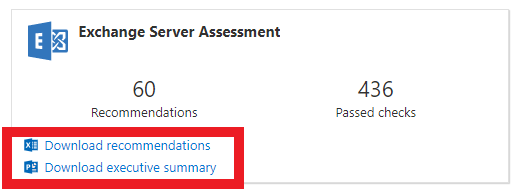
Reports
In the Services Hub Connector, you can View Reports for all of your On-Demand Assessments from all of your connected Log Analytics workspaces without the need to go back to Services Hub to see your reports.
On the Services Hub Connector, select On-Demand Assessments on the left navigation and then select any report from your configured On-Demand Assessments that have data. This report downloads for your use.
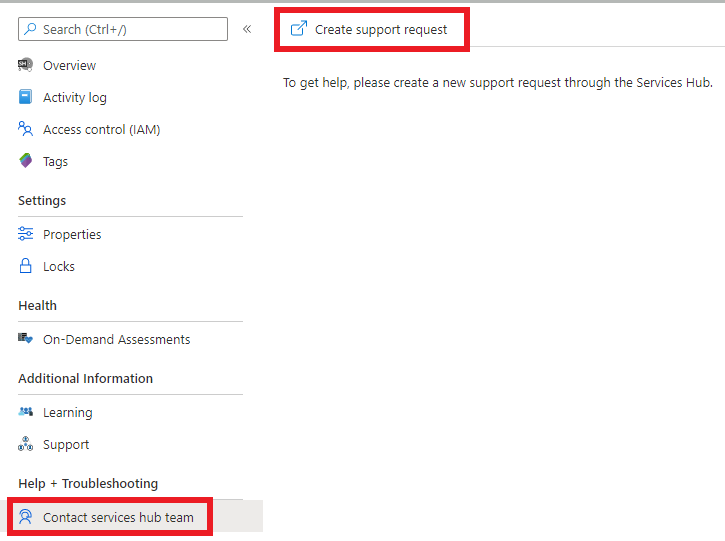
Contact Services Hub Support
When you need to create a support ticket around issues with the Services Hub, you can Contact Services Hub Team within the Services Hub Connector.
On the Services Hub Connector, select Contact Services Hub Team on the left navigation and then select Create Support Request on the top navigation.
Note
This is for support for Services Hub and not to open a Microsoft support request. Please login to Services Hub to create Microsoft support requests.
Feedback
Coming soon: Throughout 2024 we will be phasing out GitHub Issues as the feedback mechanism for content and replacing it with a new feedback system. For more information see: https://aka.ms/ContentUserFeedback.
Submit and view feedback for