Exercise - Load data into distributed tables with Azure Cosmos DB for PostgreSQL
In this exercise, you create a multi-node Azure Cosmos DB for PostgreSQL database. You then put into practice several of the data ingestion methods discussed in Unit 3 to ingest Woodgrove Bank's historical and transactional data.
Create an Azure Cosmos DB for PostgreSQL database
To complete this exercise, you must create an Azure Cosmos DB for PostgreSQL cluster. Your cluster will have:
- One coordinator node, with 4 vCores, 16-GiB RAM, and 512 GiBM of storage
- Two worker nodes, each with 4 vCores, 32-GiB RAM, and 512 GiBM of storage
Navigate to the Azure portal in a web browser.
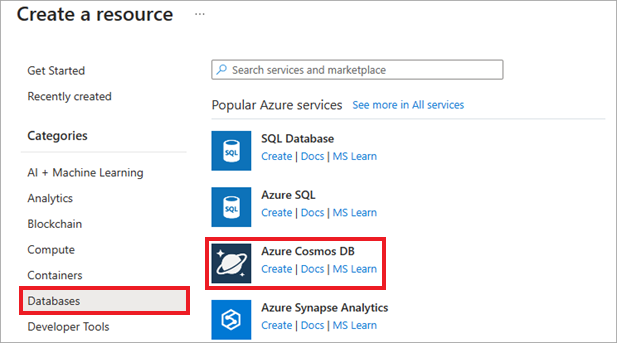
In the Azure portal, select Create a resource, Databases, and Azure Cosmos DB. You can also use the Search functionality to find the resource.
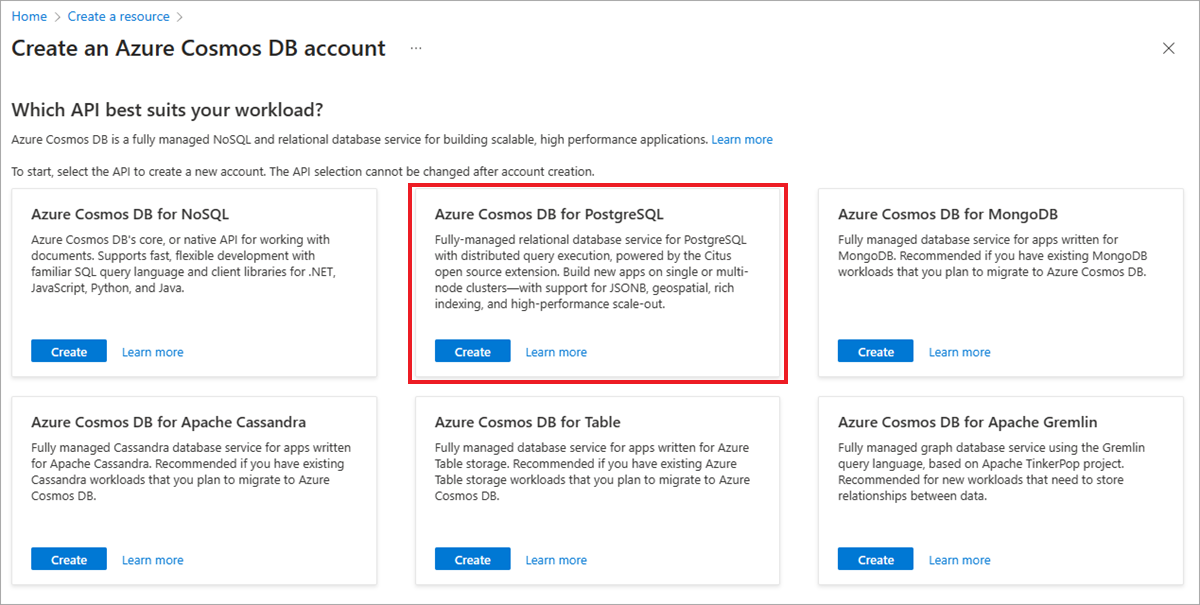
On the Select API option screen, select Create within the Azure Cosmos DB for PostgreSQL tile.
After selecting Create, the portal will display a resource configuration screen.
On the Basics tab, enter the following information:
Parameter Value Project details Subscription Choose your Azure subscription. Resource group Select Create new and name your resource group learn-cosmosdb-postgresql.Cluster details Cluster name Enter a globally unique name, such as learn-cosmosdb-postgresql.Location Leave the default, or use a region close to you. Scale See configuration settings in the next step. PostgreSQL version Leave the default version (15) selected. Administrator account Admin username This username is set to citusand can't be edited.Password Enter and confirm a strong password. 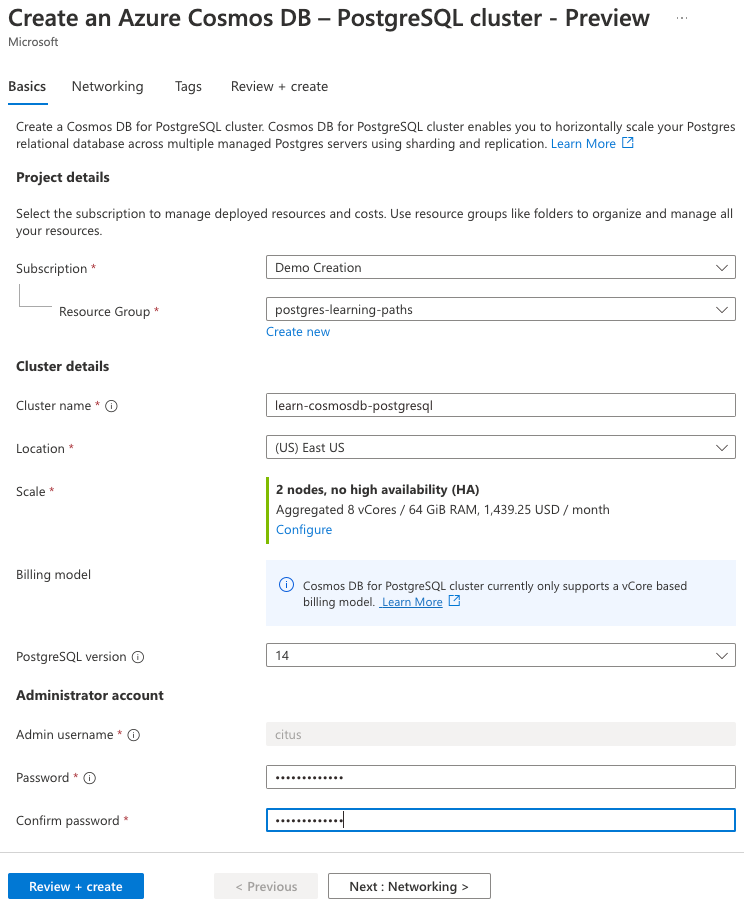
Note the password for later use.
For the Scale setting, select Configure, and on the node configuration page, set the following:
Parameter Value Nodes Node count Choose 2 nodes. Compute per node Select 4 vCores, 32 GiB RAM. Storage per node Select 512 GiBM. Coordinator (you might need to expand this section) Coordinator compute Select 4 vCores, 16 GiB RAM. Coordinator storage Select 512 GiBM. The high availability and automatic failover capabilities are out of scope for this exercise, so leave the High availability checkbox unchecked.
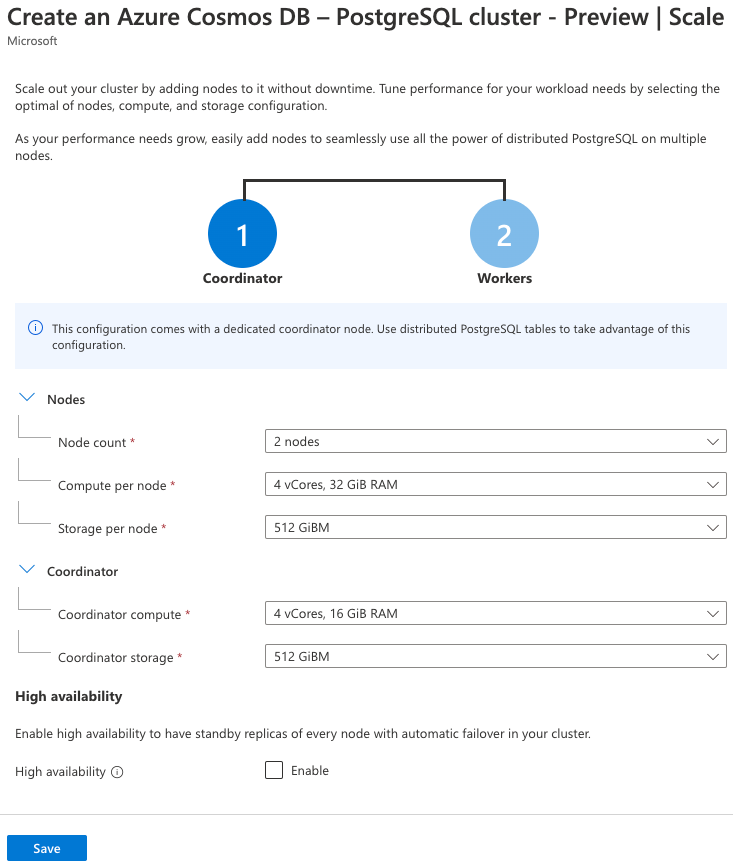
Select Save on the scale page to return to the cluster configuration.
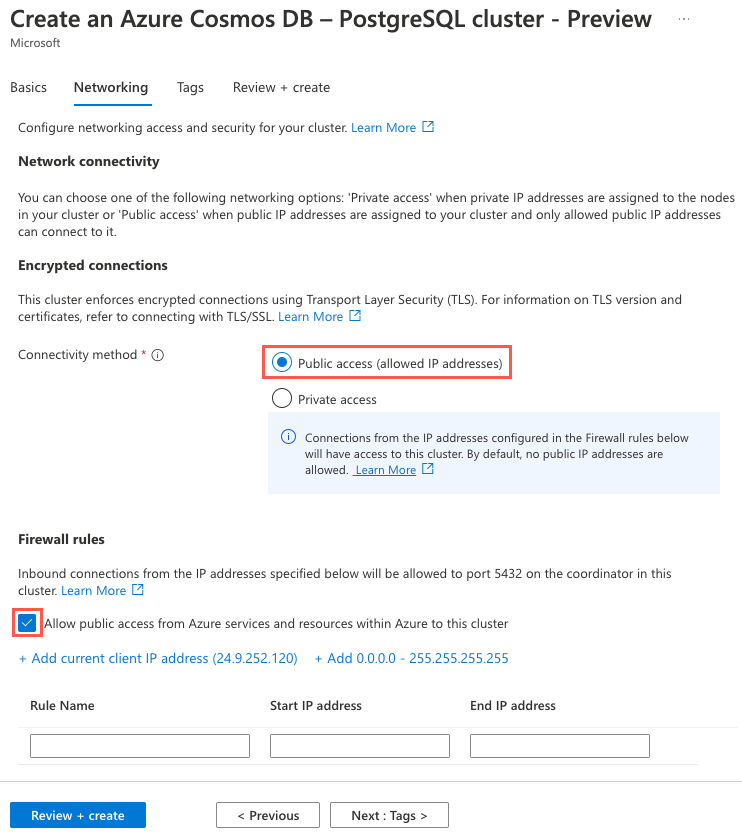
Select the Next : Networking > button to move on to the Networking tab of the configuration dialog.
On the Networking tab, set the Connectivity method to Public access (allowed IP addresses), and check the Allow public access from Azure services and resources within Azure to this cluster box.
Select the Review + create button, and on the review screen, select Create to create your cluster.
Connect to the database using psql in the Azure Cloud Shell
Once your cluster has finished provisioning, navigate to the resource in the Azure portal.
From the left-hand navigation menu, select Connection strings under Settings and copy the connection string labeled psql.
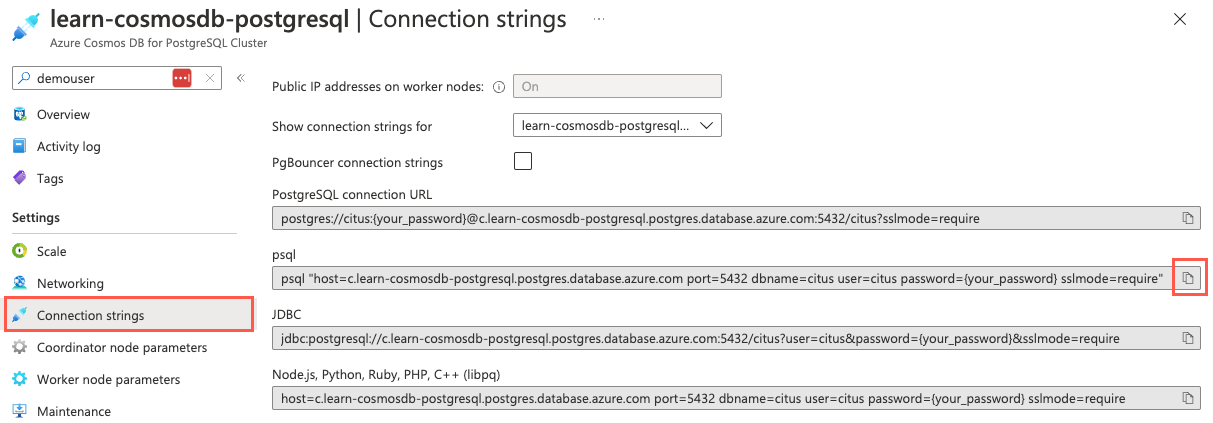
Paste the connection string into a text editor, such as Notepad.exe, and replace the
{your_password}token with the password you assigned to thecitususer when creating your cluster. Copy the updated connection string for use below.From the Connection strings page in the Azure portal, open an Azure Cloud Shell dialog by selecting the Cloud Shell icon on the toolbar in the Azure portal.
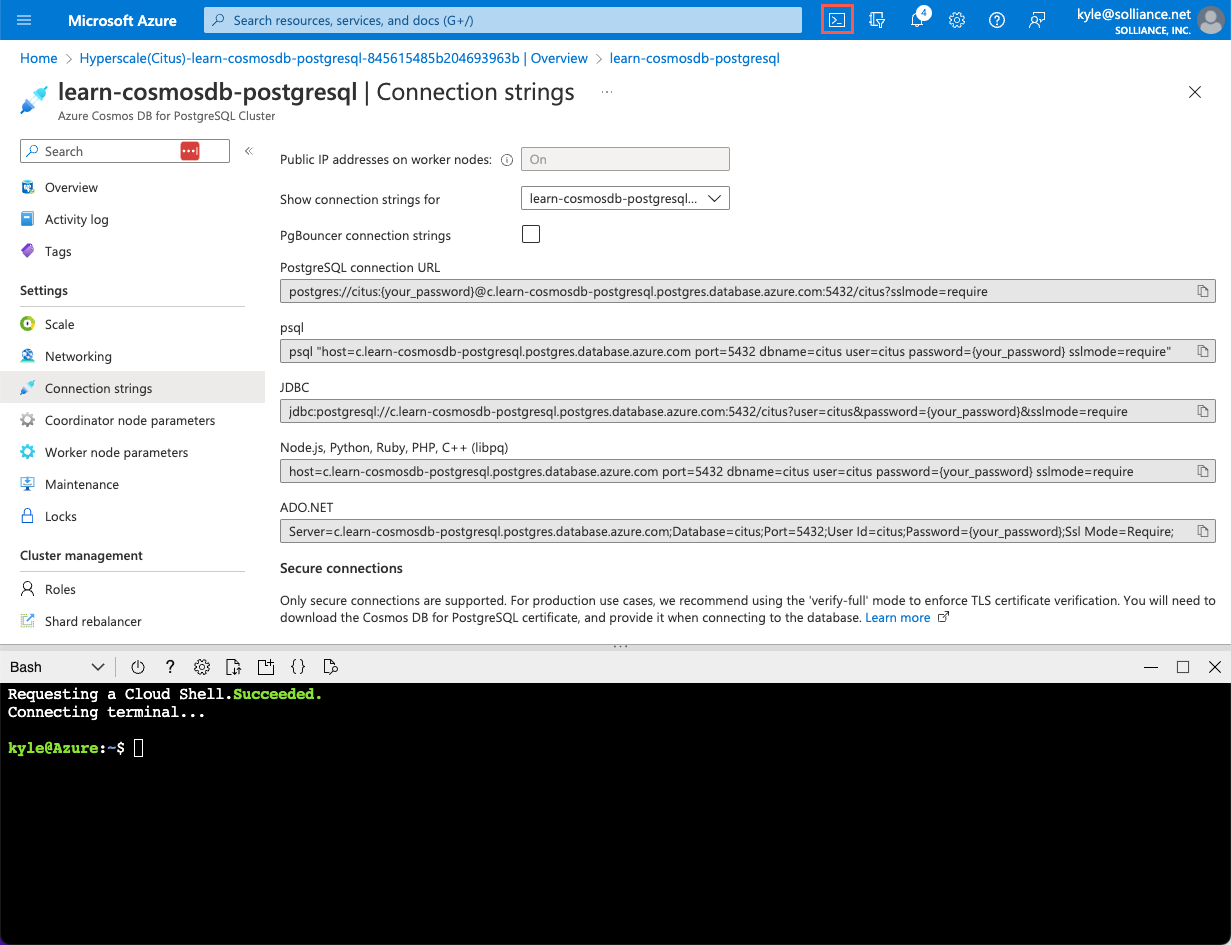
The Cloud Shell will open as an embedded panel at the bottom of your browser window.
If necessary, select Bash as the environment in the Cloud Shell window.
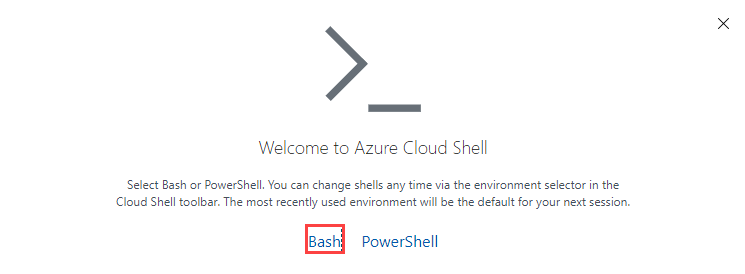
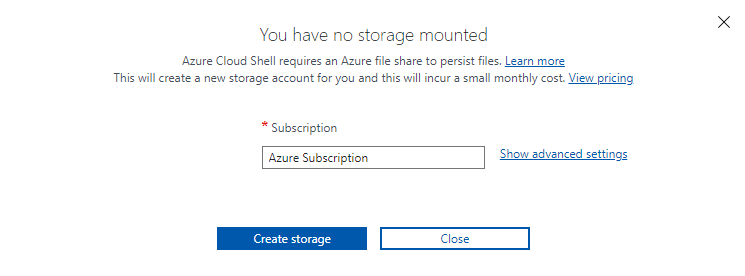
If you've never used Cloud Shell before, you might be prompted to mount a storage account. Select the subscription you used for your database account, then select Create storage.
Now, use the
psqlcommand-line utility to connect to your database. Paste your updated connection string (the one containing your correct password) at the prompt in the Cloud Shell, and then run the command, which should look similar to the following command:psql "host=c.learn-cosmosdb-postgresql.postgres.database.azure.com port=5432 dbname=citus user=citus password=P@ssword.123! sslmode=require"
Create tables in the database
Now that you're connected to your database, you can begin populating the database. You'll use psql to:
- Create users and events tables.
- Distribute the two tables, sharding them across the worker nodes.
In the Cloud Shell, run the following query to create the
payment_usersandpayment_eventstables:CREATE TABLE payment_users ( user_id bigint PRIMARY KEY, url text, login text, avatar_url text ); CREATE TABLE payment_events ( event_id bigint, event_type text, user_id bigint, merchant_id bigint, event_details jsonb, created_at timestamp, -- Create a compound primary key so that user_id can be set as the distribution column PRIMARY KEY (event_id, user_id) );Based on your recommendation to choose the
user_idfield as the distribution column for both tables, thePRIMARY KEYassignment for thepayment_eventstable was changed to a compound key. This compound key will allow theuser_idfield to be assigned as the distribution column.Next, create the merchants table:
CREATE TABLE payment_merchants
(
    merchant_id bigint PRIMARY KEY,
    name text,
    url text
);
Distribute the tables
Executing the CREATE TABLE commands results in local tables being created on the coordinator node. To distribute the tables to the worker nodes, you must run the create_distributed_table function for each table, specifying what distribution column to use when sharding them.
In the Cloud Shell, run the following query to distribute your
payment_eventsandpayment_userstables across the worker nodes:SELECT create_distributed_table('payment_users', 'user_id'); SELECT create_distributed_table('payment_events', 'user_id');The
payment_eventsandpayment_userstables were assigned the same distribution column, resulting in related data for both tables being colocated on the same node. You don't need to use thecolocate withparameter of thecreate_distributed_tablefunction, as tables with the same shard key will be implicitly colocated.Now, define the
payment_merchanttable as a reference table:SELECT create_reference_table('payment_merchants');
Insert payment data
Woodgrove Bank's payment transactions come as individual requests through the contactless payment app and should be added to the database as quickly as possible. Many transactions often arrive around the same time. To accomplish this transaction most efficiently, you can add individual rows to the payment_events table by batching multiple INSERT statements together.
In the Cloud Shell, run the following
INSERTstatement to load multiple transaction rows into thepayment_eventstable at once:INSERT INTO payment_events VALUES (5050825575,'SendFunds',1159138,17724730,'{"code": 17724730, "particulars": "twofactorauth", "reference": "2factorauth"}','1/12/16 5:22'), (5050825788,'RequestFunds',1171503,11730342,'{"code": 11730342, "particulars": "vue", "reference": "vuejs"}','1/12/16 5:22');Execute the following command to view the two records inserted into the table:
SELECT * FROM payment_events;
Bulk load data using the COPY command
Woodgrove Bank has provided links to their historical event and user data, which are stored in CSV files. They have made these files available via publicly accessible URLs and have requested that you perform a one-time bulk load of these data into the new database.
You can use the COPY command to fulfill this request. It allows you to bulk load data from files.
Run the following command to download CSV files containing user and payment information and then use the
COPYcommand to load data from the downloaded CSV files into the distributed tables,payment_usersandpayment_events:SET CLIENT_ENCODING TO 'utf8'; \COPY payment_users FROM PROGRAM 'curl https://raw.githubusercontent.com/microsoftdocs/mslearn-create-connect-postgresHyperscale/main/users.csv' WITH CSV \COPY payment_events FROM PROGRAM 'curl https://raw.githubusercontent.com/microsoftdocs/mslearn-create-connect-postgresHyperscale/main/events.csv' WITH CSVIn the
COPYcommand issued, theFROM PROGRAMclause informs the coordinator to retrieve the data files from an application running on the coordinator, in this case,curl. TheWITH CSVoption provides information about the format of the file being ingested.Execute the following commands to verify data was loaded into the
payment_usersandpayment_eventstables using theCOPYcommand:SELECT COUNT(*) FROM payment_users; SELECT COUNT(*) FROM payment_events;
Extract merchant data from the Events table
Woodgrove Bank has requested that you extract unique merchant data into a new table as part of bulk loading their historical data. You can use a SELECT FROM statement to pull the list of distinct merchants from the payment_events table.
Before inserting the data, run the following
EXPLAINstatement to review the query execution plan:EXPLAIN INSERT INTO payment_merchants SELECT DISTINCT merchant_id, CONCAT('merchant', '_', merchant_id), CONCAT('https://api.woodgrove.com/merchants/', merchant_id) FROM payment_events;The
EXPLAINoutput reveals that the inefficientpull to coordinatormethod will be used for theINSERT ... SELECTquery execution. This inefficiency occurs because the coordinator is unable to determine the distribution column involved in the query and must pull the data from each worker node to execute the query locally.Now, load the distinct merchants into the
payment_merchantstable and use themerchant_idto assign a unique name and set the API URL:INSERT INTO payment_merchants SELECT DISTINCT merchant_id, CONCAT('merchant', '_', merchant_id), CONCAT('https://api.woodgrove.com/merchants/', merchant_id) FROM payment_events;Verify the data loaded correctly by executing the following
SELECTstatement to view the top five records in the table:SELECT * FROM payment_merchants LIMIT 5;Congratulations! You've successfully created a multi-node, distributed database using Azure Cosmos DB for PostgreSQL and used multiple data ingestion methods to populate your distributed tables.
In the Cloud Shell, run the following command to disconnect from your database:
\qYou can keep the Cloud Shell open and move on to Unit 4: Use coordinator metadata tables and views to understand data distribution.