Exercise - Install and configure Visual Studio Code for data exploration
While it was great reading about these technologies, a much more exciting way to learn about them is to install them and begin playing around. This unit teaches you how to install Visual Studio Code.
If you're following this module as part of a Learning Path, you'll probably also have a chance to write all of the code in an in-browser notebook experience from within the Microsoft Learn module itself, so you don't have to install these developer tools to complete the module. However, setting up these tools is a great place to start on your personal developer journey, so we still encourage it.
Install Visual Studio Code
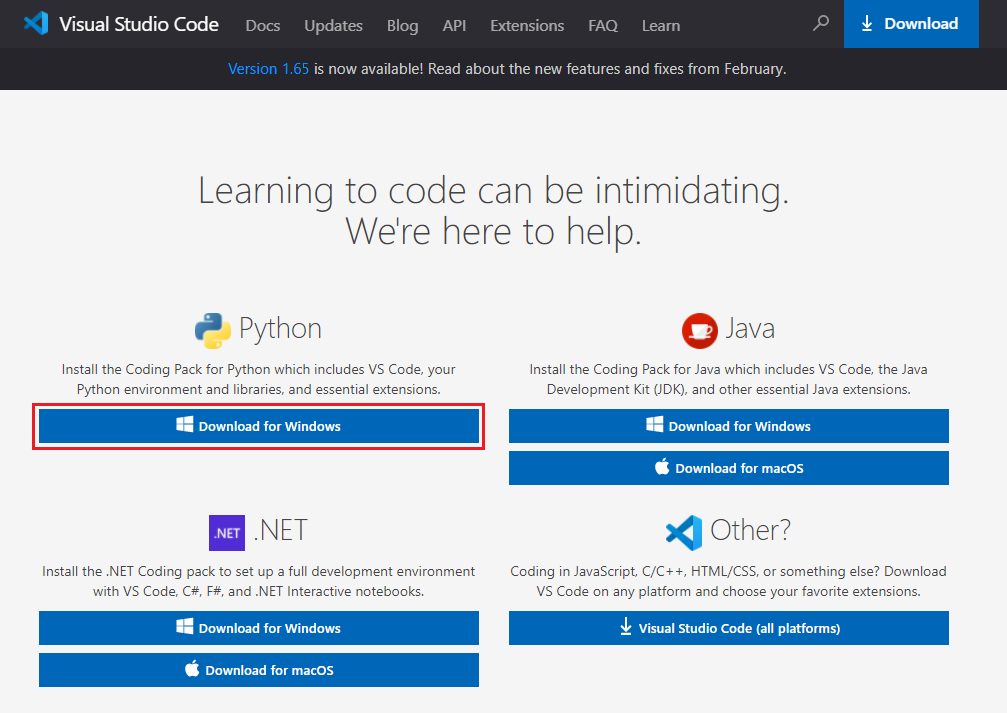
As mentioned before, Visual Studio Code is free. If you're using a Windows computer, you can download it on the Visual Studio Code learning page. Download the Coding Pack for Python, which will install Python and the necessary extensions as well. When the program has finished downloading, run the executable file to start the installation process.
Note
The picture below shows someone using Windows 11 with the Microsoft Edge browser. If you're using a macOS or Linux device, select the appropriate version from the dropdown or select (other downloads) to make the selection that best represents your system. We'll walk you through how to install Python and all of the necessary extensions in Unit 7 of this module.
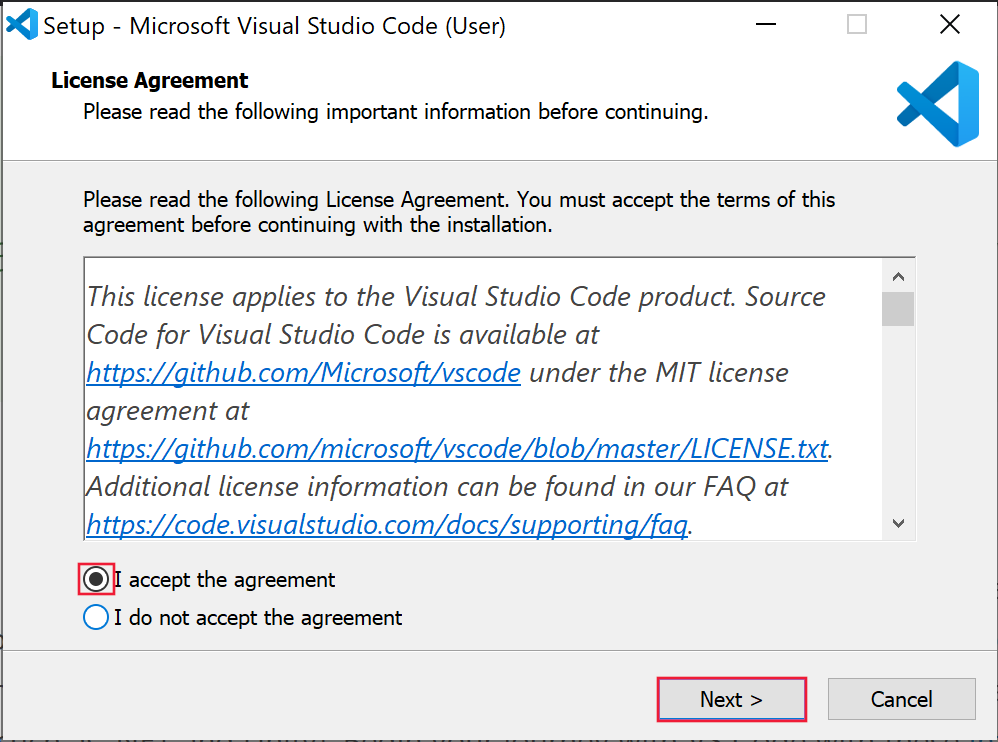
After you start the installation, you'll be asked to accept the license agreement and fill out your preferences for the application. You'll also be asked where to install the program. Read and accept the license agreement and then select Next.
Note
Under Select Additional Tasks, be sure to select Add to Path.
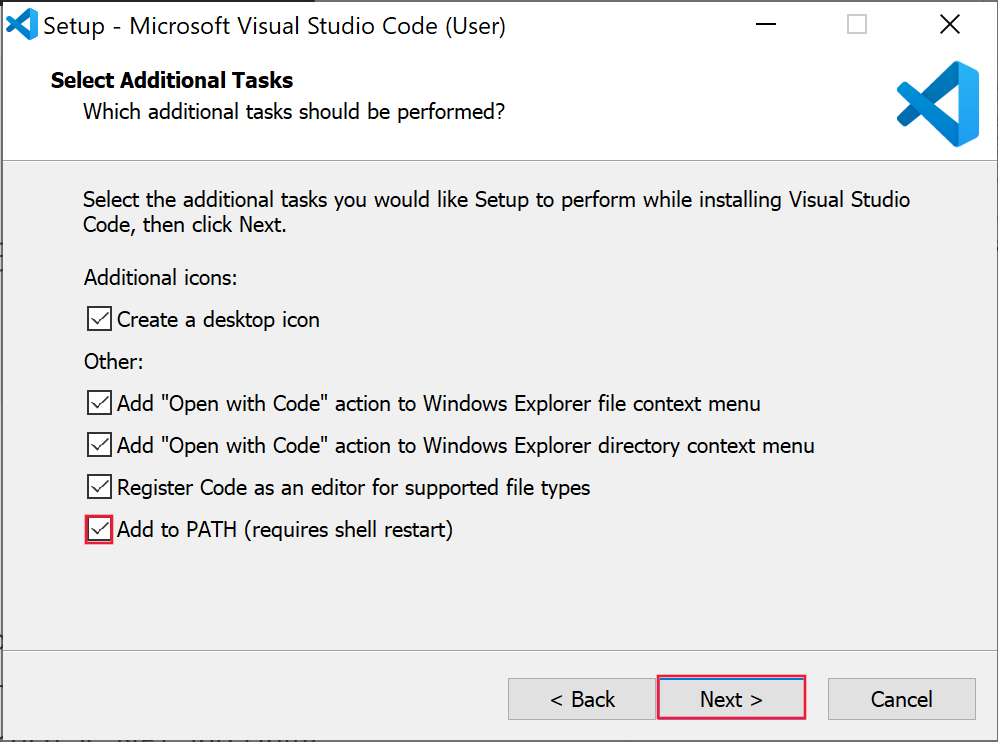
Finally, select Install on the last window to finish the installation.
Configure Visual Studio Code
After Visual Studio Code is installed, you may have the option to have it open on its own. If you can't see the start dialogue, just find the application on your computer and start it.
When you first come into Visual Studio Code, you'll be greeted with a Get Started window. Let's start by closing this window. You'll see on the left side of the screen that there are various icons that, when you select them, open other features of Visual Studio Code. Below is a brief overview of a few of the sections we'll be using.
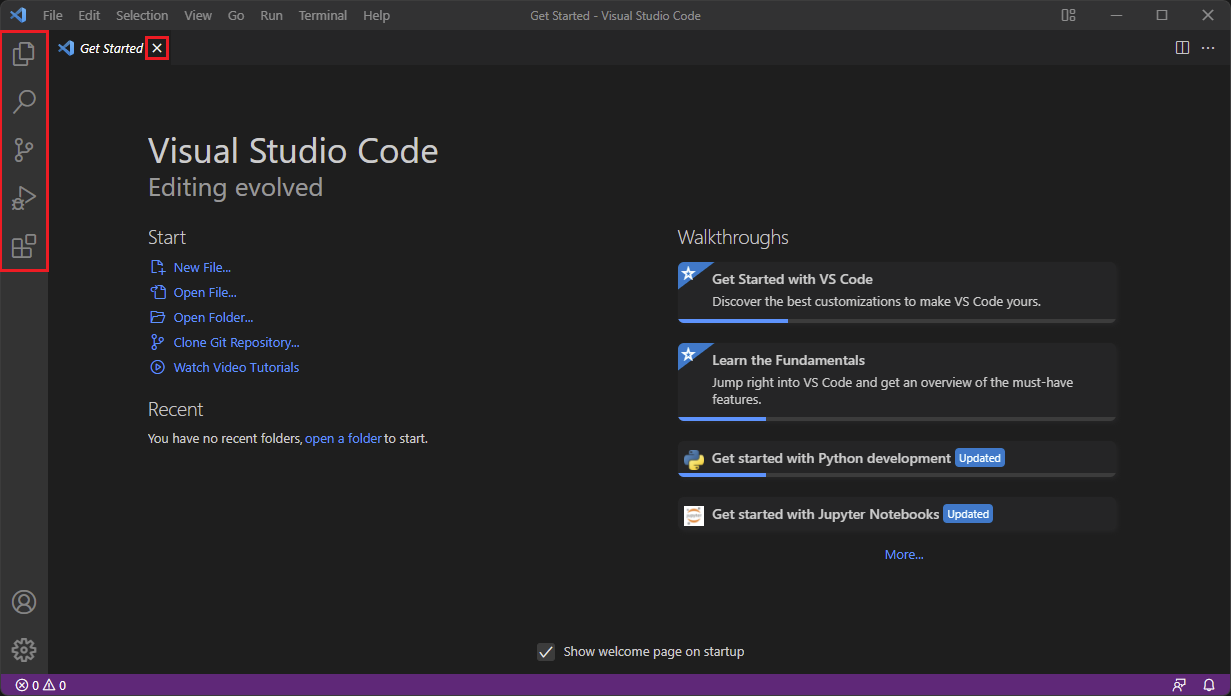
- Explorer: Shows the file(s) you have open and the contents of the folder, if you're in one
- Search: Allows you to look for a certain word or collection of words in your file
- Source control: Helps you write/share code with others
- Run and Debug: Run and debug the code you write
- Extensions: Shows all the additions people from across the globe have made. There are different color themes, programming languages, and more. You can install and customize Visual Studio Code as you like