Automate release notes with GitHub
After learning how to create and manage release tags in your repository, you'll learn how to configure the automatically generated release notes template from your GitHub releases.
You can generate an overview of the contents of a release, and you can also customize your automated release notes.
It's possible to use labels to create custom categories to organize pull requests you want to include or exclude specific labels and users from appearing in the output.
Creating automatically generated release notes
While configuring your release, you'll see the option Auto-generate release notes to include all changes between your tag and the last release. If you never created a release, it will consist of all changes from your repository.
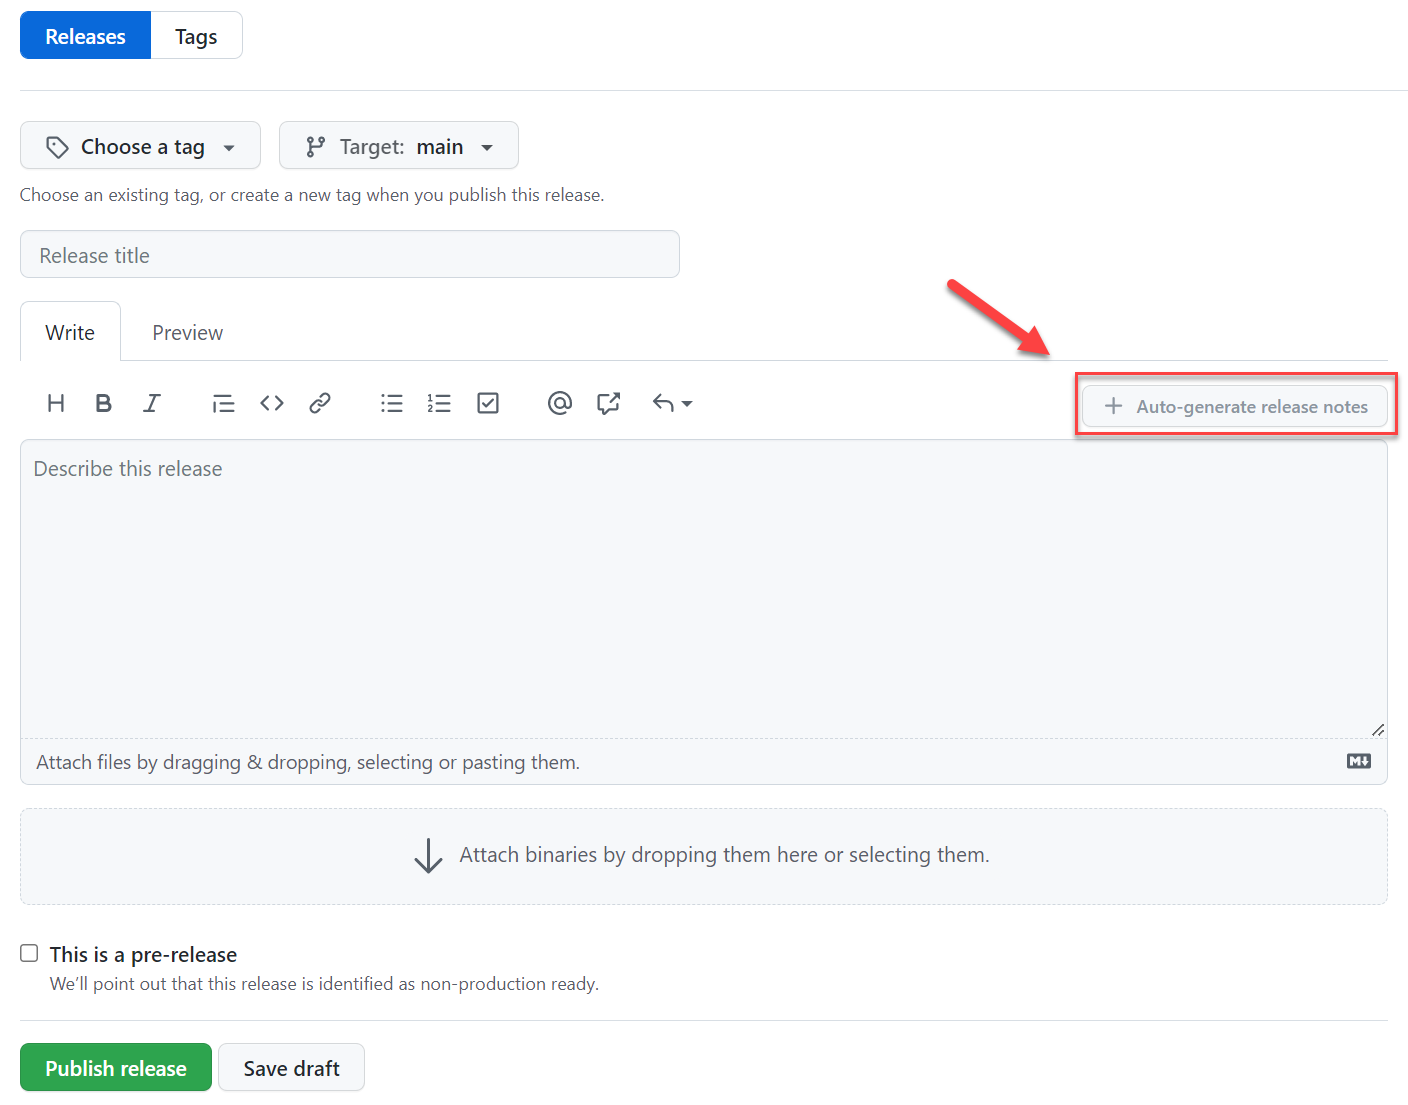
You can choose if you want to customize it or leave it as it is.
Configuring automatically generated release notes template
You can customize the auto-generate release notes template by using the following steps.
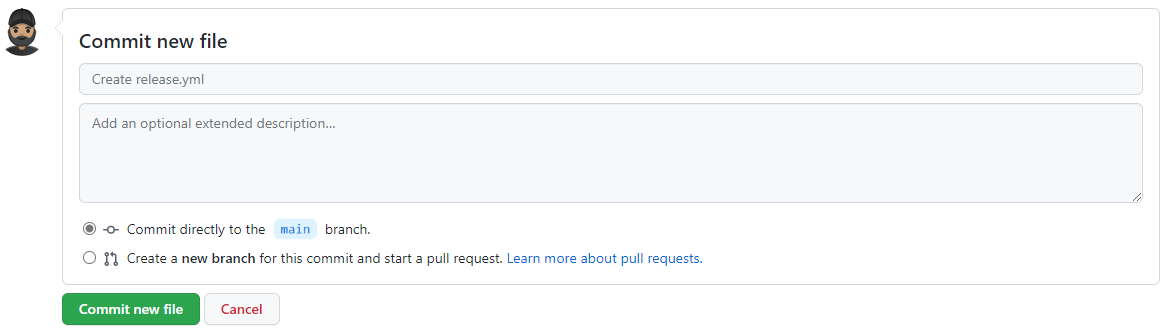
Navigate to your repository and create a new file.

You can use the name .github/release.yml to create the release.yml file in the .github directory.

Specify in YAML the pull request labels and authors you want to exclude from this release. You can also create new categories and list the pull request labels in each. For more information about configuration options, see Automatically generated release notes - GitHub Docs.
Example configuration:
# .github/release.yml

changelog:
  exclude:
    labels:
    - ignore-for-release
    authors:
    - octocat
  categories:
    - title: Breaking Changes 🛠
      labels:
        - Semver-Major
        - breaking-change
    - title: Exciting New Features 🎉
      labels:
        - Semver-Minor
        - enhancement
    - title: Other Changes
      labels:
        - *
Commit your new file.
Try to create a new release and click + Auto-generate release notes to see the template structure.
For more information, see: