Exercise - Use Microsoft Graph in your web application to retrieve a user's profile photo
You've learned all the concepts needed to access a user's profile by using Microsoft Graph. Now it's time to build a customer application that will retrieve and display the photo of a signed-in salesperson.
To successfully complete this unit, you need a user account (from your Microsoft 365 developer tenant, for example) with a profile picture available to use in the application.
Set up the app
In this exercise, you'll access a GitHub repository, add Microsoft Entra IDs into the app, and add code to access a photo by using Microsoft Graph. If you haven't created a Microsoft Entra app registration yet, complete the prerequisite module before continuing.
To get the initial app code used in this exercise, choose from one of the following options:
If you use Git, clone the project by using the git clone command:
git clone https://github.com/MicrosoftDocs/mslearn-retrieve-m365-data-with-msgraph-quickstart.gitIf you don't use Git, go to https://github.com/MicrosoftDocs/mslearn-retrieve-m365-data-with-msgraph-quickstart in the web browser. Select the Code button followed by Download ZIP. Extract the zip file to your machine.
Open the folder in your code editor.
The application contains the following files:
- index.html: Defines the interface that appears to a user when they access the website. It loads the Microsoft Authentication Library (MSAL) script and custom application scripts, provides a way for a user to sign in, and displays the user's name after they sign in.
- auth.js: Defines the MSAL configuration to associate the application with Microsoft Entra ID, signs in a user to the application, and handles retrieving an access token that Microsoft Graph can use.
- graph.js: Calls in to Microsoft 365 to access the signed-in
/meprofile. It relies on auth.js to retrieve the access token that's used for the Microsoft Graph API call. - ui.js: Handles user interface elements defined in index.html.
Open the auth.js file and find the constant
msalConfig:const msalConfig = { auth: { .. } }Replace the value of the
clientIdproperty with the copied Application (client) ID value from the Microsoft Entra application (spa-aad-app) that you registered earlier. You can get this value from the overview page of the Microsoft Entra application (spa-aad-app).In the same auth.js file, find the
msalConfig.auth.authorityproperty. Replace the<your directory ID here>value with the Directory (tenant) ID value of the Microsoft Entra application (spa-aad-app) that you registered earlier. You can get this value from the overview page of the Microsoft Entra application (spa-aad-app).The
msalConfigconstant should look similar to the following code, with the unique IDs from your Microsoft Entra tenant and registered application:const msalConfig = { auth: { clientId: 'b1a37248-53b5-430c-b946-ef83521af70c', authority: 'https://login.microsoftonline.com/b930540b-a147-45bb-8f24-bfbed091aa25', redirectUri: 'http://localhost:8080' } };Open the index.html file. Locate the line
<h4>Welcome <span id="userName"></span></h4>and add the following code immediately after it:<div> <button id="showProfilePhoto" style="display:none" onclick="displayProfilePhoto();">Show profile picture</button> </div> <img id="userPhoto" class="user" alt="User photo" style="display: none;" />In the same index.html file, find the
<head>tag. Add the following code to style the image element that you added in the previous step:<style> .user { border-radius: 50%; border-style: solid; border-width: 5px; height: 150px; width: 150px; } </style>Save the index.html file.
Open the graph.js file. Add a new function named
getUserPhoto()into the file as shown in the following code. This function will get the photo of the signed-in user by using the/me/photo/$valueMicrosoft Graph API endpoint.async function getUserPhoto() { ensureScope('user.read'); return await graphClient .api('/me/photo/$value') .get(); }Save the graph.js file.
Open the ui.js file and add a new function named
displayProfilePhoto()as shown in the following code. This function will display the image response received from Microsoft Graph in the image element that you created earlier.async function displayProfilePhoto() { const userPhoto = await getUserPhoto(); if (!userPhoto) { return; } //convert blob to a local URL const urlObject = URL.createObjectURL(userPhoto); // show user photo const userPhotoElement = document.getElementById('userPhoto'); userPhotoElement.src = urlObject; var showPhotoButton= document.getElementById('showProfilePhoto'); showPhotoButton.style = "display: none"; var imgPhoto= document.getElementById('userPhoto'); imgPhoto.style = "display: block"; }Open the ui.js file and add the following code to the end of the existing
displayUI()function. This code will show a button that a signed-in user can select to view their profile photo. The button will remain hidden if the user isn't signed in.var showPhotoButton= document.getElementById('showProfilePhoto'); showPhotoButton.style = "display: block";
Now that you've added the extra functions and code snippets to get the photo for a signed-in user, the next step is to run the app.
Run your app
You've now extended your app to show some of the user's files by using Microsoft Graph. Ensure there are some files in the root folder of the user's instance of OneDrive, and then run the app locally.
Preview the web app by executing the following command in the terminal:
npm startYour browser should point to
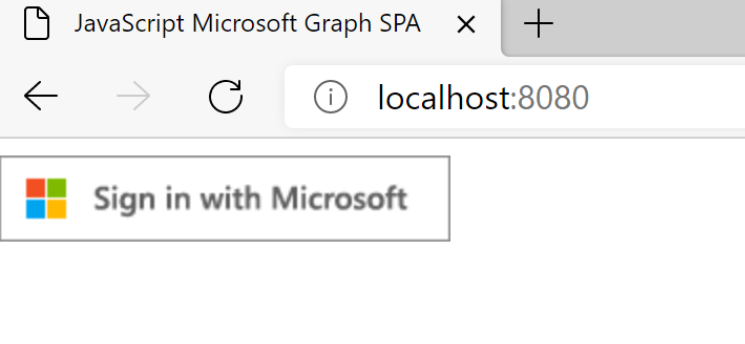
http://localhost:8080.Select the Sign in with Microsoft button to sign in with your Microsoft 365 account. Make sure the account you sign in with has a profile photo.
Sign in by using an account in the same Microsoft 365 developer tenant where you registered the Microsoft Entra application.
After you're signed in successfully, confirm that a welcome message and a button to show a profile photo appear.
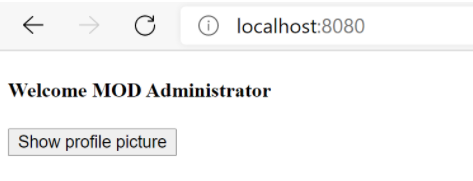
Select the Show profile picture button. The profile picture of the signed-in user appears. If the profile does not have a photo associated with it, no photo will be displayed.
