Exercise - Publish an ASP.NET app from Visual Studio
You have an ASP.NET Core web application running locally. In this exercise, you'll publish your application to Azure App Service.
Publish your ASP.NET Core web app to Azure
In Solution Explorer, right-click the AlpineSkiHouse project and select Publish.
In the dialog box that appears, select Azure as your publish target, then select Next to continue.
Select Azure App Service (Windows), and then select Next to continue.
Tip
ASP.NET Core apps are cross-platform. This means they support running on the Linux version of App Service with no code changes. However, the Linux version doesn't support a shared hosting model, so you'll be using a Windows App Service for this exercise.
In the Subscription drop-down, select Concierge Subscription.
Near the bottom edge of the dialog, select the Create a instance link to open the App Service (Windows) dialog.
Configure your new Azure App Service
If you're not already signed in, sign into Visual Studio with the account you're using with Microsoft Learn.
Enter the required information about your App Service plan.
Name: the name of your application. The name determines the URL of the published application, which will be https://<AppName>.azurewebsites.net. It must be a unique value. You might have to try out some different names to find one that is unique.
Subscription name: The Azure subscription you wish to deploy the app to. Select Concierge Subscription, which we provide to you through the sandbox.
Resource Group: Select the existing
[sandbox resource group name] resource group.Hosting Plan: The hosting plan specifies the location, size, and features of the web server farm that hosts your app. For this exercise, create a new hosting plan.
Select New next to the hosting plan. In the Configure Hosting Plan window that appears, change the Size to Shared and select OK.
Select Create to create your App Service resource in Azure. This action will take several seconds to complete.
After several seconds, the App Service (Windows) dialog window will disappear. Your new App Service displays in the list of App Service resources on the Publish dialog. Select Finish to finish creating the publishing profile. The Publish dialog disappears.
Your new publishing profile appears in the dropdown near the top of the property page. Select Publish to publish the web app to App Service.
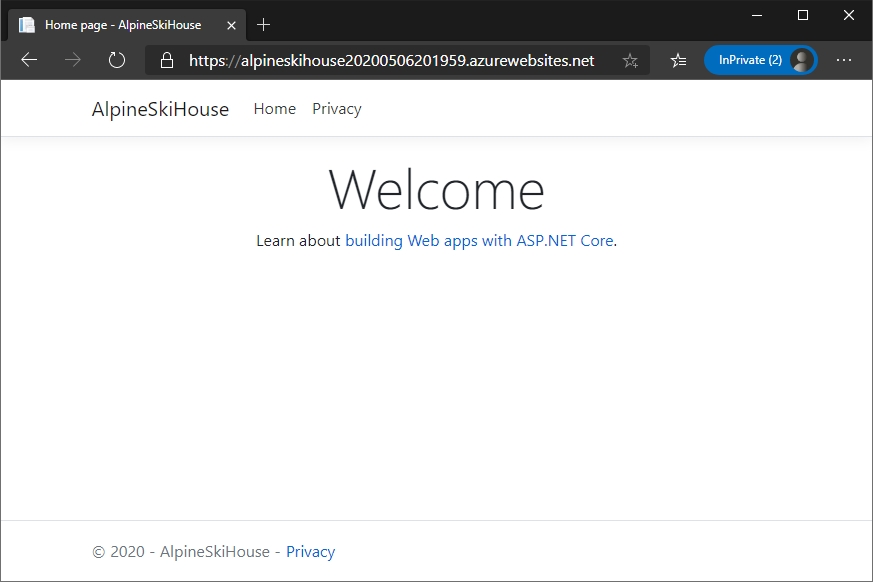
Congratulations! When you see a Publish succeeded message in the Output window, your ASP.NET Core web application is now published and live. The final URL for your site is in the build output and also on the publishing page in Visual Studio.
To test your website, go to the URL indicated. Visual Studio might also automatically launch this URL for you.
Note
If you can't locate the URL from the output, navigate to https://<AppName>.azurewebsites.net, where <AppName> is the name you provided earlier. For example: "https://alpineskihouse123.azurewebsites.net/".
You now have a live web app! Your Azure App Service plan has been created and the app is running and ready to accept updates.