Exercise - Create an API gateway
In this exercise, you deploy a sample web API, and you configure an API gateway. In a later unit, you publish the web API to your gateway.
In the shoe company example, NorthWind Shoes has decided to share an inventory API with partners. This API enables partners to access inventory and product information.
Important
You need your own Azure subscription to run this exercise, and you might incur charges. If you don't already have an Azure subscription, create a free account before you begin.
Deploy the ShoeCompany web API
You've developed a .NET Core app that generates inventory and product information. The app includes Swashbuckle to generate OpenAPI Swagger documentation.
To save time, let's start by running a script to host our RESTful API in Azure. The script performs the following steps:
- Creates an Azure App Service plan in the free tier.
- Creates a web API within an Azure App Service, configured for Git deployment from a local repo.
- Sets account-level deployment credentials for our app.
- Configures Git locally.
- Deploys our web API to our App Service instance.
Sign in to the Azure portal.
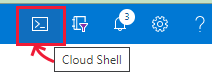
In the Azure taskbar, select the Cloud Shell icon to open Azure Cloud Shell.
Run the following
gitcommand in the Cloud Shell to clone the GitHub repo and download the source code for our app.git clone https://github.com/MicrosoftDocs/mslearn-publish-manage-apis-with-azure-api-management.gitAfter the operation has completed, open your local repo folder and list its contents by running the following commands.
cd mslearn-publish-manage-apis-with-azure-api-management
ls -l
One of the files is setup.sh. As its name suggests, it's the script we run to set up our test API.
Enter the following command to run this script. It generates a public web app that exposes an OpenAPI interface.
bash setup.shThe script takes about a minute to run. During deployment, all of the dependencies needed for our app to run are automatically installed on the remote App Service. The output lists all the operations. When the script finishes, the last two lines are the URLs that you use to test the app deployment.
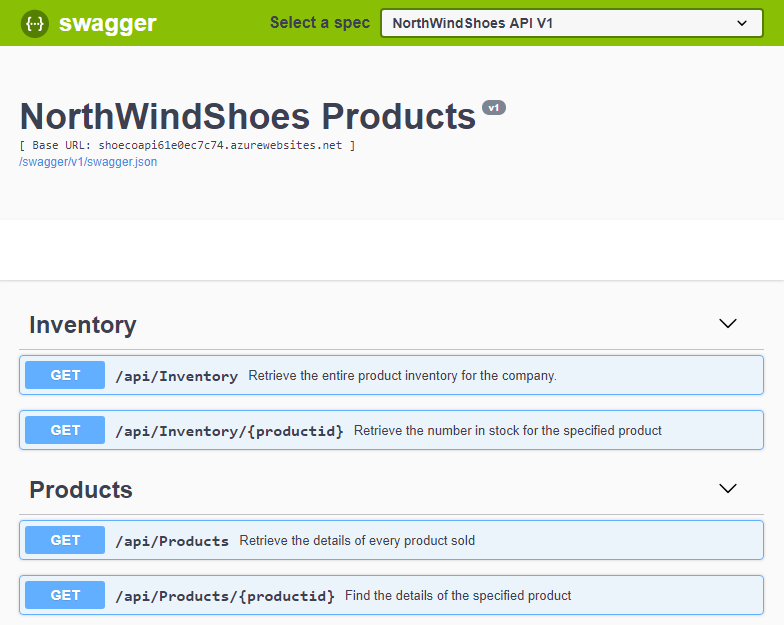
To test that our app deployed correctly, copy the first URL (Swagger URL) from Cloud Shell and paste it into a new tab of your browser.
The browser should display the swagger UI for our app and declare the following RESTful endpoints:
- api/inventory generates a list of products and the number in stock.
- api/inventory/{productid} returns the number in stock for the specified product ID (an integer).
- api/Products generates a list of products.
- api/Products/{productid} returns the details for the specified product ID.
Finally, copy the second URL (Swagger JSON URL) from the Cloud Shell output, and save it somewhere such as Notepad. You need this URL in the next exercise.
Deploy an API gateway
The final task in this exercise is to create an API gateway in the Azure portal. In the next exercise, you use this gateway to publish your API.
Sign in to the Azure portal.
In Azure services, or from the Home page, select Create a resource. The Create a resource pane appears.
In the resource menu, select Integration, and in the results, select API Management. The Create API Management service pane appears.
In the Basics tab, enter the following values for each setting.
Setting Value Project details Subscription Select your subscription. Resource group Select a new or existing resource group. A resource group is a logical container that holds related resources for an Azure solution. Instance details Region Select an available region. Resource Name apim-NorthWindShoes<random number>, replacingrandom numberwith your own series of numbers to ensure that the name is globally unique.Organization Name NorthWindShoes. The name of your organization for use in the developer portal and email notifications. (The developer portal and notifications aren't available in all service tiers.)Administrator Email The email address to receive all system notifications. Pricing Tier ConsumptionNote
The Consumption tier provides fast deployment for testing and has a pay-for-use pricing model. The overall API management experience is similar to the other pricing tiers.
Select Review + create to validate your settings.
When validation has passed, select Create. Deployment can take several minutes to complete.
When deployment has completed, your API Management instance is listed in the Azure resources. Select Go to resource to view the pane for your API Management service.