Exercise: Explore MySQL Workbench
Before you start
To complete these exercises, you must have:
- Created a resource group (see Module 1, Unit 5)
- Created an Azure Database for MySQL Flexible Server (see Module 1, Unit 5)
- If you stopped Azure Database for MySQL in the Azure portal at the end of Module 1, restart the instance now.
- Downloaded the scripts for this exercise from GitHub.
Download MySQL Workbench
Open a browser window and navigate to MySql Community Downloads.
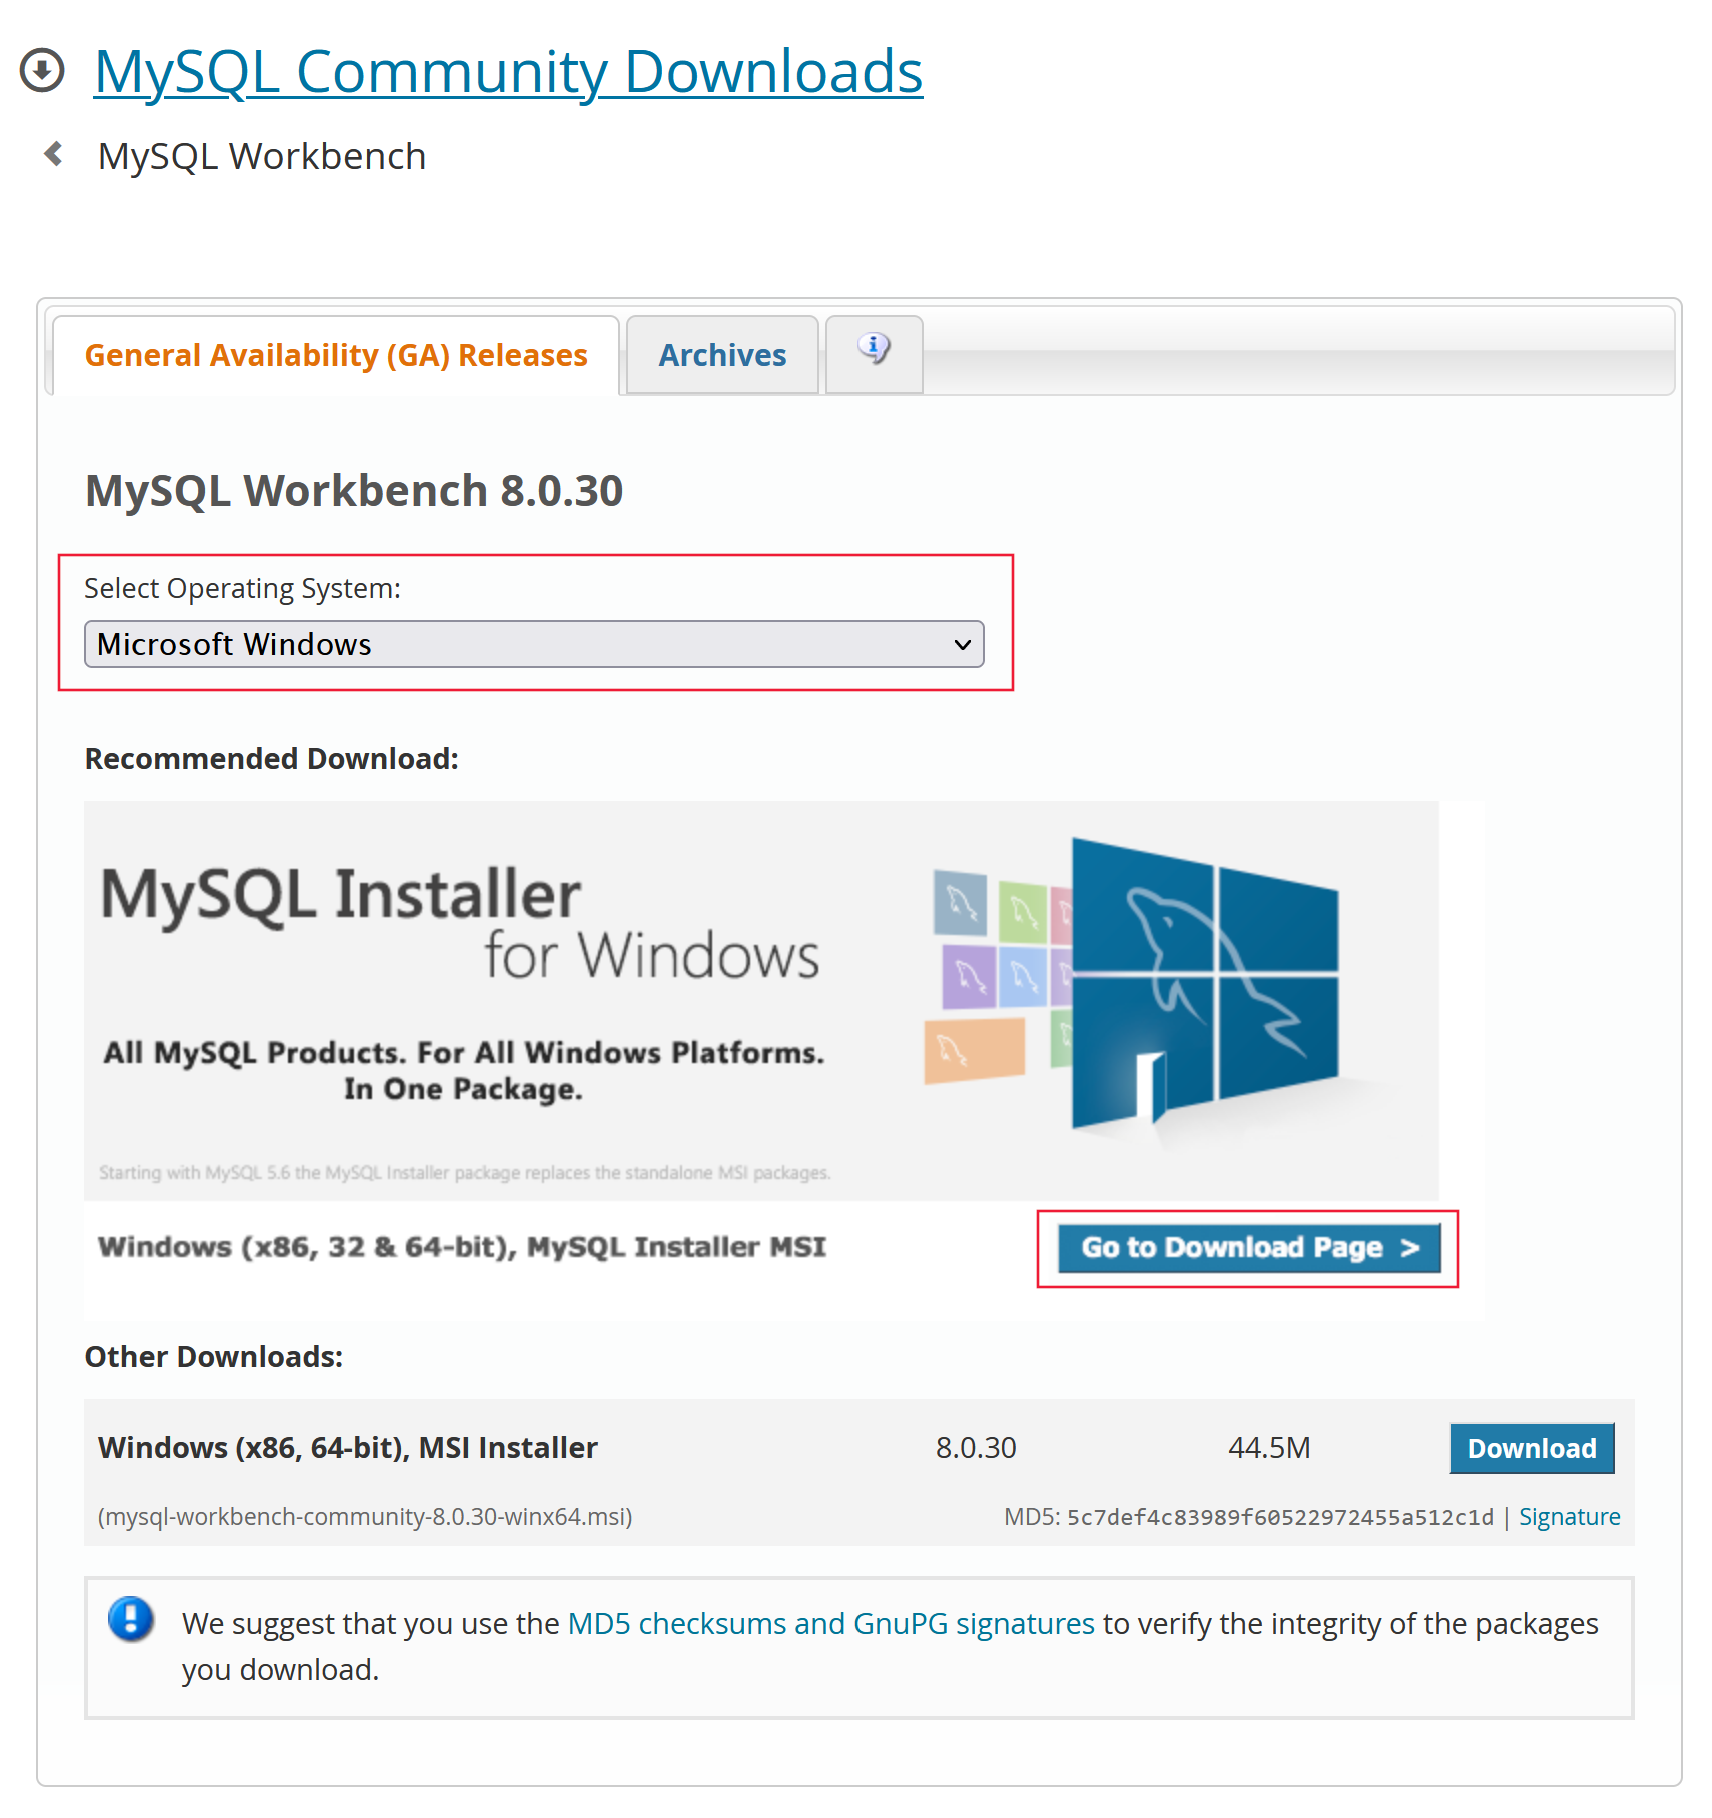
Select your Operating System from the drop-down list.
Select Go to Download Page.
Next to the smaller (web) download, select Download. If prompted, select No thanks, just start my download. The mysql-installer-web-community-8.0.28.0.msi downloads.

Install MySQL Workbench
Locate the mysql-installer-web-community-8.0.28.0.msi file and double-click it. The installer is started.
If Windows warns you that the app is not verified, select Install anyway. If the User Account Control dialog appears, select Yes.
The MySQL Installer wizard starts and shows the Choosing a Setup Type page. Select Custom and then select Next:

In the Select Products page, use the green double arrow to remove all items from the Products to be installed list.
In the Available products list, expand Applications > MySQL Workbench > MySQL Workbench 8.0.
Select MySQL Workbench 8.0.30 and then select the green right arrow. Select Next

On the Download page, select Execute. When the download is complete, select Next.
On the Installation page, select Execute.
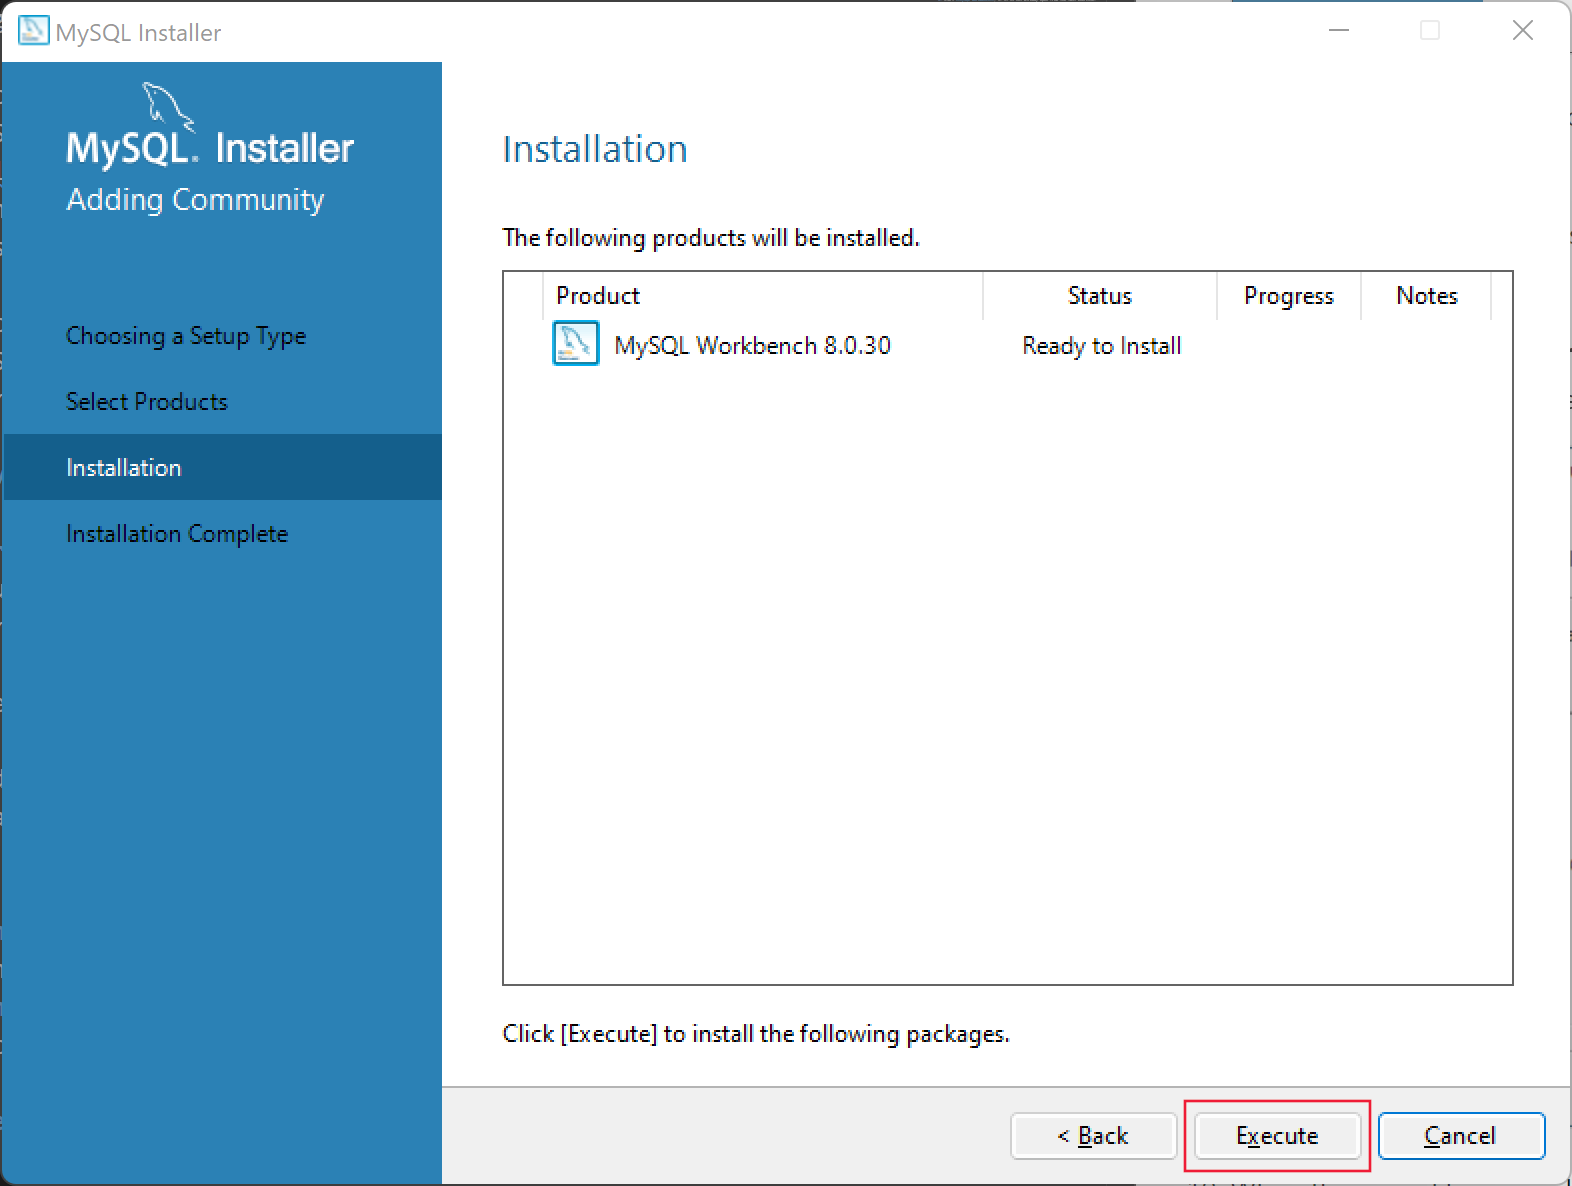
When the installation is complete, select Next.
On the Installation Complete page, select Finish. MySQL Workbench start.


Connect to a server
- Start MySQL Workbench, if it is not already open from the last exercise.
- From the top menu, select Database, Manage connections.
- At the bottom left, select New.
- In Connection Name, enter AzureMySQL.
- In Hostname, enter the fully qualified name of your Azure Database for MySQL flexible server that you created in Module 1. You can copy the name of the server from the Azure portal. Navigate to your Azure Database for MySQL flexible server, and from the Overview blade copy the server name. Paste this into the Hostname field.
- In Username, enter demo (the username used when you created the server).
- Select Store in Vault, and in Password enter Pa$$w0rd (the password you used when you created the server).
- Select Test Connection. If the details are correct, an acknowledgment is displayed.
- Select OK. If the connection details are correct, MySQL Workbench connects to Azure Database for MySQL and displays the navigator window, an empty query window and other user interface elements.
- Leave MySQL Workbench open for the next exercise.
Create a database
- Select the SQL+ icon to create a new query tab for executing queries.
- From the menu, select Database, and then Connect to Database. The stored connection you made in the previous step is displayed.
- Select OK. You are now connected to your Azure Database for MySQL Flexible server.
- Open script lab2_Zoodb.sql.
- From the menu, select Query, then Execute (All or Selection).
- In the Navigate pane, select the Schemas tab, and then select Refresh to view the database you have just created.
- Using the expand and collapse icons, inspect the tables.
When you have completed this exercise, in the Azure portal return to the Overview page and then select STOP to stop the server. This will prevent charges being incurred while you are not using it. The server will be used in the next module.