Attach receipts and documents to an expense report
You can attach electronic receipts, such as a travel itinerary or any other documents that are required by your company, to an expense report. You can also view receipts that are already attached. Some company policies require that receipts are added to the header level of the reports, while others require that they are attached at the line level. Attaching receipts to reports makes expense approval easier to validate rather than when they're physically mailed.
Attach receipts an expense report header
To attach receipts to the header of an expense report, follow these steps:
Before attaching receipts to your expense report, save them to your computer.
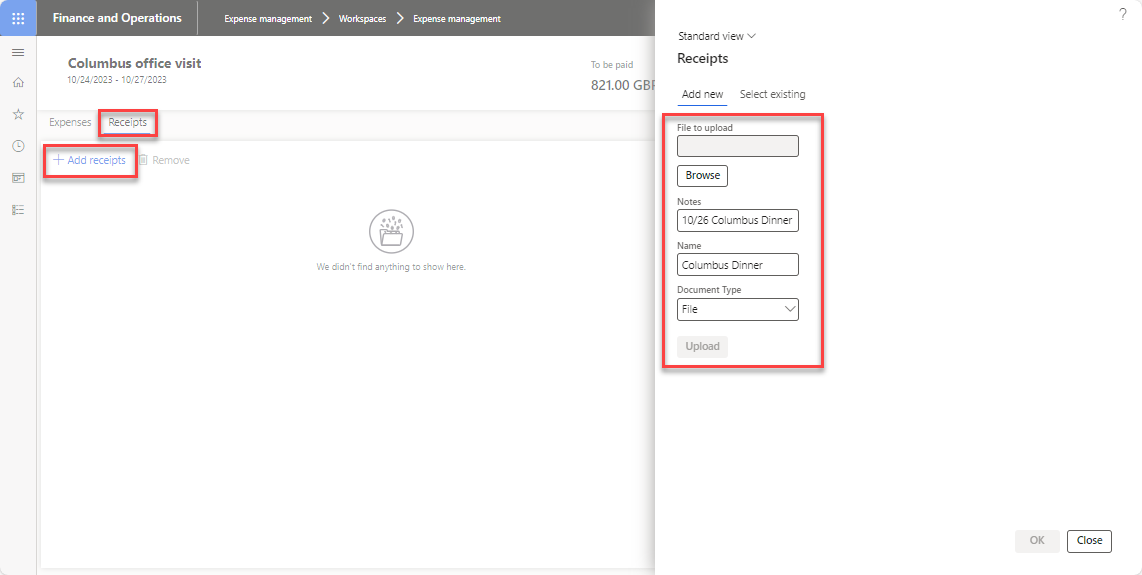
Select the Receipts tab.
Select Add receipts.
Select Browse to locate files on your computer. Select the appropriate document.
(Optional) Enter necessary notes in the Notes field.
Select Upload.
Select OK.
Attach receipts to an expense report line
If your company policies require that you attach receipts to an expense report line, follow these steps:
When the expense line is open, select Receipts Edit or select Actions > Attach receipt in the bottom left of the Category page.
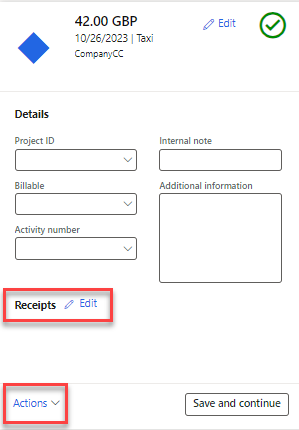
Select Add new.
Select Browse to locate files on your computer, and then select the appropriate document.
(Optional) Enter necessary notes in the Notes field.
Enter a name in the Name field.
Select Upload.
Select OK.

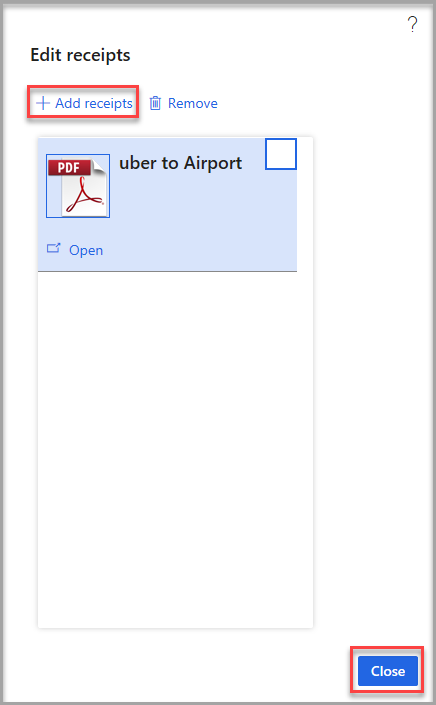
When uploaded, receipts appear in the Edit receipts page.
Continue selecting Add receipts until all receipts are uploaded.
Select Close.