Install Connected Field Service
Each exercise consists of a scenario and learning objectives, the scenario describes the purpose of the exercises, while the objectives are listed and have bullet points.
Create a trial, get a demo tenant or reset an existing test environment and configure it for Field Service. This installs the Dynamics 365 Field Service application. From this base deployment you will be configuring the Connected Field Service add-on. Make sure your lab environment has sample data enabled.
The labs will also require an Azure subscription and it is easiest if it is in the same tenant as your Dynamics 365 environment. It is possible to use a subscription that is in a different tenant but that requires extra steps that are not documented in the labs.
It is important that you do not complete these exercises in your production environment. Always do these labs in a demo or sandbox type instance.
This might take up to 30 minutes.
Note
See onboarding options for getting an environment and choose the model-driven apps in Dynamics 365 trial option.

Each exercise consists of a scenario and learning objectives, the scenario describes the purpose of the exercises, while the objectives are listed and have bullet points.
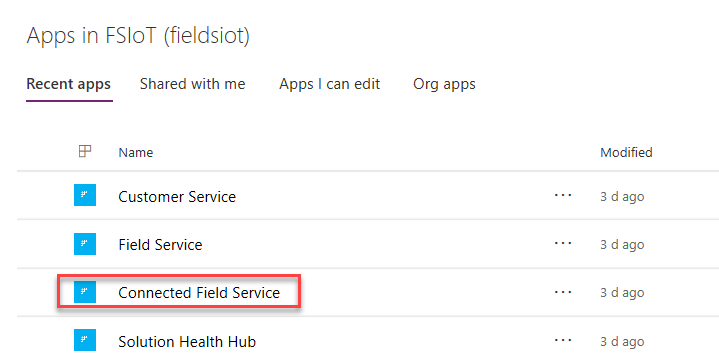
Navigate to Power Apps and make sure you are NOT in the default environment. The default environment will have your environment name with (default) as the suffix. You want to choose the other environment that you just configured. In some cases, it might take a little while for the new environment to show up on the list.
Select Apps and click to open the Connected Field Service application.
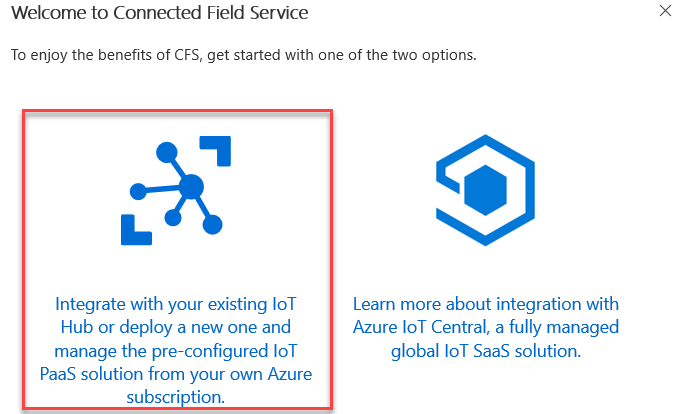
You should see a popup with Welcome to Connected Field Service message. Click Integrate.
Provide your Azure credentials and login.
Click Accept.
Review the Terms of Service and Privacy Statement and Accept if you agree.
Select your organization and click Next.
Select your Azure Subscription and click Next.
Note
If you get the message there were no subscriptions, you can sign up for the trial directly from there or you can sign in to a different account if you want to use an Azure subscription in a different tenant.
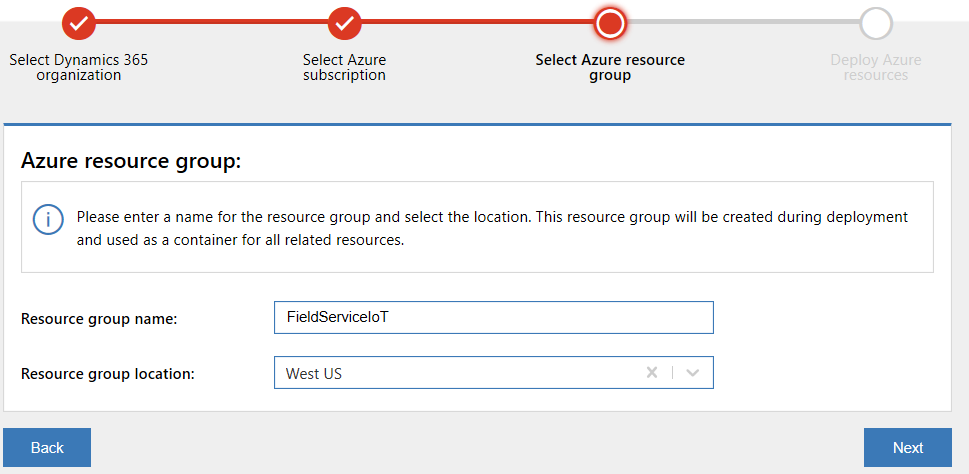
Provide FieldServiceIoT as Resource Group Name, select Group Location and click Next.
Click Deploy.
Deployment should start.
Wait for the deployment to complete. You should get progress status update, click Show Details. This can take up to 10 minutes.
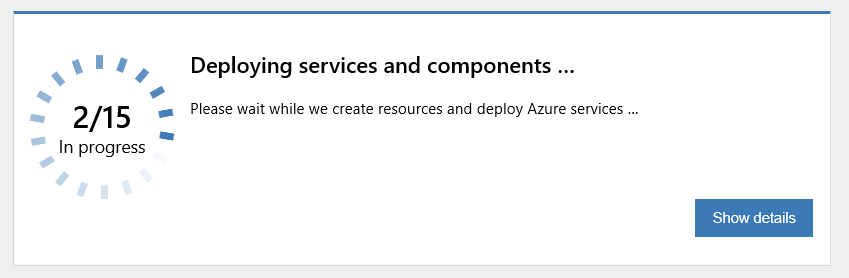
Confirm the deployment was successful before you proceed to the next steps.
Click Authorize Connector in Azure.

Sign in with your Azure credentials and you will be navigated to Azure portal.
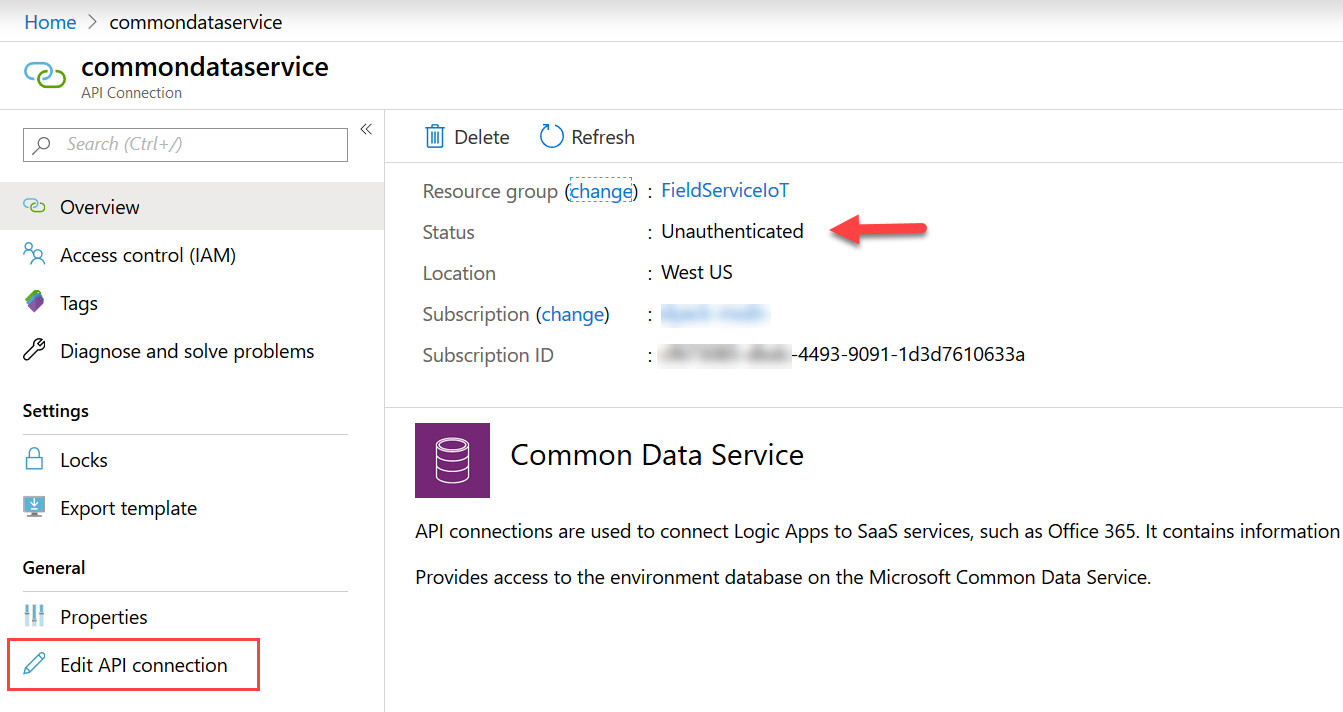
Click Edit API Connection in the left navigation.
Click Authorize.
Sign in with your Dynamics 365 credentials.
Click Save.
You have now completed your Connected Field Service installation. You can now download and deploy some demo data.