GitHub is a collaborative platform
Like we mentioned earlier, collaboration is at its core of everything GitHub does.
We went over repositories in the first unit of the module and learned that repositories help you organize your project and its files.
The last unit, we learned about pull requests, a way to keep track of changes made to your project.
In this unit, we're learning about issues and discussions, two other pieces that contribute to the collaborative nature of the GitHub Enterprise Platform.
Issues
GitHub Issues were created to track ideas, feedback, tasks, or bugs for work on GitHub.
Issues can be created in various ways, so you can choose the most convenient method for your workflow.
For the walk-through in the next portion, we'll go over how to create an issue from a repository but just know there are a myriad of ways. Here's a list of all the ways you can create issues from.
The different ways to create an issue from:
- a repository
- an item in a task list
- a note in a project
- a comment in an issue or pull request
- a specific line of code
- or a URL query
Creating an issue from a repository
On GitHub.com, navigate to the main page of the repository.
Under your repository name, select Issues.

Select New issue.
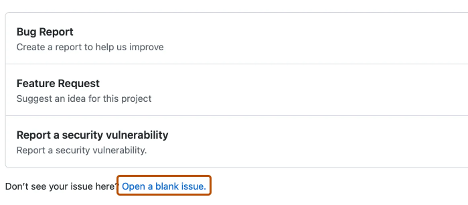
If your repository uses issue templates, next to the type of issue you'd like to open, select Get started.
If the type of issue you'd like to open isn't included in the available options, select Open a blank issue.
In the Add a title field, enter a title for your issue.
In the Add a description field, type a description of your issue.
If you're a project maintainer, you can assign the issue to someone, add it to a project board, associate it with a milestone, or apply a label.
When you're finished, select Submit new issue.
Some conversations are more suitable for GitHub Discussions.
You can use GitHub Discussions to ask and answer questions, share information, make announcements, and conduct or participate in conversations about a project.
In the next section, we’ll review Discussions and how to best utilize the feature.
Discussions
Discussions are for conversations that need to be accessible to everyone and aren't related to code. Discussions enable fluid, open conversation in a public forum.
In this section we're going over:
- Enabling a discussion in your repository
- Creating a new discussion and various discussion categories
Let’s dive into enabling a discussion in your repository.
Enabling a discussion in your repository
Repository owners and people with Write access can enable GitHub Discussions for a community on their public and private repositories. The visibility of a discussion is inherited from the repository the discussion is created in.
When you first enable GitHub Discussions, you're invited to configure a welcome post.
On GitHub.com, navigate to the main page of the repository.
Under your repository name, select Settings.

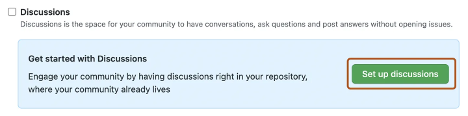
Scroll down to the Features section and under Discussions, select Setup discussions.
Under Start a new discussion, edit the template to align with the resources and tone you want to set for your community.
Select Start discussion.
You're now ready to create a new discussion.
Create a new discussion
Any authenticated user who can view the repository can create a discussion in that repository.
Similarly, since organization discussions are based on a source repository, any authenticated user who can view the source repository can create a discussion in that organization.
On GitHub.com, navigate to the main page of the repository or organization where you want to start a discussion.
Under your repository or organization name, select Discussions.

On the right side of the page, select New discussion.
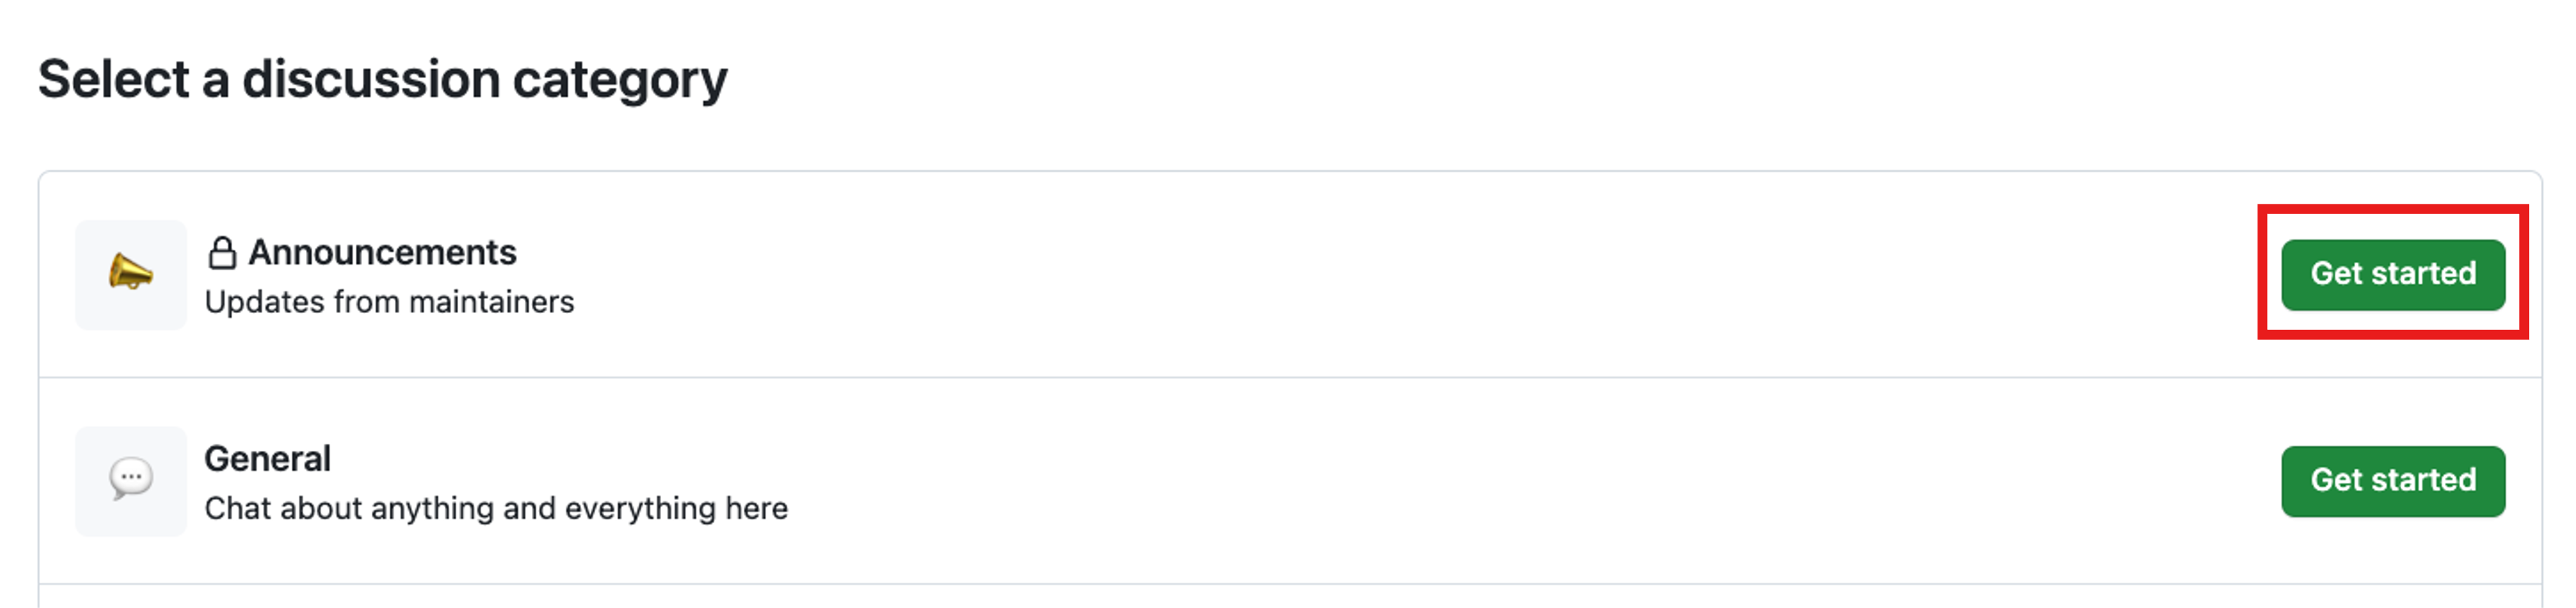
Select a discussion category by selecting Get started. All discussions must be created in a category. For repository discussions, people with maintain or admin permissions to the repository define the categories for discussions in that repository.
Each category must have a unique name and emoji pairing, and a detailed description stating its purpose. Categories help maintainers organize how conversations are filed and are customizable to help distinguish categories that are Q&A or more open-ended conversations. The following table shows the default categories for discussions and their purpose.
| Category | Purpose | Format |
|---|---|---|
| 📣 Announcements | Updates and news from project maintainers | Announcement |
| #️⃣ General | Anything and everything relevant to the project | Open-ended discussion |
| 💡 Ideas | Ideas to change or improve the project | Open-ended discussion |
| 🗳️ Polls | Polls with multiple options for the community to vote for and discuss | Polls |
| 🙏 Q&A | Questions for the community to answer, with a question/answer format | Question and Answer |
| 🙌 Show and tell | Creations, experiments, or tests relevant to the project | Open-ended discussion |
Under Discussion title enter a title for your discussion, and under Write enter the body of your discussion.
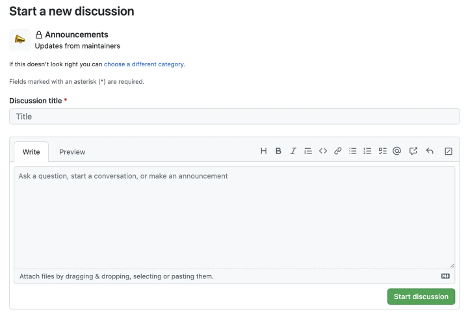
Select Start discussion.
That covers a little about how GitHub inspires collaboration. Now let's move to how you can manage notifications, subscribe to threads, and get started with GitHub pages.