Create and assign the RBAC role
In an Azure Virtual Desktop host pool, the session hosts need to be powered on for users to be able to connect to their sessions. The more users logging in, the more session hosts need to be on to accommodate the user sessions. The problem is that keeping session host VMs running 24x7 can be very expensive as you end up paying for both compute and storage costs around the clock. Autoscale is Azure Virtual Desktop’s native scaling feature that allows you to input scaling configurations for different days of the week and times of the day. Given this scaling configuration, Autoscale automatically turns on VMs according to your schedule and turns them off so that you no longer have to pay for unnecessary compute costs.
This unit covers how the Autoscale feature works and how to set it up.
Create a custom RBAC role
This section explains what an RBAC role is and will walk you through how to create one in the Azure portal and assign it to the Azure Virtual Desktop service principle.
What is RBAC and why is it necessary?
RBAC stands for role-based access control and is a way for you to grant read, write, and action permissions to Azure Virtual Desktop and Azure Compute to access the Azure VMs and host pools in your subscription. Without creating this RBAC role, Autoscale will not be able to, for example, make API calls to Azure compute on your behalf to start or stop the VMs. It will also let the service apply actions on both host pools and VMs when there are no active user sessions. Creating this custom RBAC role is a crucial step in setting up Autoscale.
Create custom RBAC roles
This unit will walk you through the process of creating a custom RBAC role in the Azure portal. For more information on custom RBAC roles, visit Create a Custom Role
Sign in to Azure portal
Go to Subscriptions.
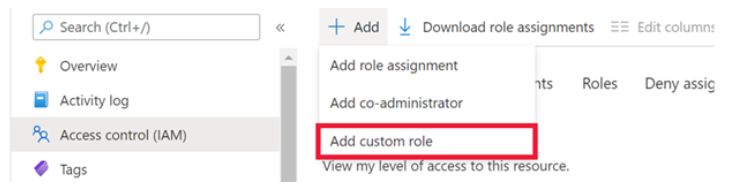
Select the + button in the top left-hand corner of the screen, then select Add custom role from the drop-down menu, as shown in the following screenshot.
Next, name the custom role and add a description. We recommend you name the role "Autoscale."
On the Permissions tab, add the following permissions to the subscription you're assigning the role to:
"Microsoft.Insights/eventtypes/values/read" "Microsoft.Compute/virtualMachines/deallocate/action" "Microsoft.Compute/virtualMachines/restart/action" "Microsoft.Compute/virtualMachines/powerOff/action" "Microsoft.Compute/virtualMachines/start/action" "Microsoft.Compute/virtualMachines/read" "Microsoft.DesktopVirtualization/hostpools/read" "Microsoft.DesktopVirtualization/hostpools/write" "Microsoft.DesktopVirtualization/hostpools/sessionhosts/read" "Microsoft.DesktopVirtualization/hostpools/sessionhosts/write" "Microsoft.DesktopVirtualization/hostpools/sessionhosts/usersessions/delete" "Microsoft.DesktopVirtualization/hostpools/sessionhosts/usersessions/read" "Microsoft.DesktopVirtualization/hostpools/sessionhosts/usersessions/sendMessage/action"
When finished, select Ok.
Assign the custom RBAC role to AVD
After you have created the custom RBAC role, it needs to be assigned to the Windows Virtual Desktop service principle. Note that it may take a few minutes for the role that you have just created to get propagated in the roles list.
To assign the custom role to grant access:
In the Access control (IAM) tab, select Add role assignments.
Select the role you just created and continue to the next screen.
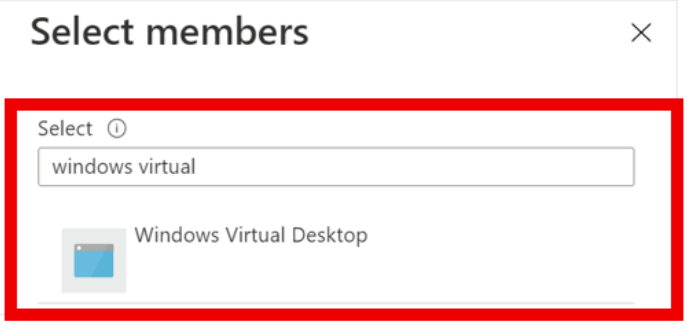
Select +Select members. In the search bar, enter and select Windows Virtual Desktop, as shown in the following screenshot. When you have both an Azure Virtual Desktop (classic) deployment and an Azure Virtual Desktop with Azure Resource Manager deployment, you will see two apps with the same name. Select them both.
Select Review + assign to complete the assignment.