Exercise - Implement application resiliency
The eShop project has two services that communicate with each other using HTTP requests. The Store service calls the Product service to get the list of all the current products available to buy.
The current version of the app has no resiliency handling. If the Product service is unavailable, the Store service returns an error to the customers and asks them to try again later. This behavior isn't a good user experience.
Your manager asks you to add resilience to the app, so that the Store service retries the backend service call if it fails.
In this exercise, you add resiliency to an existing cloud-native app and test your fix.
Open the development environment
You can choose to use a GitHub codespace that hosts the exercise, or complete the exercise locally in Visual Studio Code.
To use a codespace, create a preconfigured GitHub Codespace with this Codespace creation link.
GitHub takes several minutes to create and configure the codespace. When the process completes, you see the code files for the exercise. The code to use for the remainder of this module is in the /dotnet-resiliency directory.
To use Visual Studio Code, clone the https://github.com/MicrosoftDocs/mslearn-dotnet-cloudnative repository to your local machine. Then:
- Install any system requiements to run Dev Container in Visual Studio Code.
- Make sure Docker is running.
- In a new Visual Studio Code window open the folder of the cloned repository
- Press Ctrl+Shift+P to open the command palette.
- Search: >Dev Containers: Rebuild and Reopen in Container
- Select eShopLite - dotnet-resiliency from the drop down. Visual Studio Code creates your development container locally.
Build and run the app
In the bottom panel, select to the TERMINAL tab and run the following command go to the code root:
cd dotnet-resiliencyRun the following command to build the eShop app images:
dotnet publish /p:PublishProfile=DefaultContainerOnce the build completes, run the following command to start the app:
docker compose upIn the bottom panel, select to the PORTS tab, then in the Forwarded Address column of the table, select the Open in Browser icon for the Front End (32000) port.
If you're running the app locally, open a browser window to view
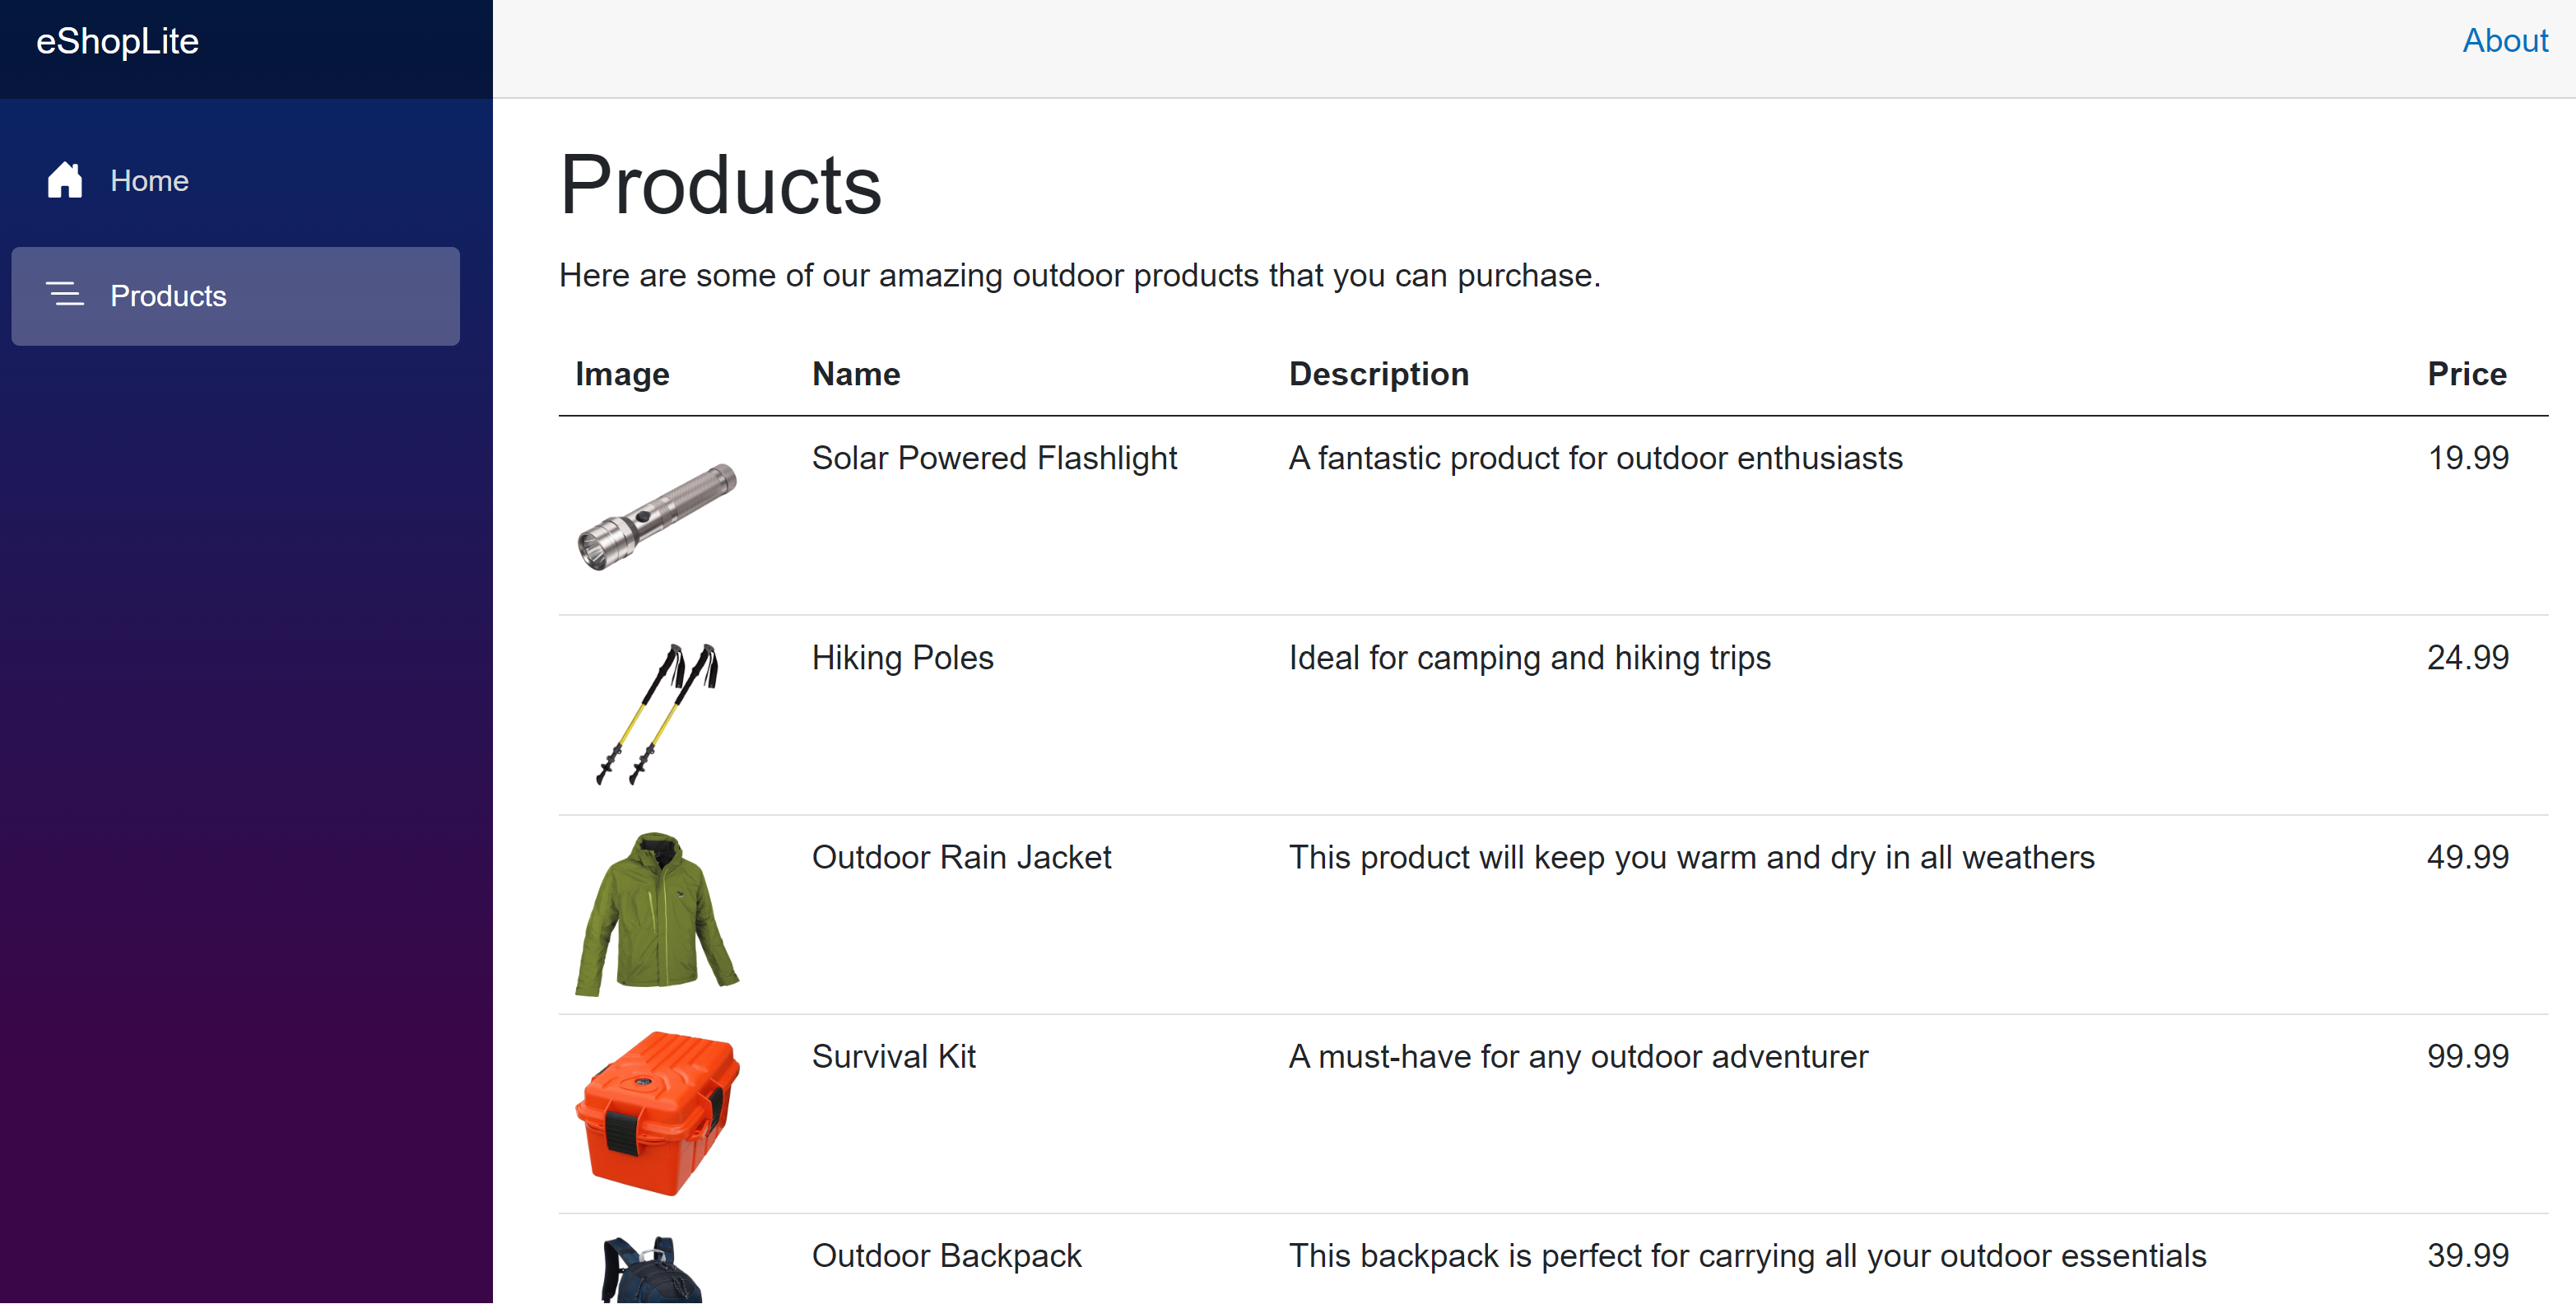
http://localhost:32000/products.The eShop app should be running. Select the Products menu item, you should see the list of products.
Test the current resiliency
Stop the product service to see what happens to the app.
Go back to your codespace, and in the TERMINAL tab select + to open a new bash terminal.
Run the following docker command to list the running containers:
docker psYou should see the list of currently running containers, for example:
CONTAINER ID   IMAGE                                                                            COMMAND                  CREATED          STATUS          PORTS                                                        NAMES
c08285e8aaa4   storeimage                                                                       "dotnet Store.dll"       8 minutes ago    Up 8 minutes    80/tcp, 443/tcp, 0.0.0.0:5902->8080/tcp, :::5902->8080/tcp   eshoplite-frontend-1
6ba80f3c7ab0   productservice                                                                   "dotnet Products.dll"    8 minutes ago    Up 8 minutes    80/tcp, 443/tcp, 0.0.0.0:5200->8080/tcp, :::5200->8080/tcp   eshoplite-backend-1
cd0c822a5222   vsc-eshoplite-958868d22c9851dd911b2423199bfc782861d1a8f7afac48e5096a1b7516082f   "/bin/sh -c 'echo Co…"   27 minutes ago   Up 27 minutes
Look for the CONTAINER ID for the productservice container. In the above example, the ID is 6ba80f3c7ab0.
Stop your product service with this docker command:
docker stop <CONTAINER ID>Where the
<CONTAINER ID>is the ID you found in the previous step. For example:docker stop 6ba80f3c7ab0Go back to the browser tab running the app and refresh the page. You should see an error message:
There is a problem loading our products. Please try again later.
Go back to your codespace, and in the TERMINAL select the docker terminal and press Ctrl+C to stop the app. You should see:
Gracefully stopping... (press Ctrl+C again to force)
Aborting on container exit...
[+] Stopping 2/1
 ✔ Container eshoplite-frontend-1  Stopped                                                                      0.3s
 ✔ Container eshoplite-backend-1   Stopped                                                                      0.0s
canceled
Add resiliency to the app
The first steps to make your app more resilient are to add the Microsoft.Extensions.Http.Resilience NuGet package to the project. You can then use it in Program.cs.
Add the Microsoft.Extensions.Http.Resilience package
In your codespace, on the TERMINAL tab, navigate to the Store project folder:
cd StoreRun the following command to add the resiliency NuGet package:
dotnet add package Microsoft.Extensions.Http.ResilienceRunning this command from the terminal in the apps project folder adds the package reference to the Store.csproj project file.
In the EXPLORER sidebar, select Program.cs.
At the top of the file, add the following using statement:
using Microsoft.Extensions.Http.Resilience;
Add a standard resilience strategy
At Line 13, before ;, add this code:
.AddStandardResilienceHandler()Your code should look like this:
builder.Services.AddHttpClient<ProductService>(c =>
{
    var url = builder.Configuration["ProductEndpoint"] ?? throw new InvalidOperationException("ProductEndpoint is not set");

    c.BaseAddress = new(url);
}).AddStandardResilienceHandler();
The above code adds a standard resilience handler to the HTTPClient. The handler uses all the default settings for the standard resilience strategy.
No other code changes are needed to your app. Let's run the app and test the resiliency.
Run the following commands to rebuild the eShop app:
cd ..
dotnet publish /p:PublishProfile=DefaultContainer
When the build completes, run the following command to start the app:
docker compose upGo back to the browser tab running the app and refresh the product page. You should see the list of products.
Go back to your codespace, and in the TERMINAL tab select the second bash terminal. Copy the CONTAINER ID for the productservice container.
Rerun the docker stop command:
docker stop <CONTAINER ID>Go back to the browser tab running the app and refresh the product page. This time, it should take a little longer until you see the apps error message:
There's a problem loading our products. Please try again later.
Let's check the logs to see if our resilience strategy is working.
Go back to your codespace, and in the TERMINAL tab select the docker terminal.
In the terminal, press Ctrl+C to stop the app running.
In the log messages, scroll up until you find references to Polly.
eshoplite-frontend-1  | warn: Polly[3]
eshoplite-frontend-1  |       Execution attempt. Source: 'ProductService-standard//Standard-Retry', Operation Key: '', Result: 'Name or service not known (backend:8080)', Handled: 'True', Attempt: '2', Execution Time: '27.2703'
You should see many messages like this; each one is a retry attempt. The above message shows the second attempt, and the time it took to execute.
Configure a resilience strategy
When you add resiliency to your app you're balancing the need to respond quickly to your users, with the need to not overload any backend services. Only you can decide if the default options meet your businesses needs.
In this example, you'd like the store service to wait a little longer, to give the store service a chance to recover.
In the code window for Program.cs, change the code at line 13 to:
.AddStandardResilienceHandler(options =>
{
    options.Retry.MaxRetryAttempts = 7;
});
The above code changes the retry strategy defaults to have a maximum number of retires to seven. Remember the strategy is an exponential backoff, so the total time is around 5 minutes.
Stop docker up with Ctrl+C. Then run the following command to rebuild the eShop app:
dotnet publish /p:PublishProfile=DefaultContainerWhen the build completes, run the following command to start the app:
docker compose upStop the backend service container in the bash terminal and refresh the eShop. Note it takes longer to see the error message. If you check the logs though, you can see that the retry strategy only retried five times. The last message from Polly is:
Polly.Timeout.TimeoutRejectedException: The operation didn't complete within the allowed timeout of '00:00:30'.The above message tells you that the total request timeout stops the maximum number of retries from being reached. You can fix the problem by increasing the total request timeout.
In the terminal, press Ctrl+C to stop the app.
In the code window for Program.cs, change the code at line 13 to:
.AddStandardResilienceHandler(options =>
{
    options.Retry.RetryCount = 7;
    options.TotalRequestTimeout = new HttpTimeoutStrategyOptions
    {
        Timeout = TimeSpan.FromMinutes(5)
    };
});
The above code changes the total request timeout to 260 seconds, which is now longer than the retry strategy.
With these changes you should have enough time to run the app, stop the product service, check the terminal logs for retry attempts, refresh the eShop to see the loading message, and finally restart the product service to successfully see the list of products.
Run the following command to rebuild the eShop app:
dotnet publish /p:PublishProfile=DefaultContainerWhen the build completes, run the following command to start the app:
docker compose up
Test the new resiliency options
To help test the app in your container, use the Docker extension. The extension provides a GUI to view and control the state of containers.
From the left menu, select the Docker icon.

In the DOCKER panel, under CONTAINERS, right-click the products container and select Stop.
Go back to the browser tab running the app and refresh the product page. You should see the Loading... message.
Go back to your codespace, and in the TERMINAL tab, select the docker terminal. The resilience strategy is working.
In the DOCKER panel, under CONTAINERS, right-click the products container and select Start.
Go back to the browser tab running the app. Wait and the app should recover showing the list the products.
In the Terminal, stop docker with Ctrl+C.
