Exercise - Retrieve and display list data with the SharePoint REST API
In this exercise, you'll create a SharePoint Framework (SPFx) web part that will get and display data from a SharePoint list using the SharePoint REST API.
Create a SharePoint list to use for testing
Before you can get display data from a SharePoint list using the SharePoint REST API, you'll first need to create a list and populate it with some data.
In a browser, navigate to a site collection in SharePoint Online. Select Site Contents in the left-hand navigation and then select New > List in the toolbar.
Select the Blank list template.
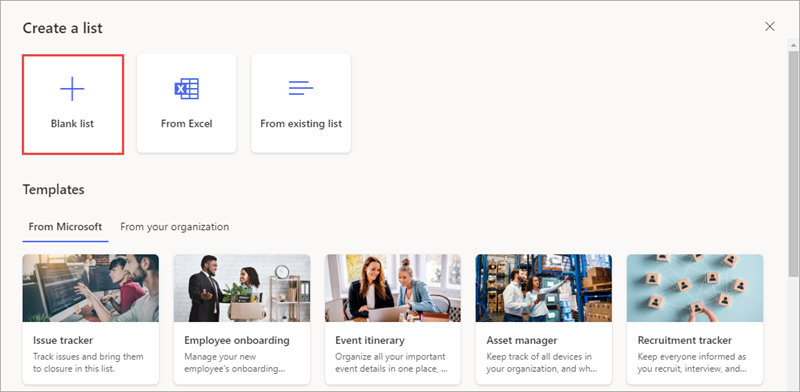
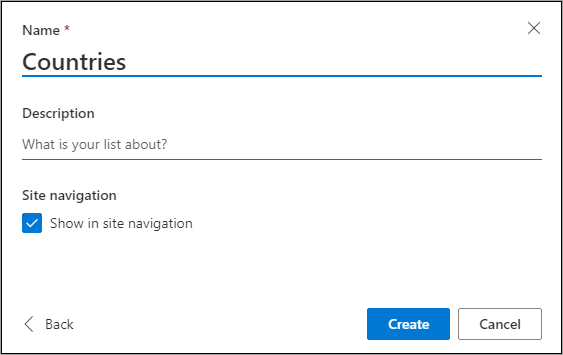
Set the list name to Countries and select Create.
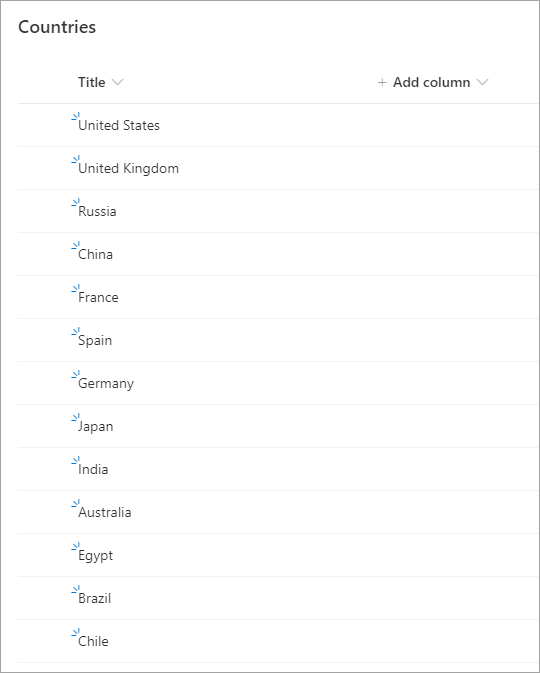
Add items to the list by entering the names of different countries/regions as shown in the following image.
Prerequisites
Important
In most cases, installing the latest version of the following tools is the best option. The versions listed here were used when this module was published and last tested.
- Node.js - v16.*
- Gulp-cli - v2.3.*
- Yeoman - v4.3.*
- Yeoman Generator for SharePoint - v1.17.1
- Visual Studio Code
Create the web part to display data using the SharePoint REST API
Open a command prompt and change to the folder where you want to create the project.
Run the SharePoint Yeoman generator by executing the following command:
yo @microsoft/sharepoint
Use the following to complete the prompt displayed (if more options are presented, accept the default answer):
- What is your solution name?: SPFxHttpClientDemo
- Which type of client-side component to create?: WebPart
- What is your Web Part name?: SPFxHttpClientDemo
- Which template would you like to use? React
After provisioning the folders required for the project, the generator will install all the dependency packages by running npm install automatically. When npm completes downloading all dependencies, open the project in Visual Studio Code.
Create an interface for the SharePoint list items
Locate the ./src folder in the project. Create a new subfolder models in the src folder.
Create a new file ICountryListItem.ts in the models folder and add the following code to it:
export interface ICountryListItem {
  Id: string;
  Title: string;
}
Create a type for a button click event handler
Create a new file ButtonClickedCallback.ts in the models folder and add the following code to it:
export type ButtonClickedCallback = () => void;
Create a barrel for the types implemented in the models folder
Create a new file index.ts in the models folder and add the following code to it:
export * from './ButtonClickedCallback';
export * from './ICountryListItem';
Update the public interface for the React component
Locate and open the file ./src/webparts/spFxHttpClientDemo/components/ISpFxHttpClientDemoWebPartProps.ts. This is the interface for the public properties of the React component. It will need to display a list of items, so update the signature to accept a list of items.
Add the following code to the top of the file:
import {
  ButtonClickedCallback,
  ICountryListItem
} from '../../../models';
Update the interface to replace the existing description property to be a collection of items to be passed in and add an event when a button is selected:
export interface ISpFxHttpClientDemoWebPartProps {
  spListItems: ICountryListItem[];
  onGetListItems?: ButtonClickedCallback;
  isDarkTheme: boolean;
  environmentMessage: string;
  hasTeamsContext: boolean;
  userDisplayName: string;
}
Implement the user interface for the web part
Locate and open the file ./src/webparts/spFxHttpClientDemo/components/SpFxHttpClientDemo.module.scss.
Add the following to the bottom of the file:
.buttons {
  padding-top: 20px;
  > button {
    margin-right: 10px;
  }
}
Locate and open the file ./src/webparts/spFxHttpClientDemo/components/SpFxHttpClientDemo.tsx.
Locate the render() method and replace it with the following code. This will create a list displaying the data contained in the spListItems property. Also notice that there's a button that has an onClick handler wired up to it.
public render(): React.ReactElement<ISpFxHttpClientDemoWebPartProps> {
  const {
    spListItems,
    isDarkTheme,
    environmentMessage,
    hasTeamsContext,
    userDisplayName
  } = this.props;

  return (
    <section className={`${styles.spFxHttpClientDemo} ${hasTeamsContext ? styles.teams : ''}`}>
      <div className={styles.welcome}>
        <img alt="" src={isDarkTheme ? require('../assets/welcome-dark.png') : require('../assets/welcome-light.png')} className={styles.welcomeImage} />
        <h2>Well done, {escape(userDisplayName)}!</h2>
        <div>{environmentMessage}</div>
      </div>
      <div className={styles.buttons}>
        <button type="button" onClick={this.onGetListItemsClicked}>Get Countries</button>
      </div>
      <div>
        <ul>
          {spListItems && spListItems.map((list) =>
            <li key={list.Id}>
              <strong>Id:</strong> {list.Id}, <strong>Title:</strong> {list.Title}
            </li>
          )
          }
        </ul>
      </div>
    </section>
  );
}
Add the following event handler to the SpFxHttpClientDemo class to handle the click event on the button. This code will prevent the default action of the <a> element from navigating away from (or refreshing) the page and call the callback set on the public property, notifying the consumer of the component an event occurred.
private onGetListItemsClicked = (event: React.MouseEvent<HTMLButtonElement>): void => {
  event.preventDefault();

  this.props.onGetListItems();
}
Retrieve data from the SharePoint REST API
Locate and open the ./src/webparts/spFxHttpClientDemo/SpFxHttpClientDemoWebPart.ts file.
After the existing import statements at the top of the file, add the following import statements:
import { SPHttpClient } from '@microsoft/sp-http';
import { ICountryListItem } from '../../models';
Locate the class SpFxHttpClientDemoWebPart and add the following private member to it:
private _countries: ICountryListItem[] = [];
Locate the render() method. Notice that this method is creating an instance of the component SpFxHttpClientDemo and then setting its public properties. The default code sets the description property, however this was removed from the interface ISpFxHttpClientDemoWebPartProps in the previous steps. Remove the description property and add the following properties to set the list of countries/regions to the private member added previously and attach to the event handler:
spListItems: this._countries,
onGetListItems: this._onGetListItems,
Add the following method as an event handler to the SpFxHttpClientDemoWebPart class. This method calls another method (that you'll add in the next step) that returns a collection of list items. Once those items are returned via a JavaScript Promise, the method updates the internal _countries member and re-renders the web part. This will bind the collection of countries returned by the _getListItems() method to the public property on the React component that will render the items.
private _onGetListItems = async (): Promise<void> => {
  const response: ICountryListItem[] = await this._getListItems();
  this._countries = response;
  this.render();
}
Add the following method to the SpFxHttpClientDemoWebPart class. The method retrieves list items from the Countries list using the SharePoint REST API. It will use the spHttpClient object to query the SharePoint REST API. When it receives the response, it calls response.json() that will process the response as a JSON object and then returns the value property in the response to the caller. The value property is a collection of list items that match the interface created previously.
private async _getListItems(): Promise<ICountryListItem[]> {
  const response = await this.context.spHttpClient.get(
    this.context.pageContext.web.absoluteUrl + `/_api/web/lists/getbytitle('Countries')/items?$select=Id,Title`,
    SPHttpClient.configurations.v1);

  if (!response.ok) {
    const responseText = await response.text();
    throw new Error(responseText);
  }

  const responseJson = await response.json();

  return responseJson.value as ICountryListItem[];
}
Test the web part
Run the following command to ensure the developer certificate is installed:
gulp trust-dev-cert
Run the following command to start the local web server:
gulp serve --nobrowser
The SharePoint Framework's gulp serve task with the nobrowser switch will build the project and start a local web server.
Wait for the reload subtask to finish executing. At this point, the web part will be ready for testing.
Open a browser and navigate to the SharePoint Online site where you created the Countries list. Append the /_layouts/workbench.aspx to the end of the site's URL to open the SharePoint-hosted workbench.
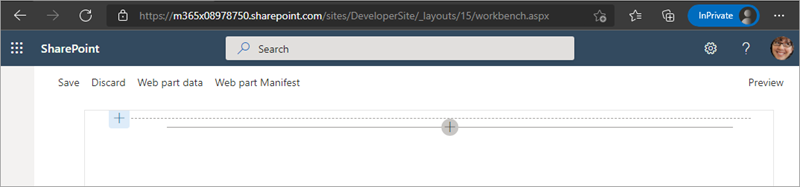
Select the web part icon button to open the list of available web parts, and select the SPFxHttpClientDemo web part from the Local section:
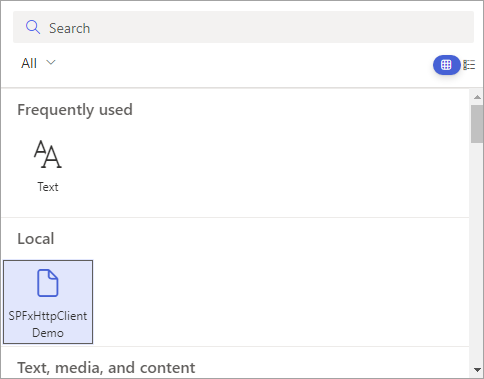
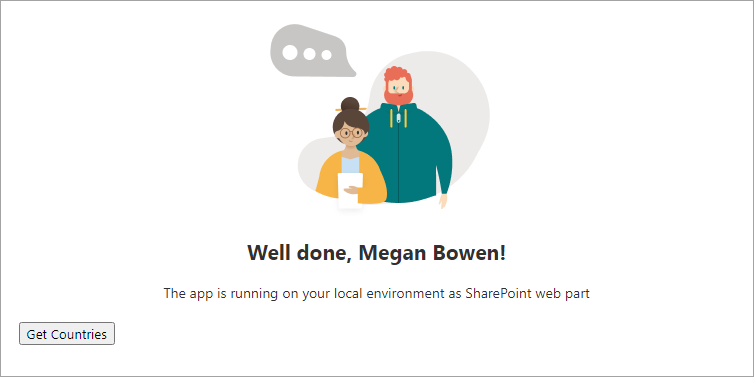
The web part will appear on the page with a single button and no data in the list.
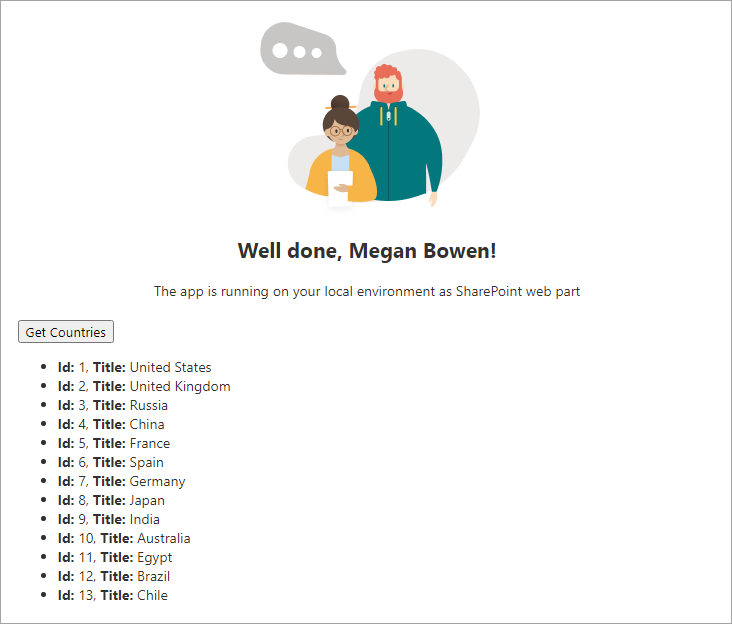
Select the Get Countries button and notice the list will display the data from the SharePoint REST API.
Stop the local web server by pressing CTRL+C in the console/terminal window.
Summary
In this exercise, you created a SharePoint Framework (SPFx) web part that retrieved and displayed data from a SharePoint list using the SharePoint REST API.