Add fields and collections of documents
After having initialized a model, your first step toward customization is to choose the information to extract, called fields. Later, you can use fields in flows inside of actions to contribute to your RPA. In this scenario, you'll use the fields to populate the input variables for a desktop flow.
First, select the type of document you're working with. In our case, they're Structured documents so select that option.

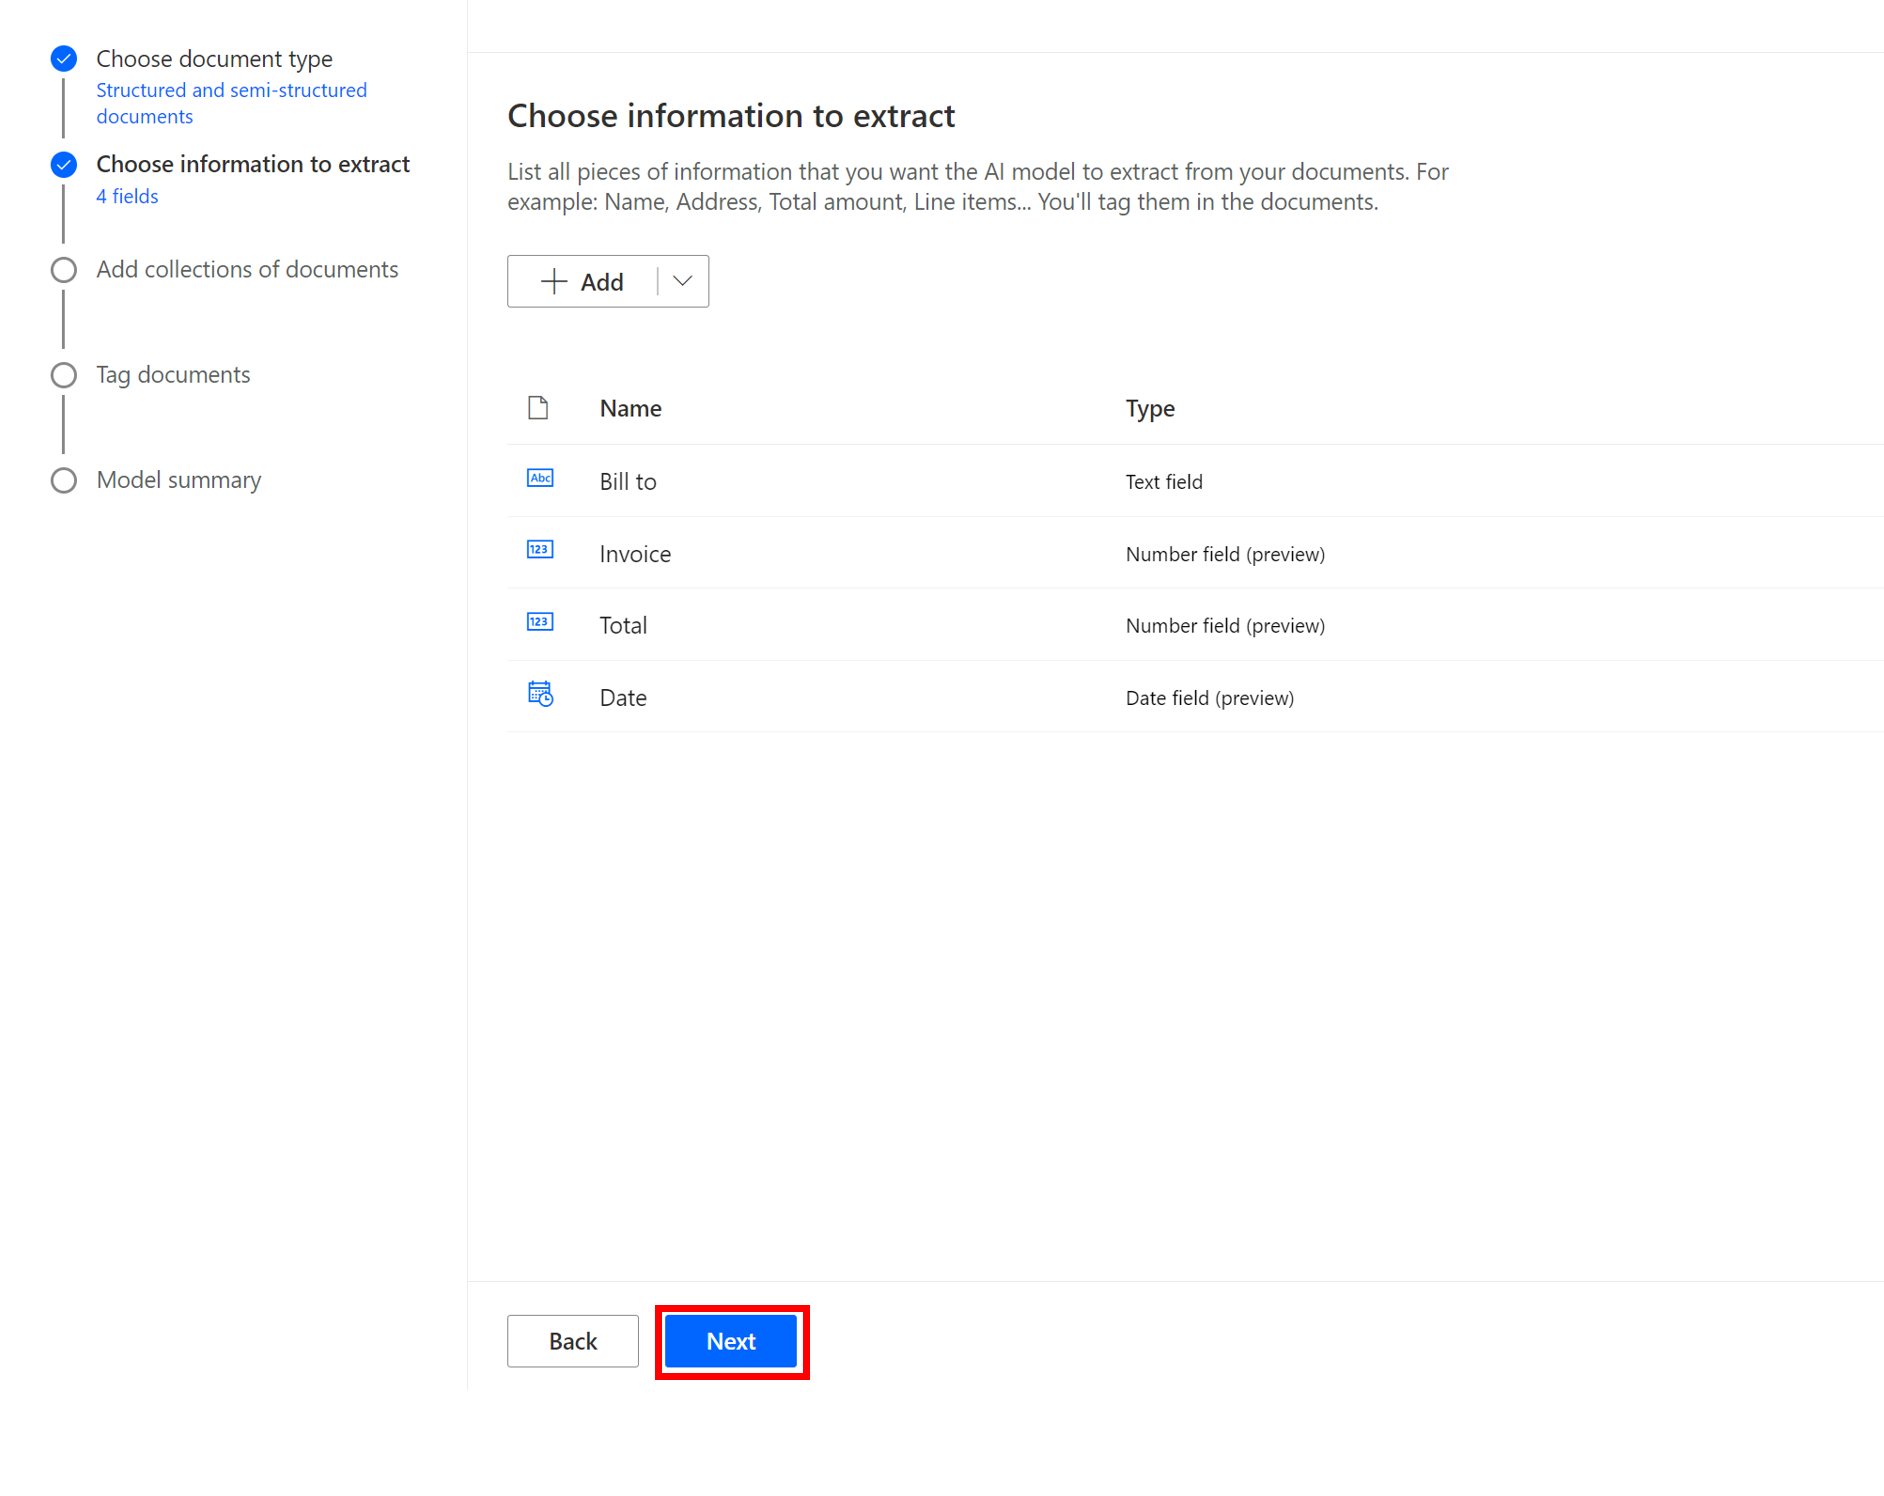
To add fields, select the drop-down arrow next to + Add and select Field, enter the field name in the provided text box and select Done. The following screenshot shows the Bill to field. Follow the same process for Contact, Date, and Total.

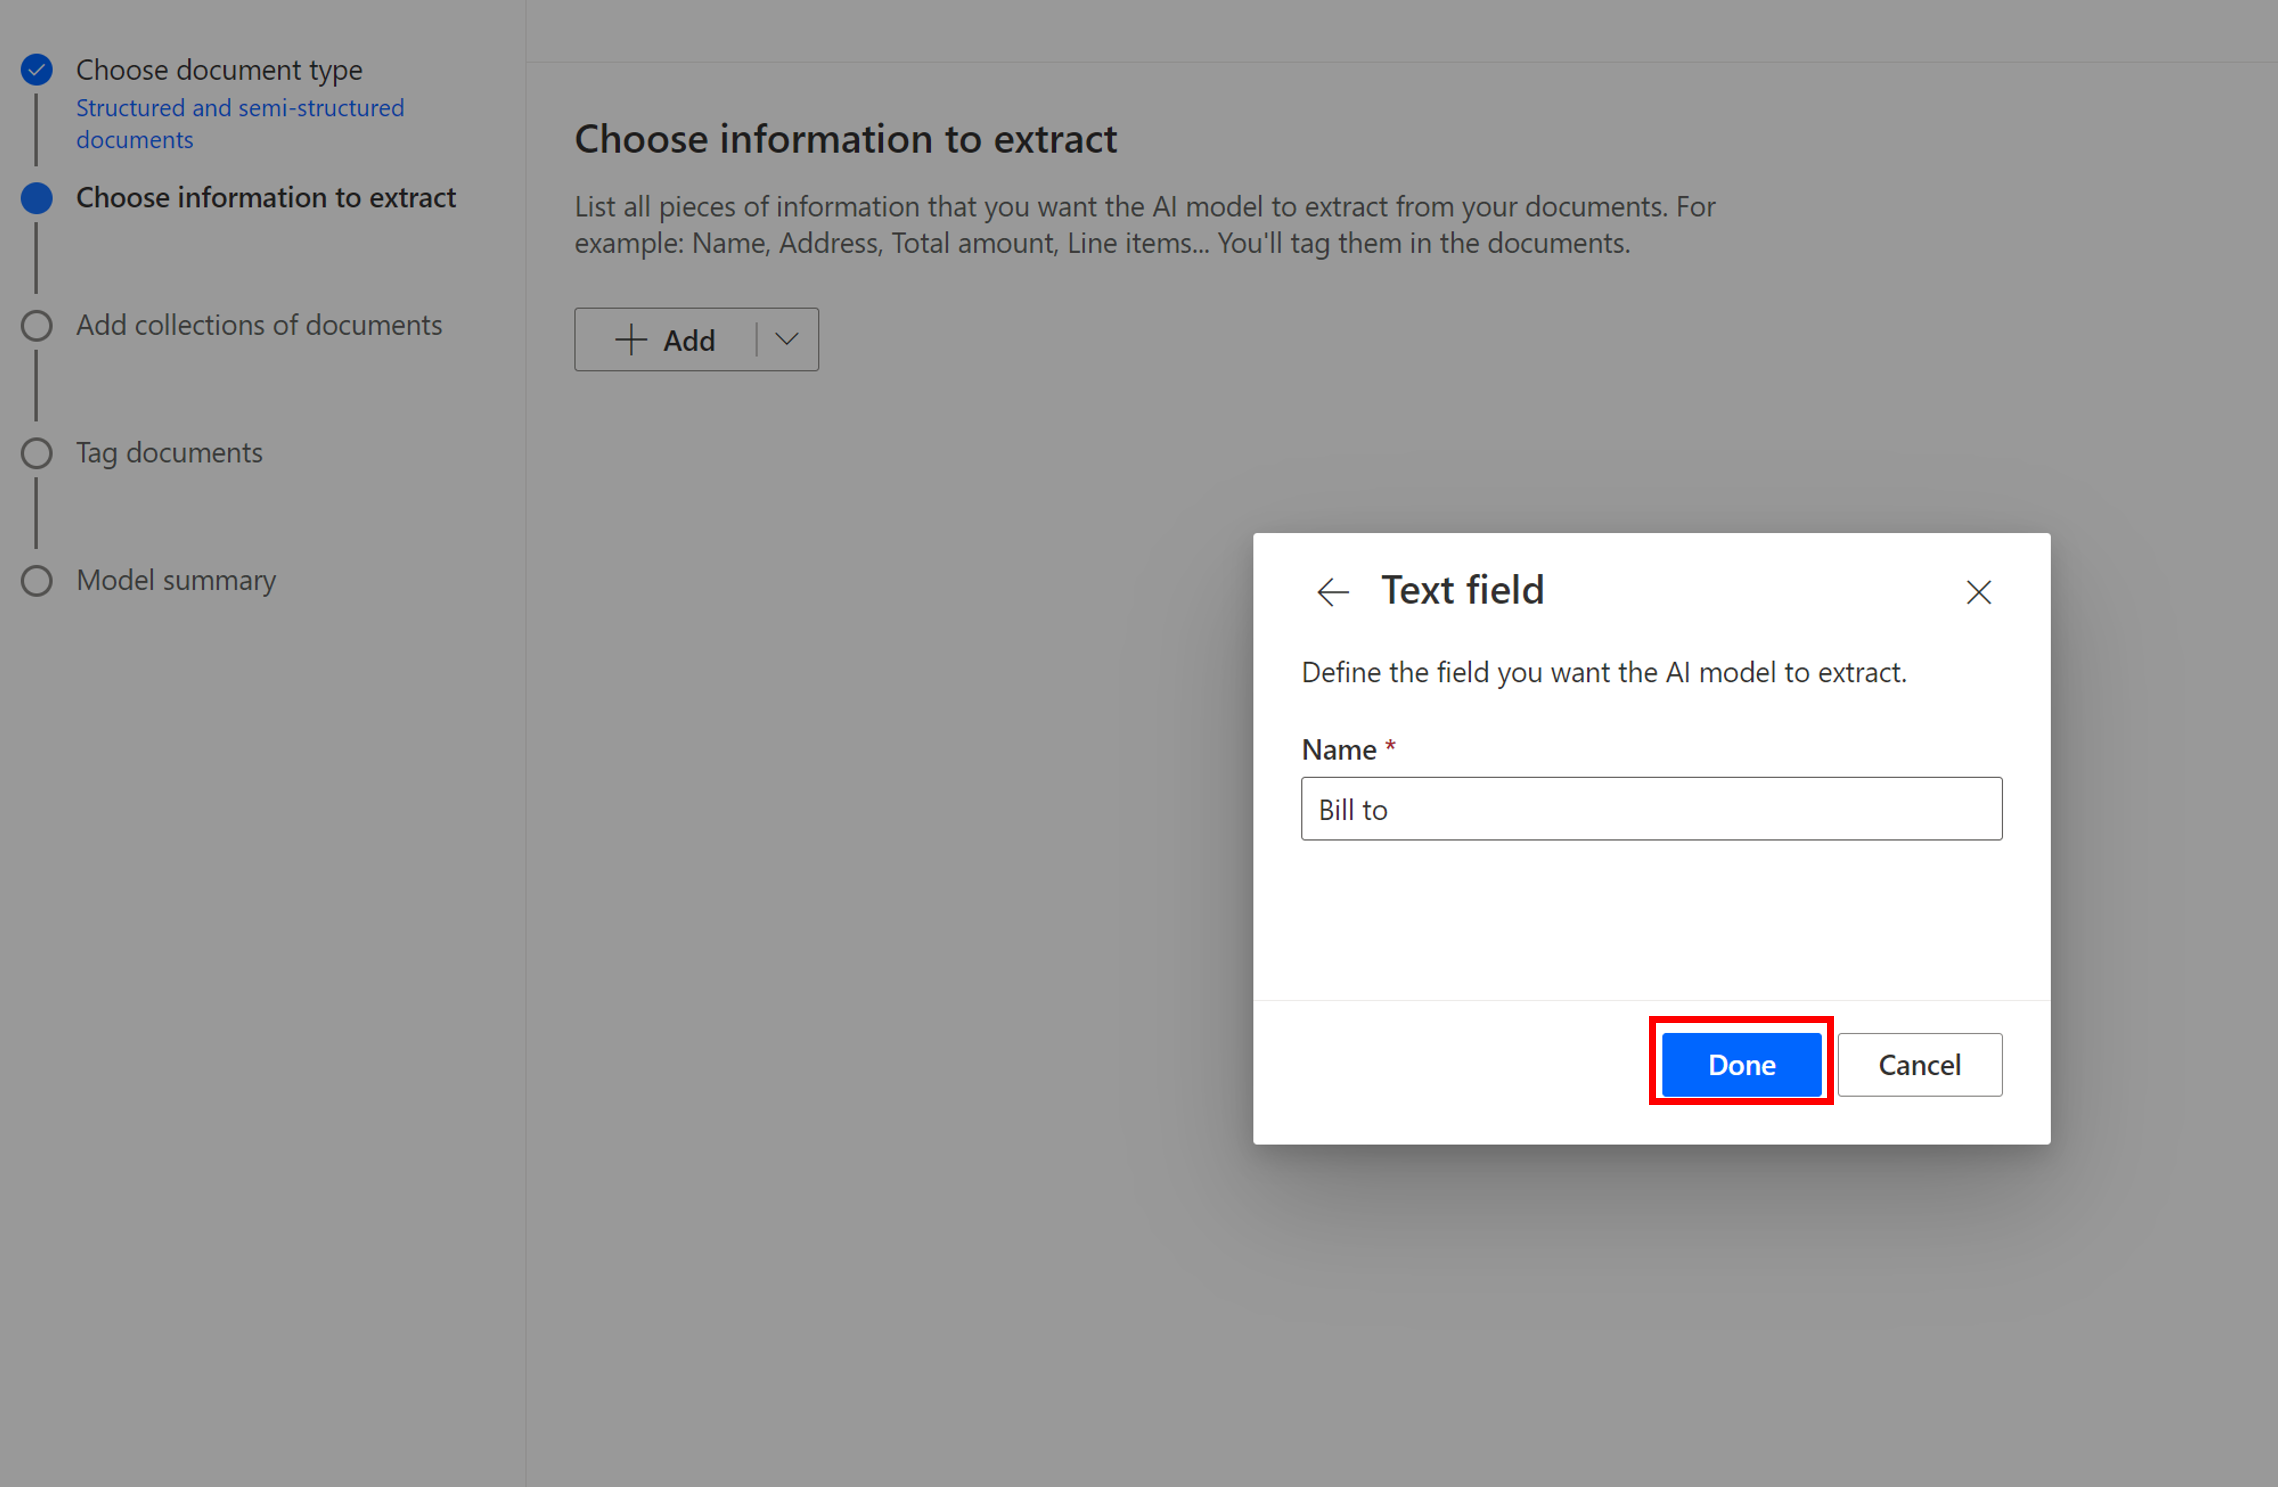
Select Next to continue.
Next, you'll add collections of documents for your model to study. Collections allow you to group documents with different layouts, such as when you have customers or organizers who have different layouts for invoicing or other repeated documentation. The same model can process as many as 100 distinct collections.
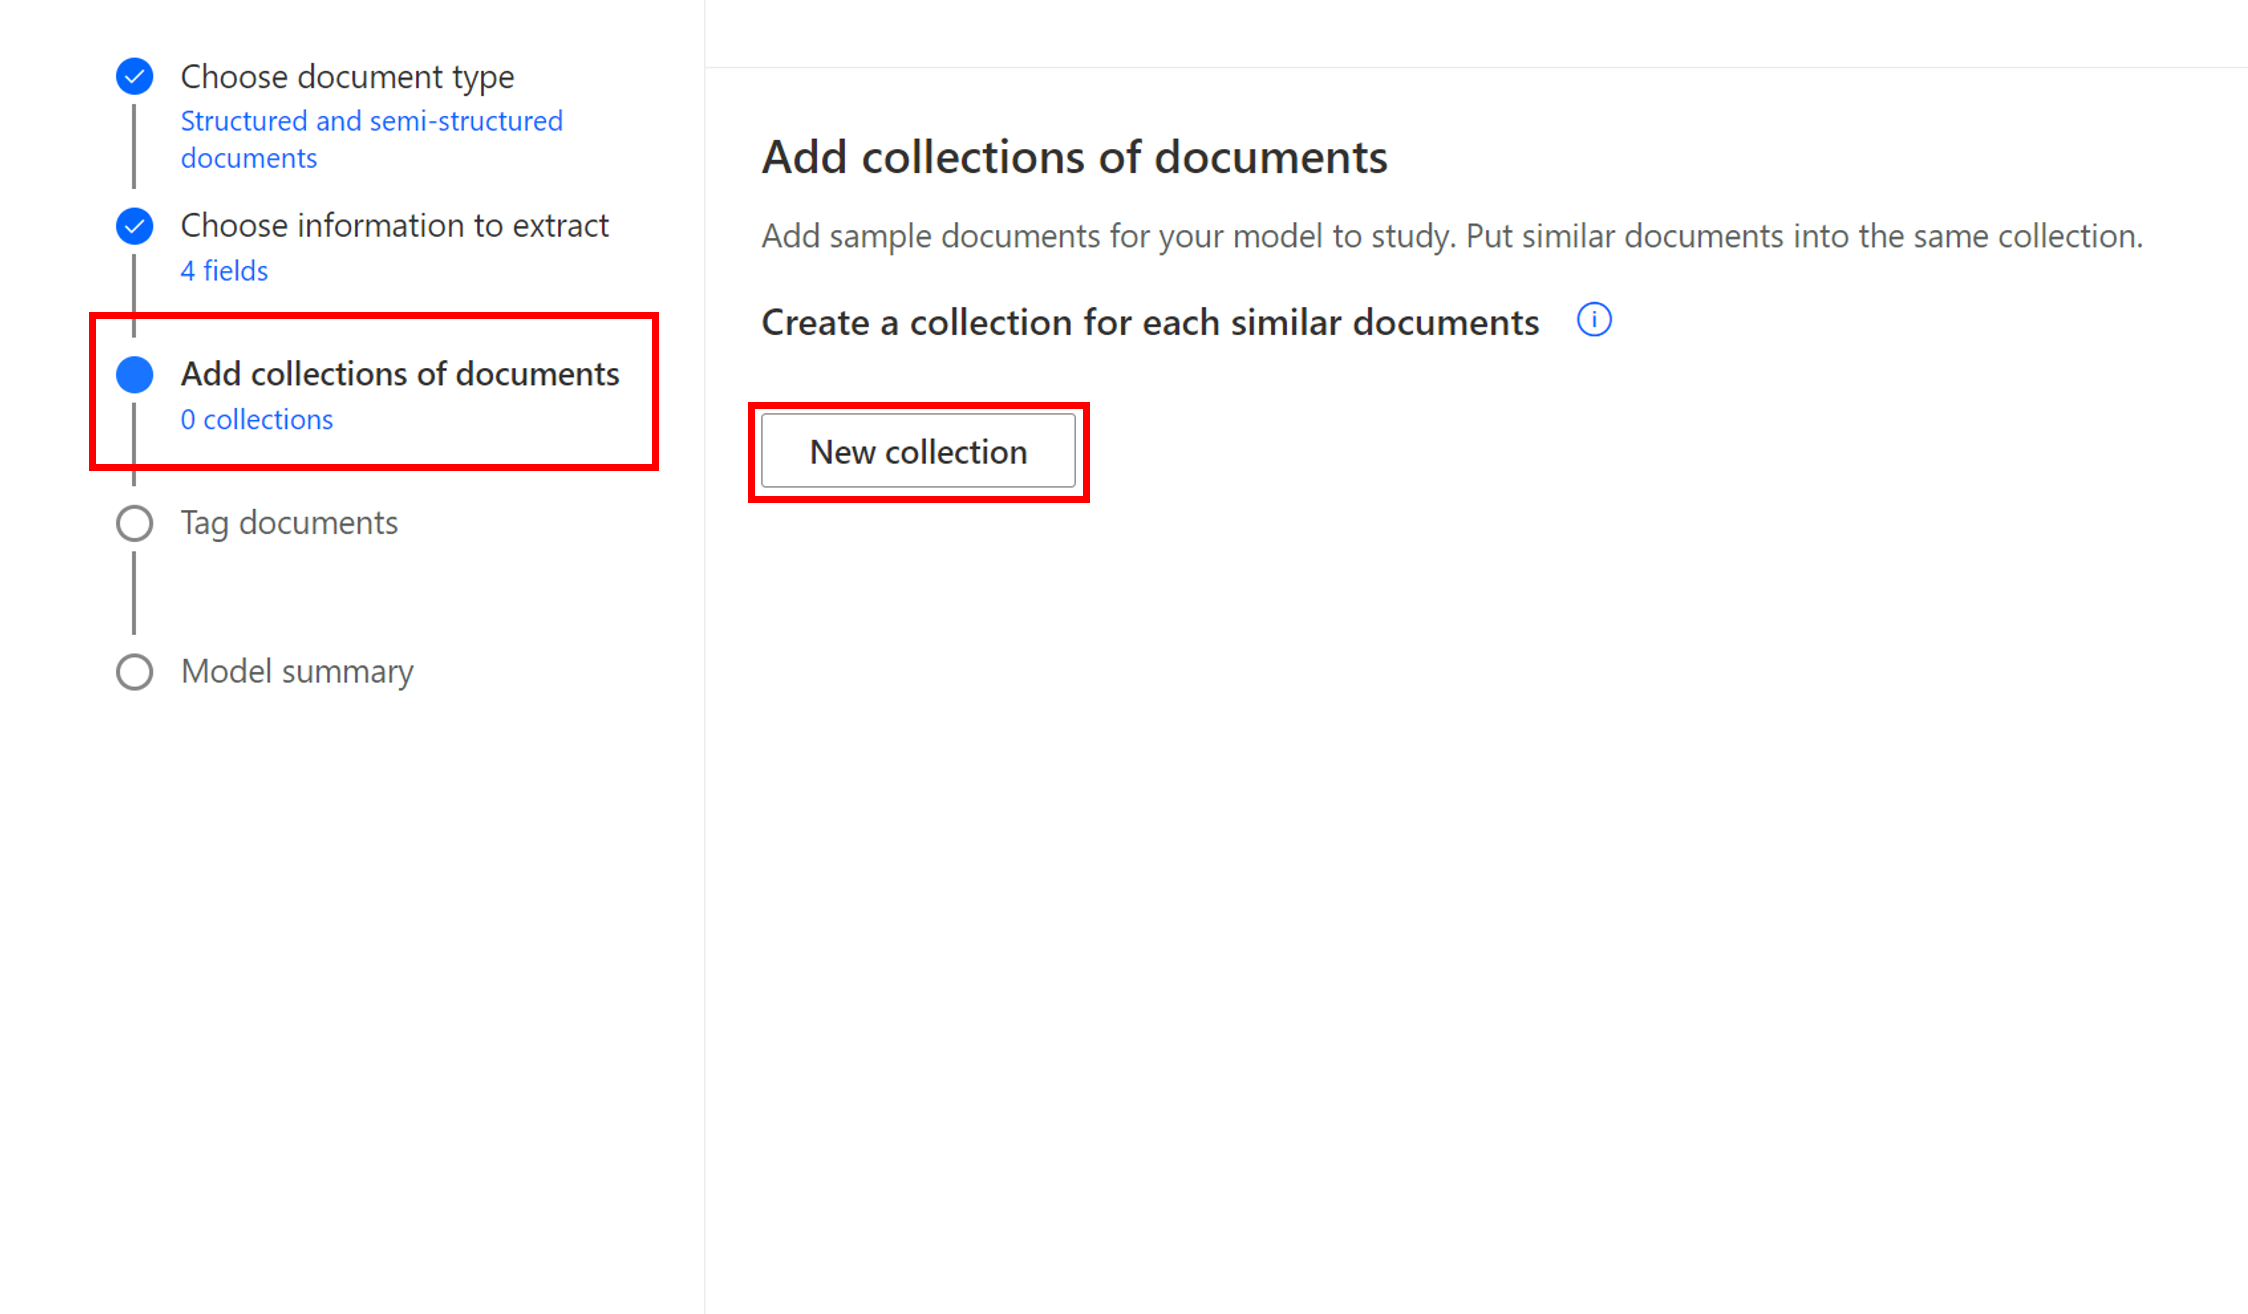
To add a new collection, select New collection. To rename the newly created collection, double-click the automated collection name (in this case, Collection 1).


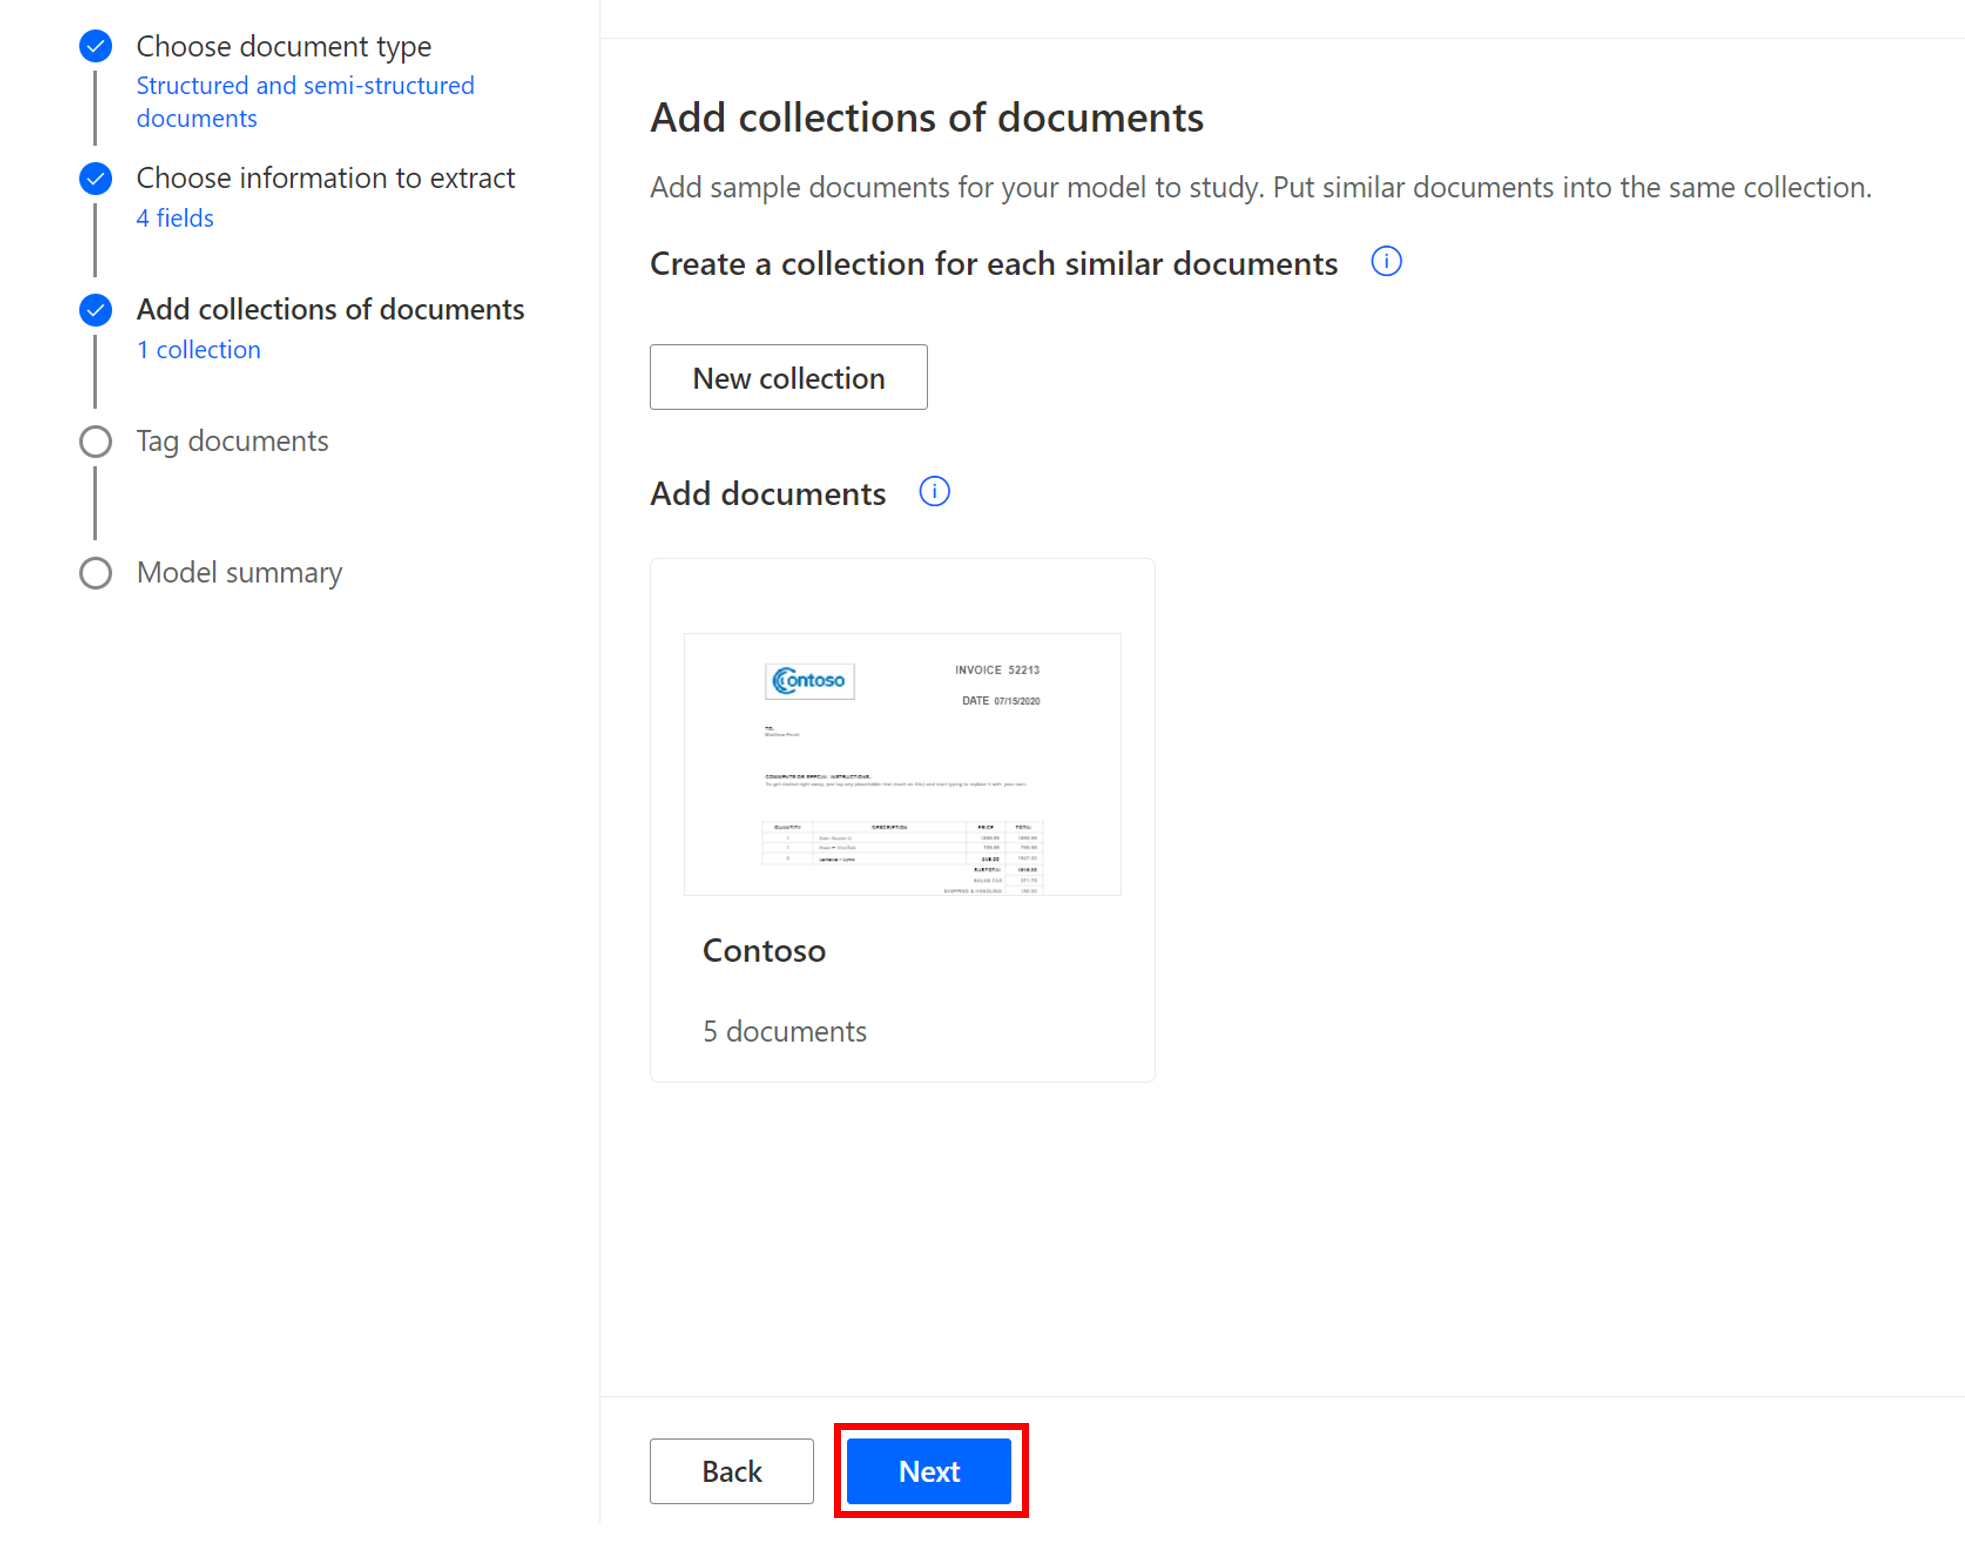
For this example, the collection has been renamed to Contoso and five invoice documents have been added, as shown in the following image. To add documents, select the plus sign (+), select Add documents, and then select your desired data source.

Select the documents that you want. An upload screen will appear, showing the documents that you've chosen. Select Upload documents, and a screen will display the status of each document. When the upload is complete, select Close.
Note
You may use the sample invoices for this exercise. They differ slightly from the screenshots.


Sample documents are available.
Note
Now that you've completed your collection and have added your fields, you're ready to analyze and train your model. Simply click Next.