Add a custom event to a component
Let's complete the application by adding a form. The form will have a drop-down list for the user to select their desired cabin, and a button to book the cruise. You'll set this up as a new component and create an event for the button. You'll finish by calling this new component from Host.vue.
Create the component
Start by creating the component.
In Visual Studio Code, create a file named BookingForm.vue in src/components.
In BookingForm.vue, type vue, and then select <vue> with default.vue from the snippets menu.
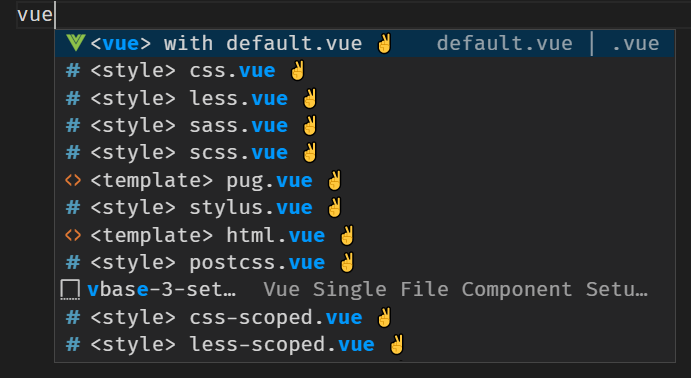
The snippet will create the default structure.
Add the code for the component
Let's add the code that the component will use, including registering the props, emits, data, and methods.
Open src/components/BookingForm.vue if it's not already open.
Inside the curly braces (
{ }) forexport default, add the following code to configure the component:props: { cabins: Array, }, emits: ['bookingCreated'], data() { return { cabinIndex: -1 } }, methods: { bookCabin() { if(this.cabinIndex < 0) return; this.$emit('bookingCreated', this.cabinIndex); this.cabinIndex = -1; }, }This code starts by creating a
cabinsprop to display the list of available cabins. We expose one event namedbookingCreatedby usingemits. We create a data item namedcabinIndexto store the selected cabin index.We finish by creating a method named
bookCabin. This method checks the value ofcabinIndexand runs only if the value is 0 or greater (meaning that the user selected a cabin). If this validation passes, we emit the event returning the selectedcabinIndex, and reset thecabinIndexto -1.
Add the display template
With the code added, we can turn our attention to the display. We want to have a drop-down list for cabin selection, and a button to book the trip. The button will call the bookCabin function that you created earlier.
Open src/components/BookingForm.vue if it's not already open.
Add the following code inside the
<template>tags to create the display:<section> <h2>Book now!</h2> <form> <div class="row"> <label for="cruise-cabin">Select class:</label> <select id="cruise-cabin" v-model="cabinIndex"> <option disabled value="-1">Select a cabin</option> <option v-for="(cabin, index) in cabins" :value="index" :key="index"> {{ cabin.name }} $ {{ cabin.price.toLocaleString('en-US') }} </option> </select> </div> <div class="row"> <button class="button" type="button" @click="bookCabin">Book now!</button> </div> </form> </section>The HTML creates the form. We loop through the
cabinsprop by usingv-forto create the drop-down list. We bind the model of theselecttag tocabinIndex, which will be returned when the user selects a cabin and selects the button. We then set up the button to callbookCabinwhen it's selected.
Add BookingForm to the page
Finish by adding the newly created BookingForm to the application by adding it to Host.vue.
Open src/components/Host.vue.
Import
BookingFormby adding the following code after theTODO: Register next componentcomment:import BookingForm from './BookingForm.vue';Add
BookingFormto the list of available components by adding the following code after theTODO: Add next componentcomment:BookingFormAdd the method to handle the
bookingCreatedcustom event by adding the following code after theTODO: Add methodscomment:methods: { addBooking(cabinIndex) { const cabin = this.cruise.cabins[cabinIndex]; const booking = { cabin: cabin.name, price: cabin.price } this.bookings.push(booking); } }The
addBookingfunction retrieves the selected cabin by using the index. The function then creates a newbookingobject by usingcabin.nameandcabin.price. We then addbookingto thebookingsarray.Use the
booking-formcomponent by adding the following code after theTODO: Add booking-formcomment:<booking-form @booking-created="addBooking" :cabins="cruise.cabins"></booking-form>We connect the
addBookingfunction to thebooking-createdevent, and we pass the list of cabins for display.
Display the cabin type
Let's modify the template to display the information for our bookings. Instead of the "Sample" booking message that we showed in the last exercise, we'll display the cabin type for each booking.
Open src/components/BookingList.vue.
Inside the
<template>element, change the field name in the div frombooking.nametobooking.cabin:<div class="row" v-for="(booking, index) in bookings" :key="index"> <div>{{ booking.cabin }} </div> </div>
Test the page
With all the code added, let's test the page!
Save all files by selecting File > Save all.
Go to
http://localhost:8080and refresh the page.Select a cabin from the drop-down list and select the button.
Your new booking displays.
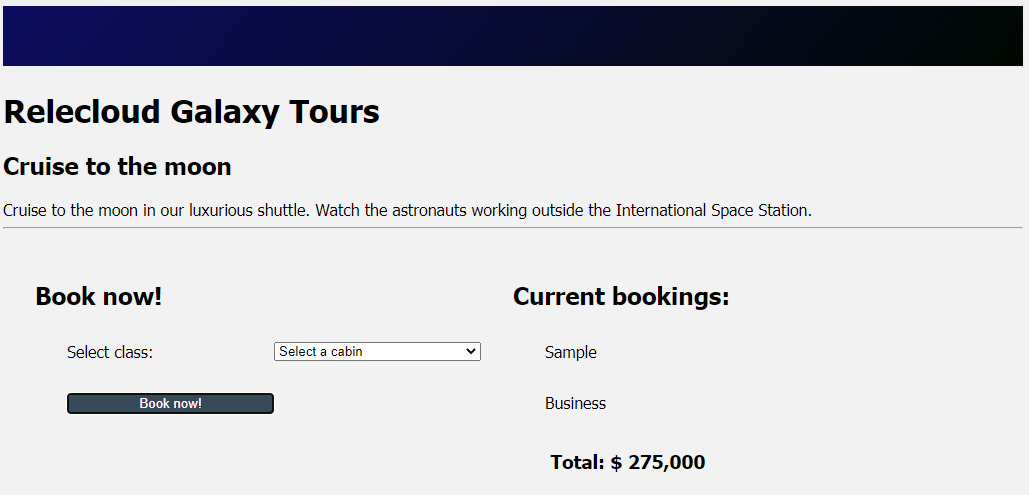
You've now created and called a component with a custom event!