Practice rendering lists
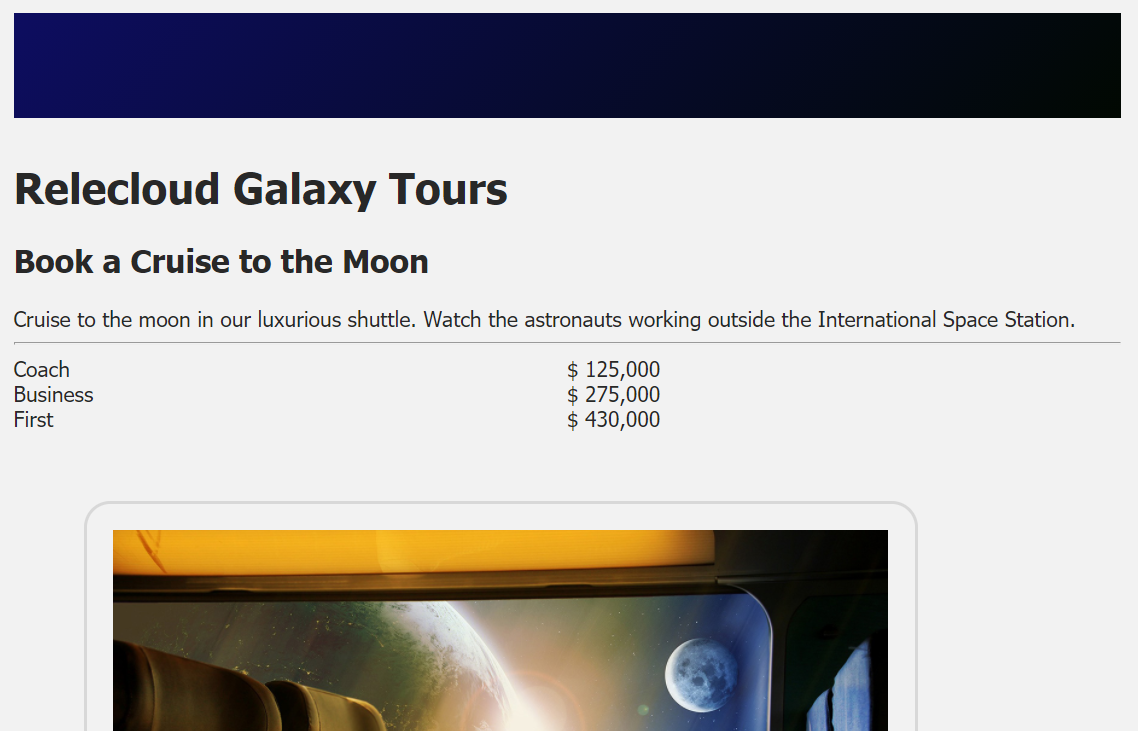
Before users decide to book a cruise, they'll want to know what options are available and how much they cost. Let's display these options.
Clone the starter repository and explore the code
You've been provided a starter repository for this module.
Clone the starter repository, and open the folder in Visual Studio Code by running the following code:
git clone https://github.com/MicrosoftDocs/mslearn-vue-dynamic-render/
cd mslearn-vue-dynamic-render/start
code .
Open the index.js file. Note the array of
productClasses. EachproductClasshasname,price,seatsAvailable, andearlyBirdproperties.
Display the list of options and prices
Let's update the HTML code to display the list of options and their prices.
Open the index.html file.
On the line after the comment, "TODO: Add code to display classes," add the following HTML code:
<div v-for="(productClass, index) in productClasses" :key="index" class="row">
    <div class="column">
        {{ productClass.name }}
    </div>
    <div class="column">
        $ {{ productClass.price.toLocaleString('en-US') }}
    </div>
    <!-- More to come -->

</div>
Explore the code
In the preceding code, the v-for directive creates a new div element for each productClass item. The code also generates an index for each item, which you use as the :key for the display. Finally, you can see that the code displays the name and price for each productClass item.
Note
Note the call to toLocaleString. Because you're working inside the double braces ({{ }}), you can call any valid JavaScript. Also, although the locale string is currently set to en-US, you can update it for your particular region.
Open the page in Live Server
The Live Server extension for Visual Studio Code creates a development web server that automatically refreshes the page as changes are detected. After you install the extension, you can use it to host your page.
Save all files.
In Visual Studio Code, open the Command Palette by selecting Ctrl+Shift+P (or Cmd+Shift+P on a Mac).
Enter Live Server: Open with Live Server.
A message at the lower right confirms that your page is now being hosted on
http://localhost:5500.Open a browser, and go to
http://localhost:5500.
You should now see the page you created.