Share a guide or folder in Dynamics 365 Guides
Note
Azure Active Directory is now Microsoft Entra ID. Learn more.
You can share a guide or a folder through the model-driven app. For more information, see Guide content management.
Share a folder
By organizing all guides and assets a user might need into a folder, you can share the folder rather than having to share the guide or the assets individually.
Note
By default, Authors and Restricted authors have access to all assets (3D parts, images, videos, and object anchors). Although not recommended, admins can restrict access by creating a new security role. See Restrict access to assets.
Open the model-driven app in Guides.
In the left pane, select Folders to view the list of folders in the environment.
Select the desired folder, and then at the top right of the screen, select Share > Copy link.
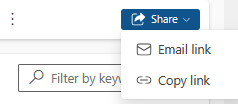
Share the link with the appropriate users.
Share a guide
You can share a guide with other users if you're an administrator or if you have the Share privilege. Share a guide with a specific user or an access team.
Important
Assigning ownership of a guide to a user or team is the preferred method for controlling who can use specific guides. Sharing a guide does not change ownership of the guide.
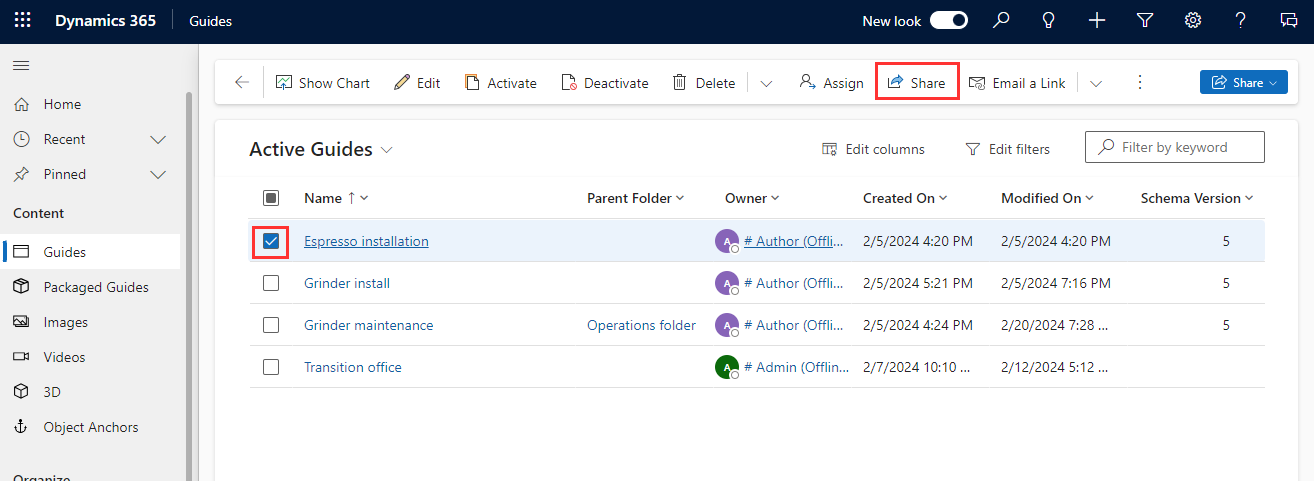
Open the model-driven app in Guides.
Find the guide that you want to share, select the check box next to the guide name, and then select Share.
On the Share records page, use the search box to find and select the appropriate team or user name.
Under Manage share access, select the team, and then select specific permissions:
For operators, select Read permissions (and Append to if you want to collect operations data).
For authors, select Read, Write, Append, and Append to permissions.
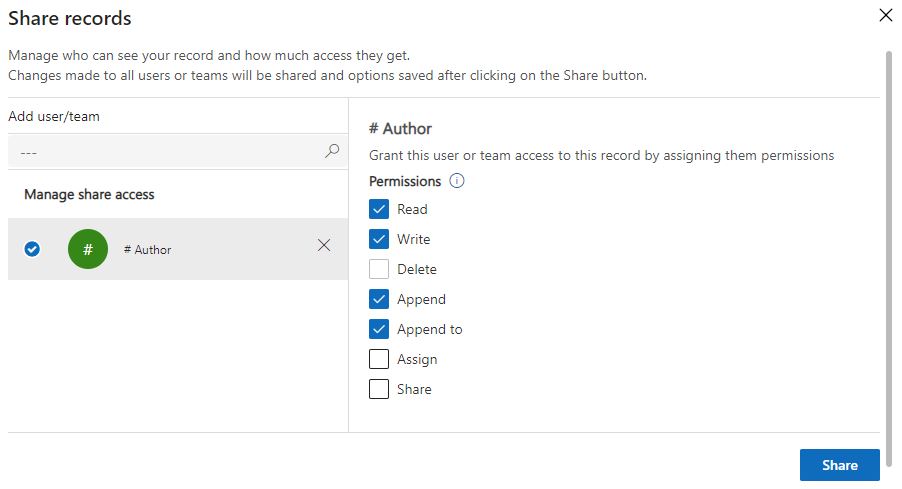
Select Share.
Note
When you share a guide, the content (images, videos, and 3D objects) associated with the guide is not automatically shared. To share the contents, go to the next step.
Share specific content of a guide
Open the model-driven app in Guides.
Find the guide that you want to share and open it.
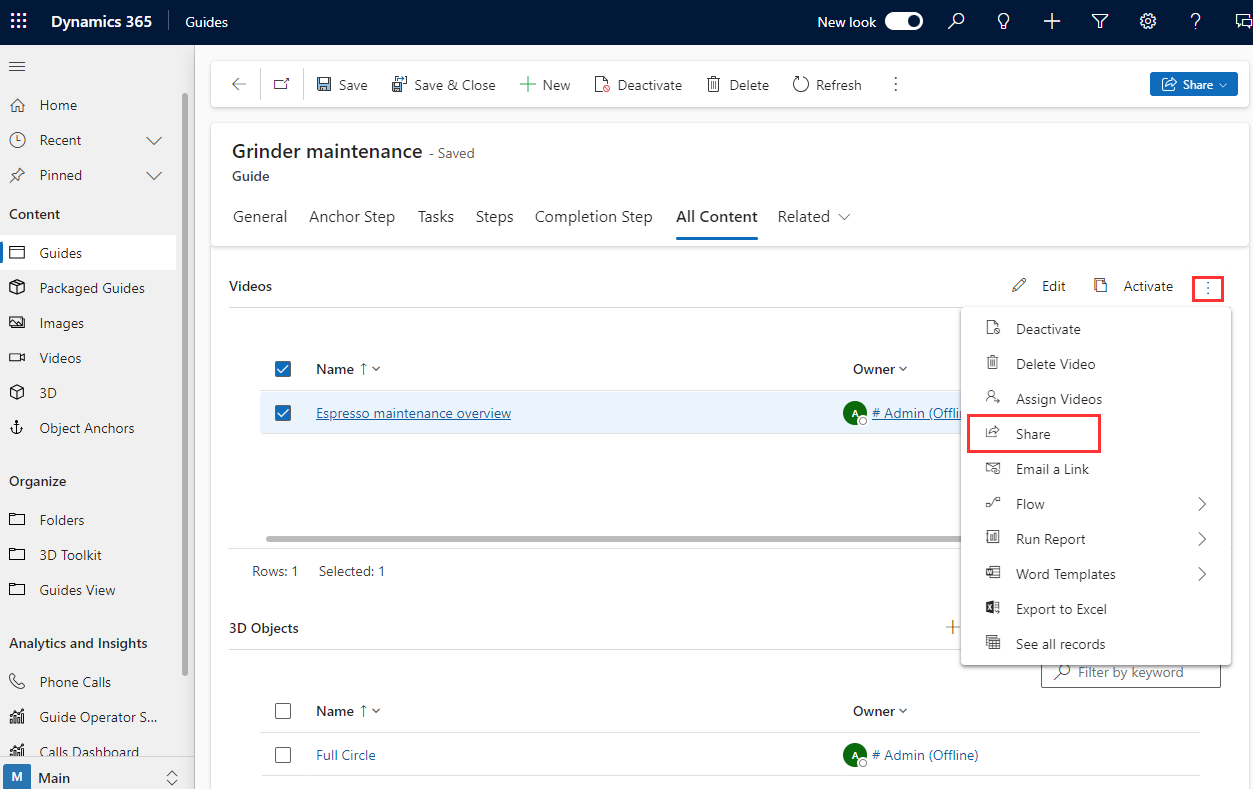
Select the All Content tab.
Scoll to the content you want to share and select it. You can select more than one item.
Select the More (ellipsis ...) button, and then select Share.
On the Share records page, use the search box to find and select the appropriate team or user name.
Under Manage share access, select the team, and then select specific permissions:
For operators, select Read permissions (and Append to if you want to collect operations data).
For authors, select Read, Write, Append, and Append to permissions.
Select Share.
Next steps
Atsiliepimai
Jau greitai: 2024 m. palaipsniui atsisakysime „GitHub“ problemų, kaip turiniui taikomo atsiliepimų mechanizmo, ir pakeisime jį nauja atsiliepimų sistema. Daugiau informacijos žr. https://aka.ms/ContentUserFeedback.
Pateikti ir peržiūrėti atsiliepimą, skirtą