Convert Microsoft Identity Manager-specific services to use group Managed Service Accounts
This article is a guide for configuring supported Microsoft Identity Manager services to use group Managed Service Accounts (gMSA). After you've preconfigured your environment, the process of converting to gMSA is easy.
Prerequisites
Download and install the following required hotfix: Microsoft Identity Manager 4.5.26.0 or later.
Supported services:
- Microsoft Identity Manager Synchronization Service (FIMSynchronizationService)
- Microsoft Identity Manager Service (FIMService)
- Microsoft Identity Manager Password Registration
- Microsoft Identity Manager Password Reset
- Privileged Access Management (PAM) Monitoring Service (PamMonitoringService)
- PAM Component Service (PrivilegeManagementComponentService)
Unsupported services:
- The Microsoft Identity Manager portal is not supported. It is part of the SharePoint environment, and you would need to deploy it in farm mode and Configure automatic password change in SharePoint Server.
- All management agents except the Microsoft Identity Manager Service management agent
- Microsoft Certificate Management
- BHOLD
For background and general reference information about setting up your environment, see:
Before you begin, create the Key Distribution Services root key on your Windows domain controller. Keep in mind the following information:
- Root keys are used by the Key Distribution Services (KDS) service to generate passwords and other information on domain controllers.
- Create a root key only once per domain, if it's needed.
- Include
Add-KDSRootKey –EffectiveImmediately. "–EffectiveImmediately" means that it might take up to 10 hours to replicate the root key to all domain controllers. It can take about 1 hour to replicate to two domain controllers.
Actions to run on the Active Directory Domain controller
Create a group called MIMSync_Servers, and add all synchronization servers to it.

Sign in to Windows PowerShell as a Domain Admin with an account that's already joined to the domain, and then run the following command:
New-ADServiceAccount -Name MIMSyncGMSAsvc -DNSHostName MIMSyncGMSAsvc.contoso.com -PrincipalsAllowedToRetrieveManagedPassword "MIMSync_Servers"
View details of the gMSA for sync:

If you're running Password Change Notification Service (PCNS), update the delegation by running the following command:
Set-ADServiceAccount -Identity MIMSyncGMSAsvc -ServicePrincipalNames @{Add="PCNSCLNT/mimsync.contoso.com"}
Actions to run on the Microsoft Identity Manager Synchronization server
In Synchronization Service Manager, back up the encryption key. It will be requested with the change mode installation. Do the following:
a. On the server that Synchronization Service Manager is installed on, look for the Synchronization Service Key Management tool. The Export key set is already selected by default.
b. Select Next.
c. At the prompt, enter and verify the Microsoft Identity Manager or Forefront Identity Manager (FIM) Synchronization Service account information:
- Account Name: The name of the Synchronization Service account that's used during the initial installation.
- Password: The password of the Synchronization Service account.
- Domain: The domain that the Synchronization Service account is a part of.
d. Select Next.
If you've entered the account information successfully, you have the option to change the destination, or export file location, of the backup encryption key. By default, the export file location is C:\Windows\system32\miiskeys-1.bin.
Install Microsoft Identity Manager 2016 SP1 or later hotfix, which you can find at the Volume Licensing Service Center or the MSDN Downloads site. After you've completed the installation, save the keyset miiskeys.bin.
Install hotfix 4.5.2.6.0 or later.
After the patch is installed, stop FIM Synchronization Service by doing the following:
a. In Control Panel, select Programs and Features > Microsoft Identity Manager.
b. On the Synchronization Service page, select Change > Next.
c. In the Maintenance Options window, select Configure.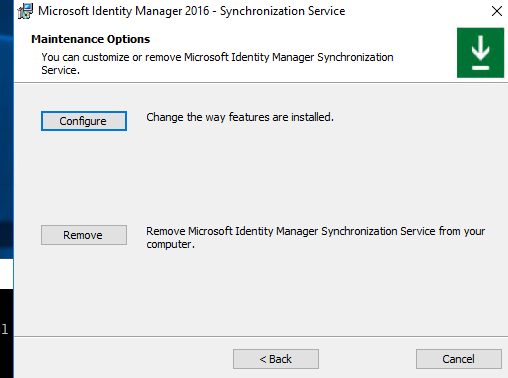
d. In the Configure Microsoft Identity Manager Synchronization Service window, clear the default value in the Service account box, and then enter MIMSyncGMSA$. Be sure to include the dollar sign ($) symbol, as shown in the following image. Leave the Password box empty.
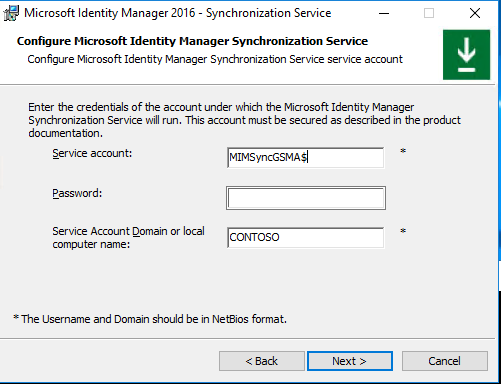
e. Select Next > Next > Install.
f. Restore the keyset from the miiskeys.bin file that you saved earlier.

Microsoft Identity Manager Service
Important
Follow the instructions in this section carefully when you convert Microsoft Identity Manager service-related accounts to gMSA accounts.
Create Group Managed Accounts for Microsoft Identity Manager Service, the PAM Rest API, PAM Monitoring Service, PAM Component Service, the self-service password reset (SSPR) Registration Portal, and the SSPR Reset Portal.
Update the gMSA delegation and service principal name (SPN):
Set-ADServiceAccount -Identity \<account\> -ServicePrincipalNames @{Add="\<SPN\>"}
Delegation:
Set-ADServiceAccount -Identity \<gmsaaccount\> -TrustedForDelegation $true
Constrained delegation:
$delspns = 'http/mim', 'http/mim.contoso.com'New-ADServiceAccount -Name \<gmsaaccount\> -DNSHostName \<gmsaaccount\>.contoso.com -PrincipalsAllowedToRetrieveManagedPassword \<group\> -ServicePrincipalNames $spns -OtherAttributes @{'msDS-AllowedToDelegateTo'=$delspns }
Add an account for Microsoft Identity Manager Service in Sync Groups. This step is necessary for SSPR.

Note
A known issue on Windows Server 2012 R2 is that services that use a managed account stop responding after the server is restarted, because Microsoft Key Distribution Service isn't started after Windows restarts. The workaround for this issue is to run the following command:
sc triggerinfo kdssvc start/networkonThe command starts Microsoft Key Distribution Service when the network is on (typically early in the boot cycle).
For a discussion about a similar issue, see AD FS Windows 2012 R2: adfssrv hangs in starting mode.
Run Elevated MSI of Microsoft Identity Manager Service, and select Change.
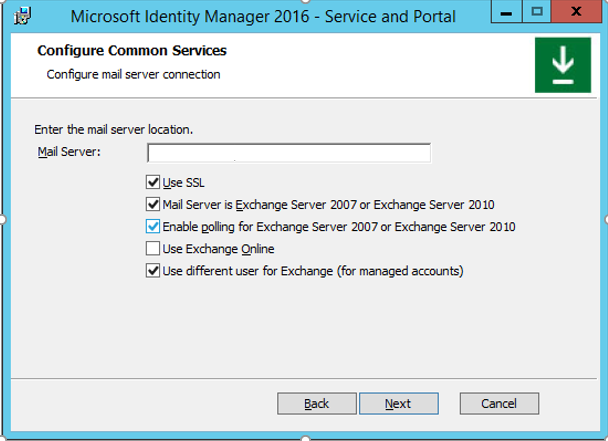
In the Configure mail server connection window, select the Use different user for Exchange (for managed accounts) check box. You are given the option to use the current Exchange account or the cloud mailbox.
Note
If you select the Use Exchange Online option, to enable Microsoft Identity Manager Service to process approval responses from the Microsoft Identity Manager Outlook add-in, set the registry key HKLM\SYSTEM\CurrentControlSet\Services\FIMService value of PollExchangeEnabled to 1 after the installation.
In the Configure the MIM service account window, in the Service Account Name box, enter the name. Be sure to include the dollar sign ($) symbol. Also enter a password in the Service Email Account Password box. The Service Account Password box should be unavailable.
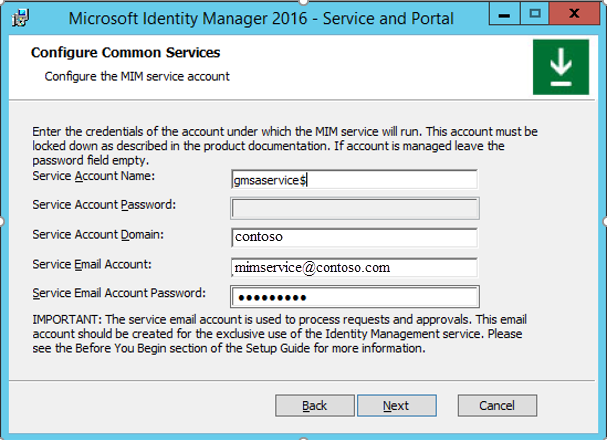
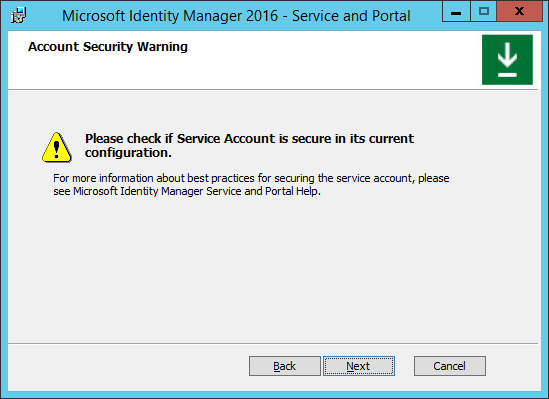
Because the LogonUser function doesn’t work for managed accounts, the next page displays the warning, “Please check if Service Account is secure in its current configuration.”
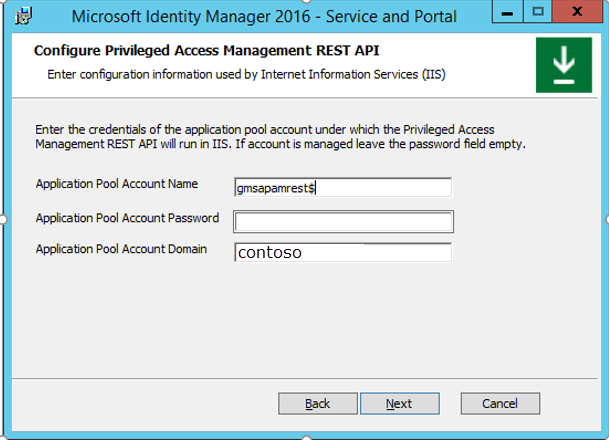
In the Configure Privileged Access Management REST API window, in the Application Pool Account Name box, enter the account name. Be sure to include the dollar sign ($) symbol. Leave Application Pool Account Password box empty.
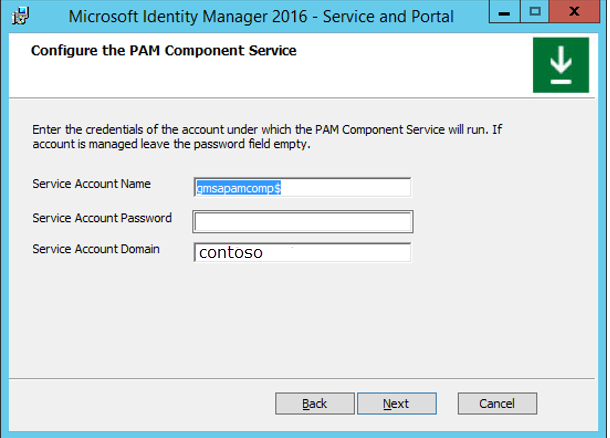
In the Configure PAM Component Service window, in the Service Account Name box, enter the account name. Be sure to include the dollar sign ($) symbol. Leave the Service Account Password box empty.

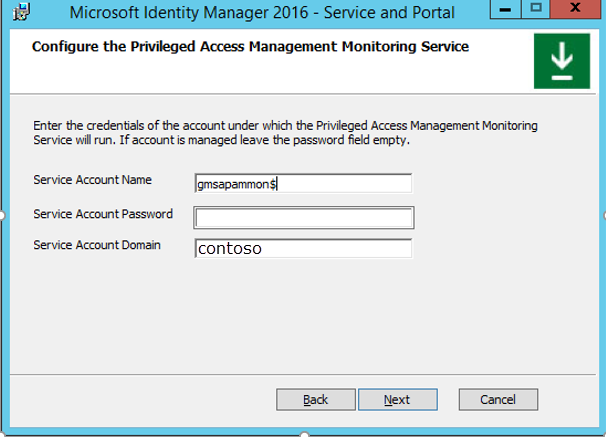
In the Configure the Privileged Access Management Monitoring Service window, in the Service Account Name box, type the service account name. Be sure to include the dollar sign ($) symbol. Leave the Service Account Password box empty.
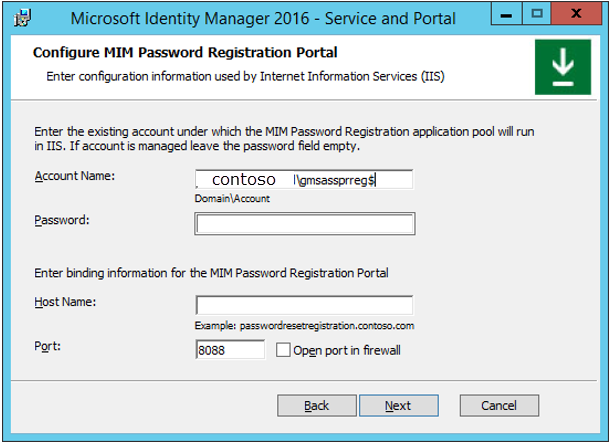
In the Configure MIM Password Registration Portal window, in the Account Name box, enter the account name. Be sure to include the dollar sign ($) symbol. Leave the Password box empty.
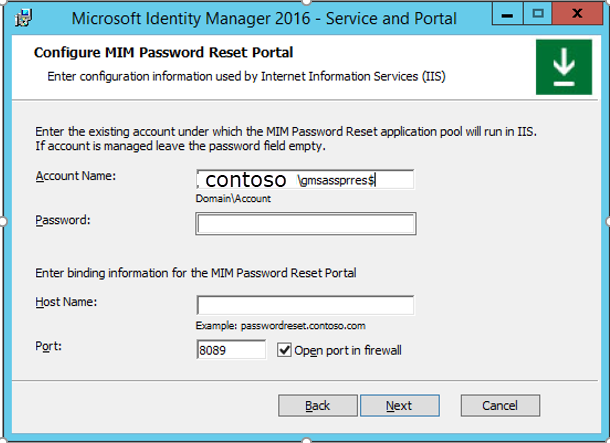
In the Configure MIM Password Reset Portal window, in the Account Name box, enter the account name. Be sure to include the dollar sign ($) symbol. Leave the Password box empty.
Complete the installation.
Note
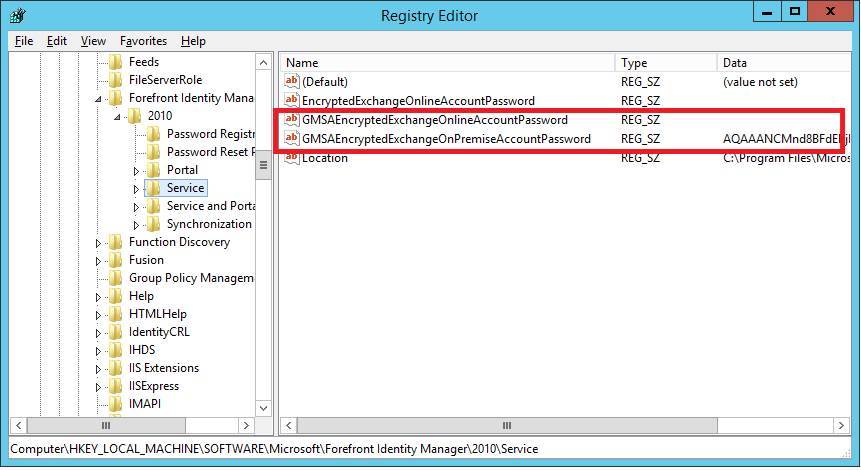
During the installation, two new keys are created in the registry path HKEY_LOCAL_MACHINE\SOFTWARE\Microsoft\Forefront Identity Manager\2010\Service for storing the encrypted Exchange password. One entry is for ExchangeOnline, and the other is for ExchangeOnPremise. For one of the entries, the value in the Data column should be empty.
To update the password to your stored accounts without having to run change mode, download this PowerShell script.
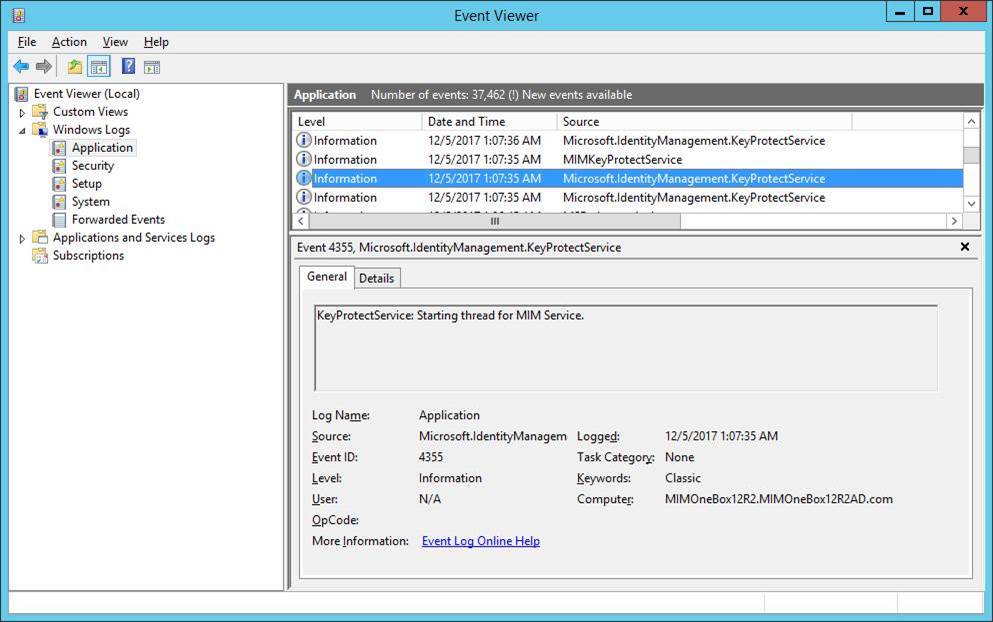
To encrypt the Exchange password, the installer creates an additional service and runs it under the managed account. The following messages are added in the Application event log during installation:
Feedback
Coming soon: Throughout 2024 we will be phasing out GitHub Issues as the feedback mechanism for content and replacing it with a new feedback system. For more information see: https://aka.ms/ContentUserFeedback.
Submit and view feedback for