Enable and configure SAP auditing for Microsoft Sentinel
This article shows you how to enable and configure auditing for the Microsoft Sentinel solution for SAP® applications, so that you can have complete visibility into your SAP solution.
Important
We strongly recommend that any management of your SAP system is carried out by an experienced SAP system administrator.
The steps in this article may vary, depending on your SAP system's version, and should be considered as a sample only.
Some installations of SAP systems may not have audit log enabled by default. For best results in evaluating the performance and efficacy of the Microsoft Sentinel solution for SAP® applications, enable auditing of your SAP system and configure the audit parameters.
Deployment milestones
Track your SAP solution deployment journey through this series of articles:
Configure auditing (You are here)
Optional deployment steps
Check if auditing is enabled
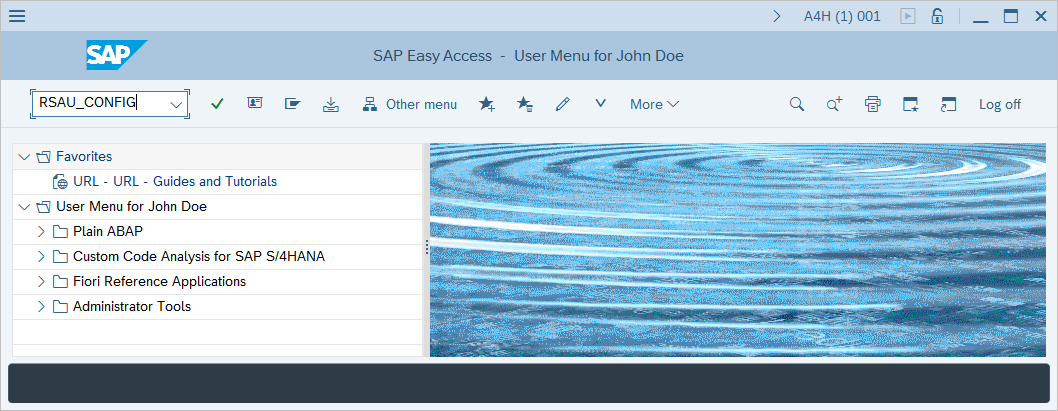
Sign in to the SAP GUI and run the RSAU_CONFIG transaction.
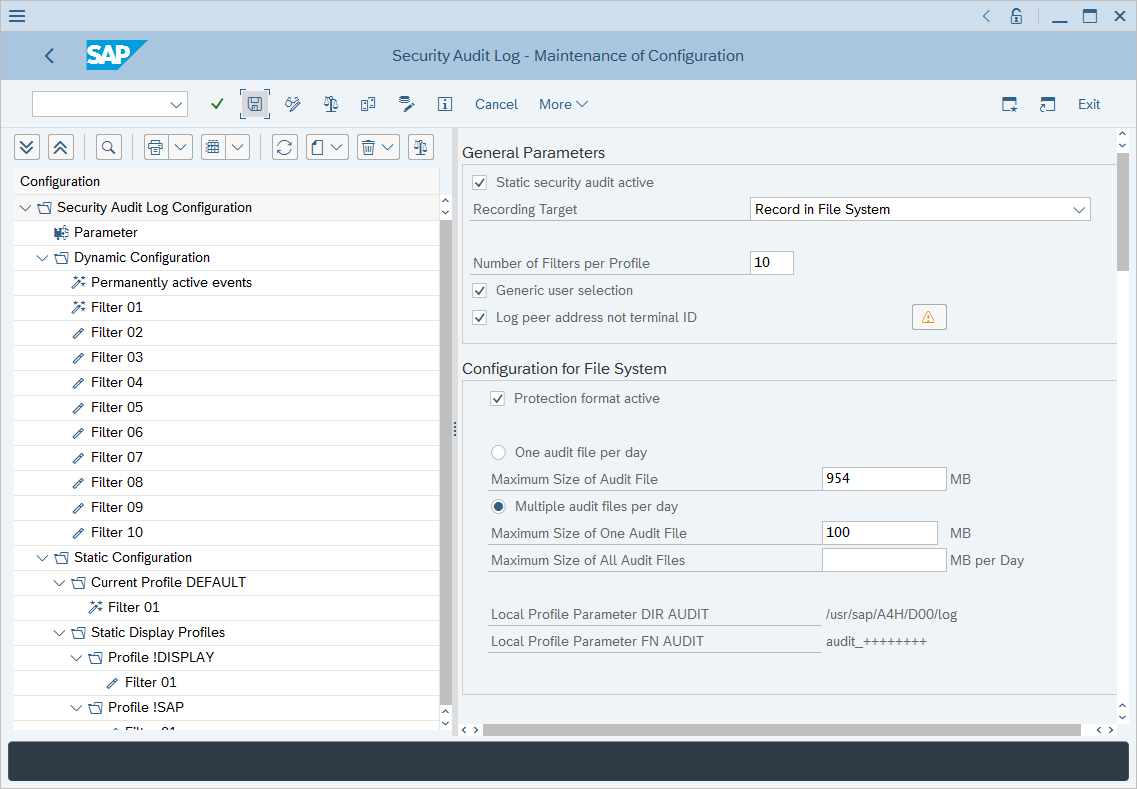
In the Security Audit Log - Display of Current Configuration window, find the Parameter section within the Configuration section. Under General Parameters, see that the Static security audit active checkbox is marked.
Enable auditing
Important
Your audit policy should be determined in close collaboration with SAP administrators and your security department.
Sign in to the SAP GUI and run the RSAU_CONFIG transaction.
In the Security Audit Log screen, select Parameter under Security Audit Log Configuration section in Configuration tree.
If the Static security audit active checkbox is marked, system-level auditing is turned on. If it isn't, select Display <-> Change and mark the Static security audit active checkbox.
By default, the SAP system logs the client name (terminal ID) rather than client IP address. If you want the system to log by client IP address instead, mark the Log peer address not terminal ID checkbox in the General Parameters section.
If you changed any settings in the Security Audit Log Configuration - Parameter section, select Save to save the changes. Auditing will be activated only after the server is rebooted.
Important
SAP applications running on Windows OS should consider recommendations in SAP Note 2360334 in case the audit log isn't read correctly after setup.
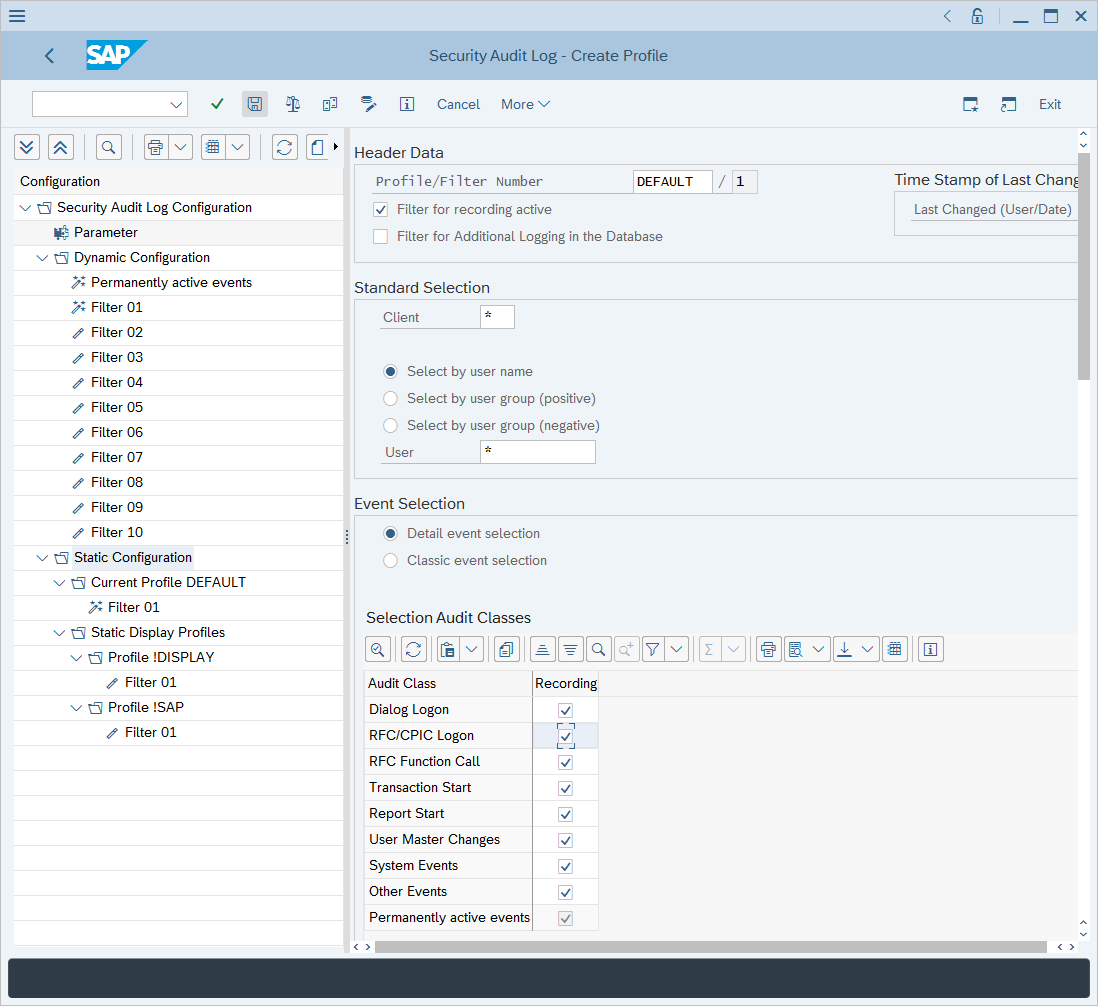
Right-click Static Configuration and select Create Profile.

Specify a name for the profile in the Profile/Filter Number field.
Note
Vanilla SAP installation requires this additional step: right-click the profile you have created and create a new filter.
Mark the Filter for recording active checkbox.
In the Client field, enter
*.In the User field enter
*.Under Event Selection, choose Classic event selection and select all the event types in the list.
Select Save.
You'll see that the Static Configuration section displays the newly created profile. Right-click the profile and select Activate.
In the confirmation window select Yes to activate the newly created profile.
Note
Static configuration only takes effect after a system restart. For an immediate setup, create an additional dynamic filter with the same properties, by right clicking the newly created static profile and selecting "apply to dynamic configuration".
Next steps
In this article, you learned how to enable and configure SAP auditing for Microsoft Sentinel.
Tilbakemeldinger
Kommer snart: Gjennom 2024 faser vi ut GitHub Issues som tilbakemeldingsmekanisme for innhold, og erstatter det med et nytt system for tilbakemeldinger. Hvis du vil ha mer informasjon, kan du se: https://aka.ms/ContentUserFeedback.
Send inn og vis tilbakemelding for