Anchor a guide in the Dynamics 365 Guides HoloLens app (for operators)
When you open a guide in Microsoft Dynamics 365 Guides, the first thing that you see is the anchoring instructions for the guide. For example, if a QR code is used to anchor the guide, you see the Scan QR code page.
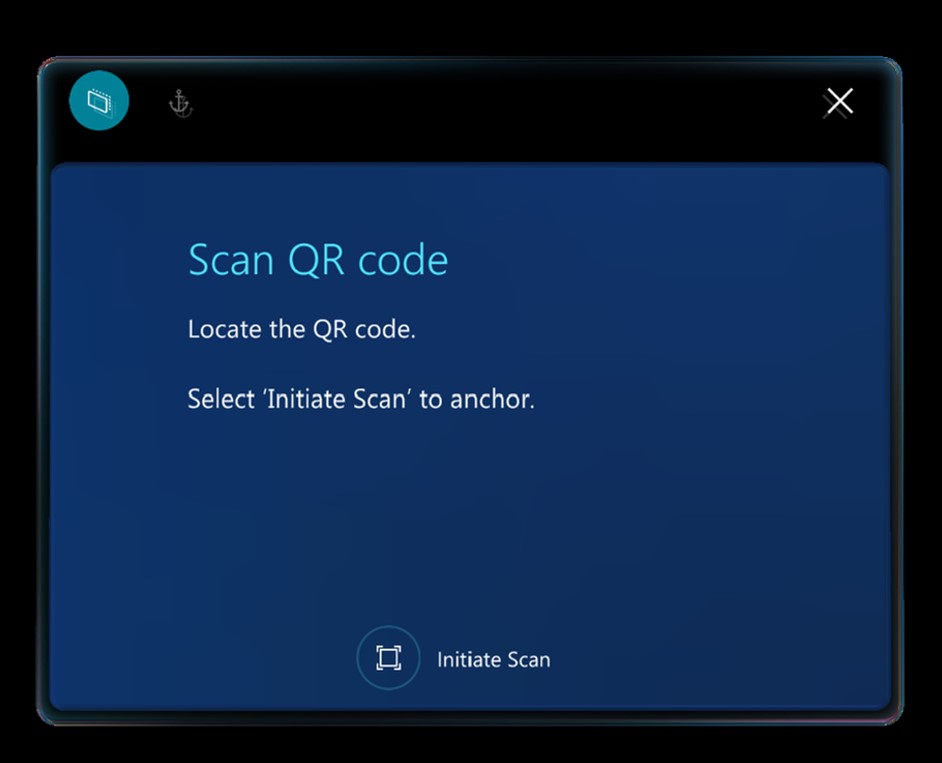
Like the calibration of Microsoft HoloLens, anchoring a guide is a crucial step. You anchor a guide to make sure that the holographic instructions line up with your real-world environment. If the holograms don't line up, you'll likely be confused when you try to do a task. You could even cause damage. For example, you might drill a hole in the wrong place.
Four types of anchors
The way that you anchor your guide depends on the type of anchor that the author selected for the guide. There are four types of anchors:
Object anchor
QR code anchor - A printed QR code anchor that's attached to a physical object in the real world.
Circular code anchor - A printed circular code that's attached to a physical object in the real world.
Holographic anchor - A digital representation that's overlaid on a physical object in the real world. The digital representation can be a computer-aided design (CAD) model or a scanned model.
This topic provides step-by-step instructions for each type of anchor.
Anchor a guide by using an object anchor
Put on your HoloLens, and then locate the target object in your physical environment.
In the Scan target object dialog box, select Initiate Scan.
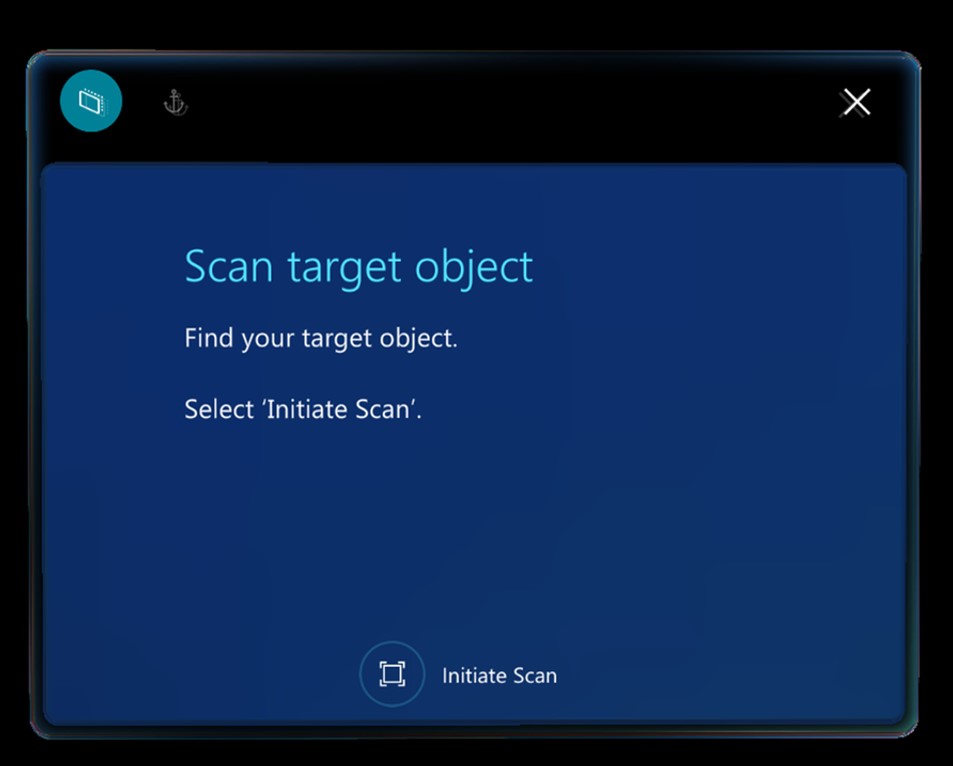
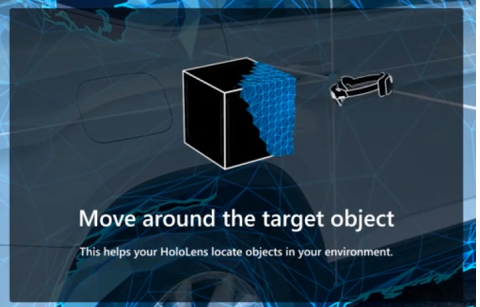
Look at the target object with your HoloLens, and then move around the object to scan it.
HoloLens automatically recognizes the object based on the object anchor.
Continue to move around the object if you're prompted to do so.
When the scan is successful, the object will have a green overlay.
Note
Objects that have moved or are moving may cause variable accuracy. If you have issues with object detection and content alignment, try clearing the mesh and all holograms. To do this, on HoloLens, go to Settings > System > Holograms > Remove all holograms. This will clear the location of all holograms placed in your world, not just the object anchor.
If this is your first time scanning the object, select Confirm or Rescan. If the object has been scanned previously, the guide will be successfully anchored to the object anchor. HoloLens automatically goes to the first step of the guide.
Anchor your guide by using a QR code anchor
Look for a QR code anchor that's attached to a physical object in your real-world environment. The QR code anchor will resemble this illustration.
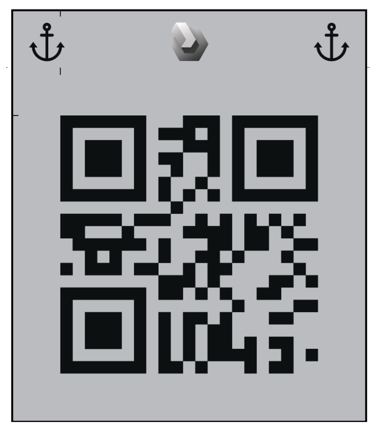
Put on your HoloLens and open the guide. If a QR code is used to anchor the guide, you'll see the Scan QR code page.
On the Scan QR code page, select Initiate Scan.

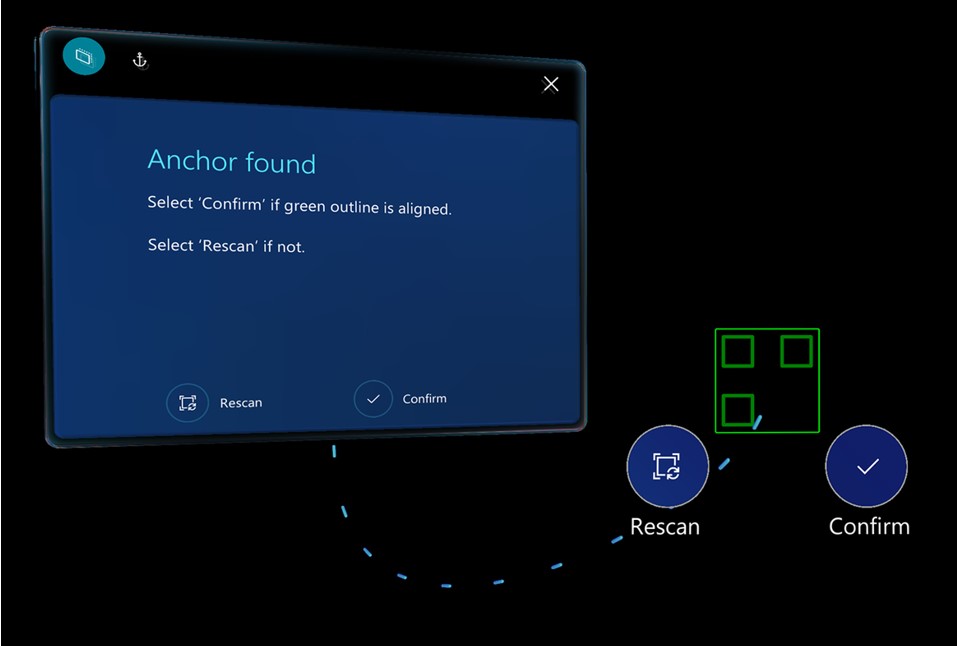
On your HoloLens, you'll see a hologram that resembles the QR code anchor. Align the anchor hologram with the QR code anchor. When the green box is aligned, gaze at Confirm to select it.
Tip
You can re-align holographic content that might seem offset from the real world (for example, a rectangle that should be referencing a tool, but is floating in the air away from the tool bench). When using a QR code anchor, a good way to control hologram offset is to make sure the green outline aligns with the QR code. If the green outline isn’t aligned, you may need to tap the Anchor button to rescan.
Anchor your guide by using a circular code anchor
Look for a circular code anchor that's attached to a physical object in your real-world environment. The circular code anchor will resemble this illustration.
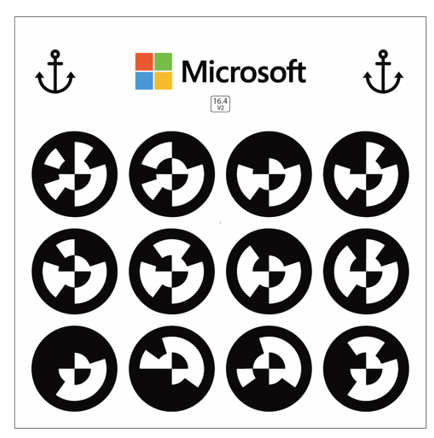
Put on your HoloLens and open the guide. If a circular code is used to anchor the guide, you'll see the Scan circular code page.
On the Scan circular code page, select Initiate Scan.
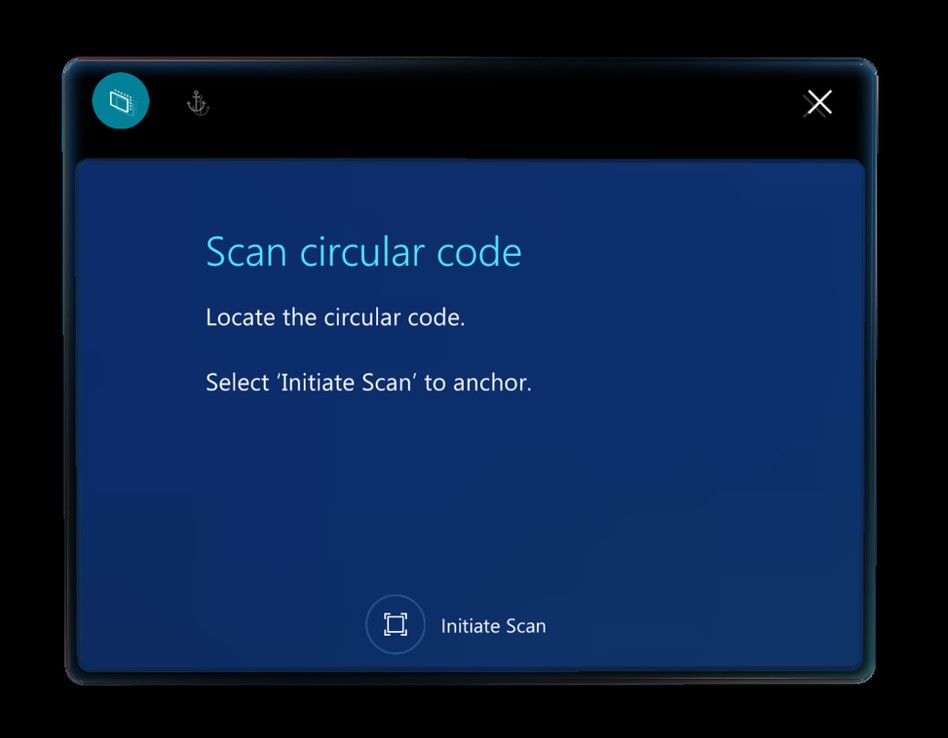
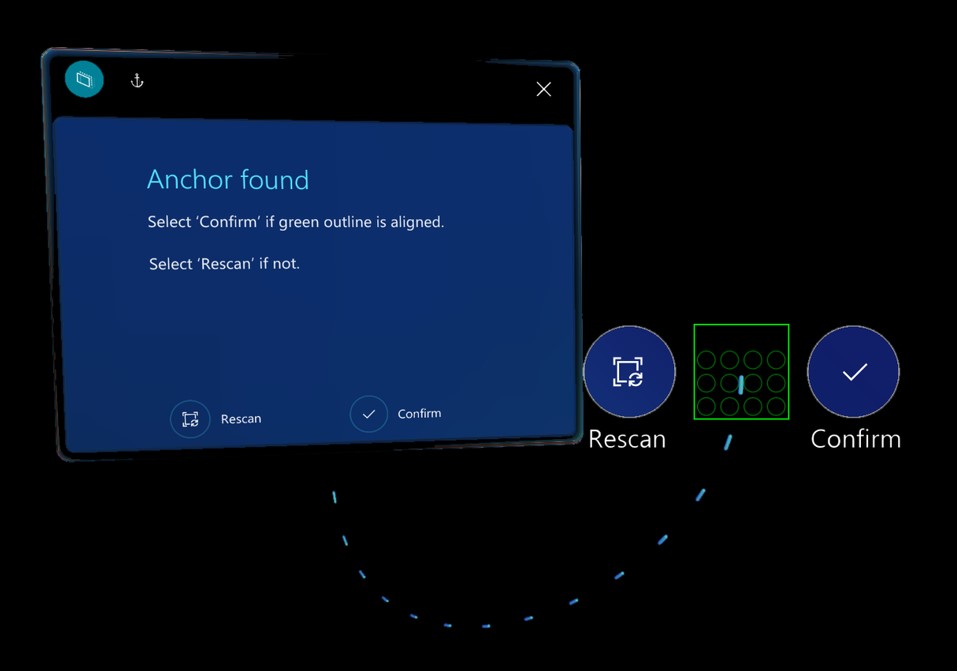
On your HoloLens, you'll see a hologram that resembles the circular code anchor. Align the anchor hologram with the circular code anchor. When the green box is aligned, gaze at Confirm to select it.
Tip
You can re-align holographic content that might seem offset from the real world (for example, a rectangle that should be referencing a tool, but is floating in the air away from the tool bench). When using a circular code anchor, a good way to control hologram offset is to make sure the green outline aligns with the circular code. If the green outline isn’t aligned, you may need to tap the Anchor button to rescan.
Anchor your guide by using a holographic anchor
For a holographic anchor, you align a hologram on your HoloLens with a similar object in the real world.
To align the holographic anchor with its real-world counterpart, air tap and hold to move the hologram. Tap and hold the blue spheres to rotate the hologram as required.

Tip
You can re-align holographic content that might seem offset from the real world (for example, a rectangle that should be referencing a tool, but is floating in the air away from the tool bench). When using a holographic anchor, select the Anchor button to make sure the digital version of the real object and the object itself are still aligned.
Where alignment information is stored
When you align your guide, if you're using the Microsoft HoloLens Commercial Suite, the alignment information is stored on HoloLens, so you don't have to realign the guide every time that you open it. However, you can realign a guide at any time if you think that the holograms are out of alignment by using the Anchor button. For more information, see Operate a guide.
What's next?
Opinia
Dostępne już wkrótce: W 2024 r. będziemy stopniowo wycofywać zgłoszenia z serwisu GitHub jako mechanizm przesyłania opinii na temat zawartości i zastępować go nowym systemem opinii. Aby uzyskać więcej informacji, sprawdź: https://aka.ms/ContentUserFeedback.
Prześlij i wyświetl opinię dla