Deploy HPC ACM Pack self-host Service in Azure
You can deploy HPC Azure Cluster Management (ACM) Pack as a self-hosted service (aka. HPC ACM Service) to help you manage your HPC Clusters in Azure. The service provides cluster diagnostics (including benchmark and MPI diagnostics), monitoring and management features.
There are two options to deploy the HPC ACM Service in Azure:
Deploy a standalone HPC ACM Service, and then manually register your existing HPC cluster to it. With this option, you can register an HPC cluster with any scheduler or even just a set of virtual machines to the service.
Deploy an HPC ACM Service as well as a new HPC cluster with the open source HPC scheduler Slurm or PBSPro.
Go to HPC Azure Cluster Management Service page in Azure Marketplace, sign in with your Azure account. Then click the Create button at the bottom of the page and complete the following settings to deploy the HPC ACM Service in Azure.
Basic Settings
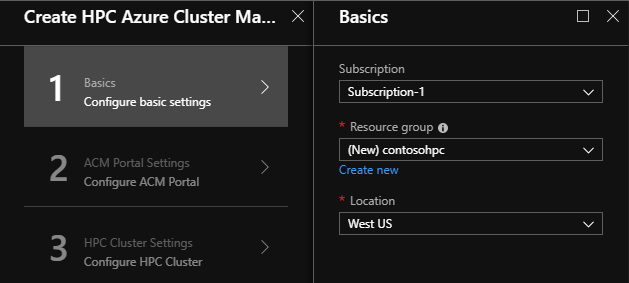
On the Basics page, specify the Subscription, Location, and Resource group in which your ACM service will be deployed, and click the button OK to continue.
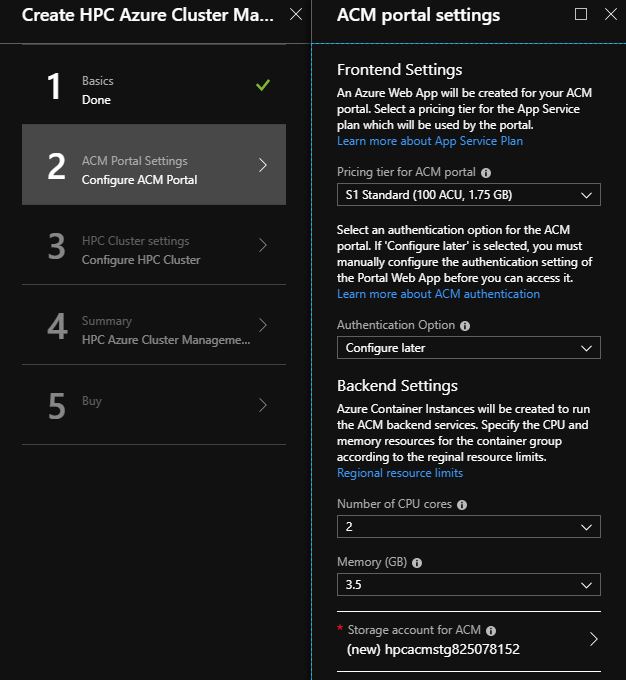
ACM Portal Settings
On the ACM Portal Settings page, specify the following parameters.
Note
An Azure website (Web App) will be created to host the ACM service portal. You can visit the ACM service portal at https://\<DnsNameLabel\>.azurewebsites.net after the deployment. Currently the DNS name label is automatically generated, see How to find the URL of the ACM portal.
Pricing tier for ACM portal: select a pricing tier from the list for the App Service Plan used by the ACM frontend service, for example S1 Standard.
Authentication Option: select an authentication option for the ACM portal access control. The brief description of alternative options is as below:
| Authentication Option | Description |
|---|---|
| Configure later | The ACM service portal is not accessible until you configure Azure Active Directory authentication for the Web App service. See Integrate with Azure AD for more details. |
| Existing AAD application | Use an existing Azure Active Directory (AAD) application for the ACM portal access control. You shall specify the AAD application id as well if you select this option. See Integrate with Azure AD for more details. |
| No Authentication | The ACM service portal allows anonymous access. It is only for dev/test purpose, you shall NEVER select this option for production. |
Number of CPU cores and Memory: specify the CPU and memory resources for the ACM backend services which run as Azure Container Instances.
Important
The maximum CPU and memory resources you can specify are subject to the resource limits for Azure Container Instances which vary depending on the location. The deployment will fail if Number of CPU cores or Memory exceeds the regional resource limits. Click the link Regional resource limits on the page to check the resource limits in your selected location.
The default values for Number of CPU cores and Memory are the minimum values which meet the resource limits on all locations. Consider to specify more resources if you create the ACM service in a location with higher resource limits.
Storage account for ACM: specify a new storage account for ACM service which is used to store ACM service data as well as the registered HPC cluster data.
HPC Cluster Settings
Standalone ACM Service
If you want to deploy a standalone ACM service, select No for Create new HPC cluster on the HPC Cluster Settings page, and click the button OK.
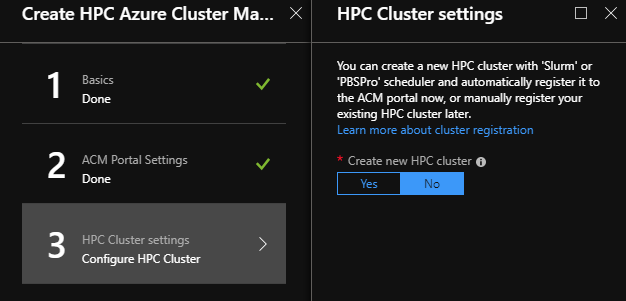
ACM Service with a new HPC cluster
If you want to deploy a new HPC cluster as well, select Yes for Create new HPC cluster on the HPC Cluster Settings page.
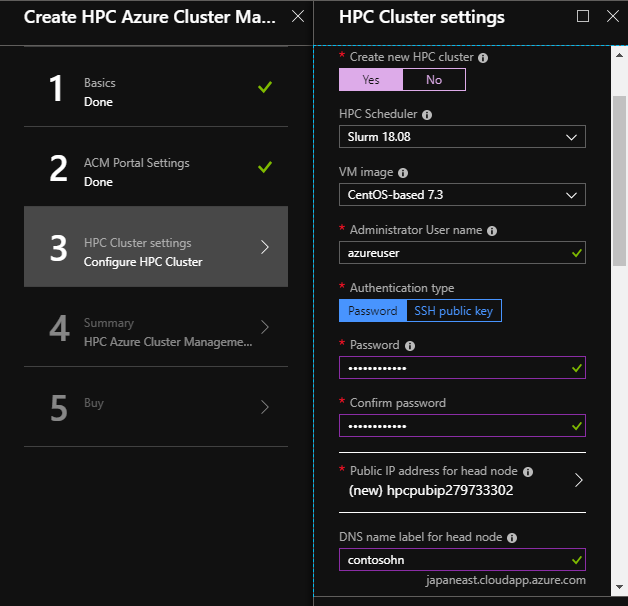
HPC Scheduler: Select one scheduler and its version for your HPC cluster from the list. Currently several versions of open source scheduler Slurm or PBSPro are supported.
VM image: Select a VM image for the HPC cluster nodes.
Note
If you select a VM image name which contains HPC, you must select RDMA capable VM sizes for both head node and worker nodes, or the deployment will fail.
Administrator User Name: Specify the administrator user name for all the virtual machines.
Authentication type: Specify how you want to authenticate the administrator user.
Password or SSH public key: Specify either a password or an SSH public key according to the authentication type.
Head node public IP address: Specify an existing or a new public IP address for the head node.
DNS name label for head node: Optional, you can specify a DNS name label if you choose to create a new head node public IP address.
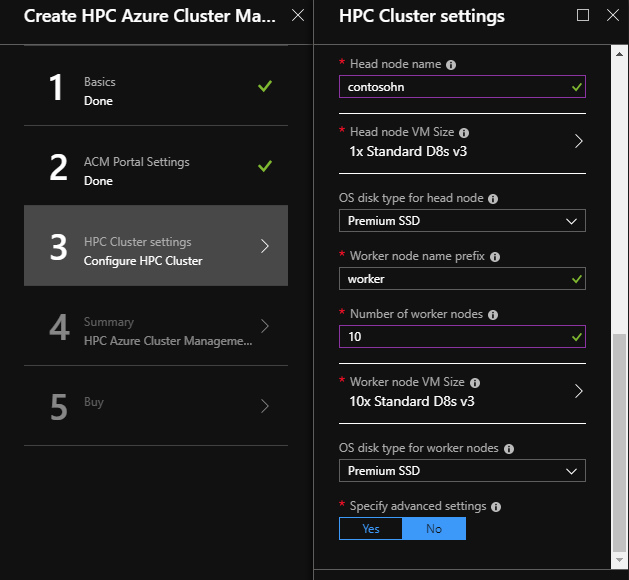
Head node name: Specify a VM name for the head node.
Head node VM size: Select a VM size for the head node.
OS disk type for head node: Select a disk type for the head node OS disk.
| Disk Type | Description |
|---|---|
| Premium SSD | Premium SSD offers high-performance, low-latency disk support for I/O-intensive applications and production workloads. **This option is shown only when you choose a VM size with premium storage support. ** |
| Standard SSD | Standard SSD is a cost effective storage option optimized for workloads that need consistent performance at lower IOPS levels. Standard SSD disks can be used for all VM size. |
| Standard HDD | Standard HDD is optimized for low-cost mass storage with infrequent access. Use Standard HDD disks for Dev/Test scenarios and less critical workloads. Standard HDD disks can be used for all VM size. |
Worker node name prefix: Specify the VM name prefix for worker nodes to generate a sequence of work node VM names. For example, if worker is specified as name prefix, the worker node names will be worker0, worker1, worker2...
Number of worker nodes: Specify the number of worker nodes you want to created.
Worker node VM size: Select a VM size for the worker nodes.
OS disk type for worker node: Select a disk type for the worker node OS disk.
Specify advanced settings: Select Yes if you want to specify advanced settings for the HPC cluster, or the default values will be applied for all the advanced settings.
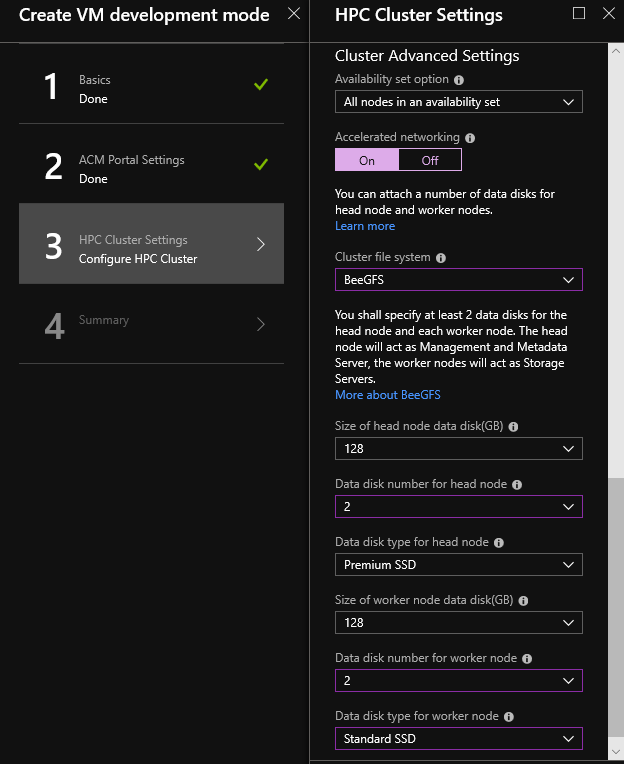
Availability set option: Specify whether you want to create the HPC nodes in an Azure availability set. By default, all nodes will be created in an availability set. Consider to choose Worker nodes in an availability set if the VM sizes for head node and worker node belong to different VM size families.
Accelerated networking: Specify whether you want to take advantage of Azure accelerated networking to improve your cluster networking performance with higher throughput and lower latency, jitter, and CPU utilization.
Note
Accelerated networking is supported only on some Linux distributions and VM sizes. To use Azure accelerated networking, you must select CentOS 7.4 or above VM image, and select supported VM size for both head node and worker nodes. The option will be hidden if the VM sizes or VM image you selected do not support Accelerated networking.
Cluster file system: Specify whether you want to create a cluster file system with BeeGFS across the HPC cluster nodes. If you choose BeeGFS, at least 2 data disks are required for each node. The head node will act as the management and metadata server, the worker nodes will act as the storage servers. If you choose None, no cluster file system will be created.
Size of head node data disk: Specify the size in Gigabytes of the each data disk on the head node.
Data disk number for head node: Specify how many data disks you want to create for the head node.
Data disk type for head node: Specify the data disk type for the head node data disk(s).
Size of worker node data disk: Specify the size in Gigabytes of the each data disk on the worker nodes.
Data disk number for head node: Specify how many data disks you want to create for each worker node.
Data disk type for head node: Specify the data disk type for the worker node data disk(s).
Note
The maximum number of data disks that you can create for a virtual machine depends on the VM size. You can check the value of DATA DISKS when selecting the VM size, or refer to the online document Azure VM sizes.
When you complete all the settings above, you can review the settings on the Summary page, and click the button OK to continue.
Accept the terms of use on the Buy page, and click the button Create to start the deployment. It usually takes less than 5 minutes to complete a standalone ACM service deployment. If you choose to deploy the ACM service together with a new HPC cluster, it may take 10 ~ 20 minutes (maybe more) depending on the settings you specified for the HPC cluster.
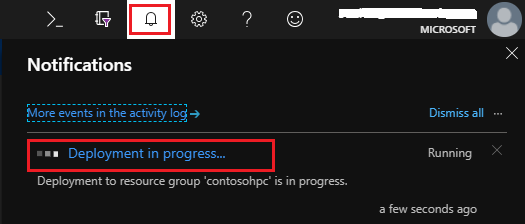
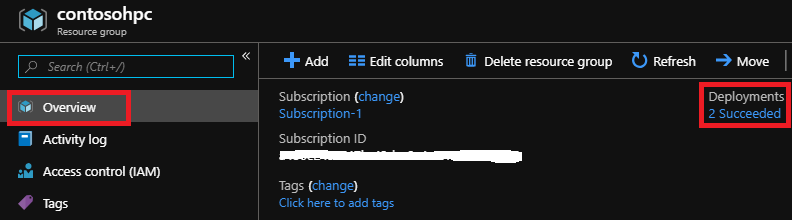
After submitting the deployment, you can either click the notifications icon on the top right of the Azure Portal page and click Deployment in progress, or go to the resource group and click Deployments to track the progress of the deployment.
How to find the URL of the ACM portal
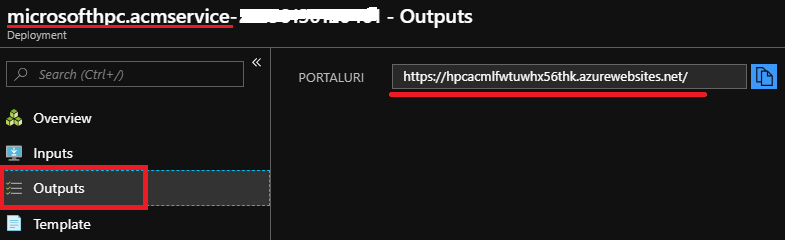
When the deployment completes, you can find the URL of the ACM portal by the following two ways. The first portion of the URL is an automatically generated unique string leading with hpcacm.
- Click Outputs on the deployment progress page.
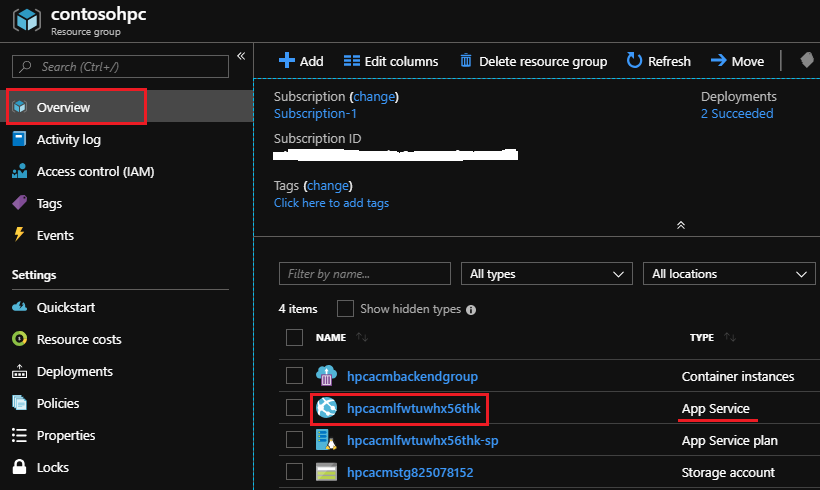
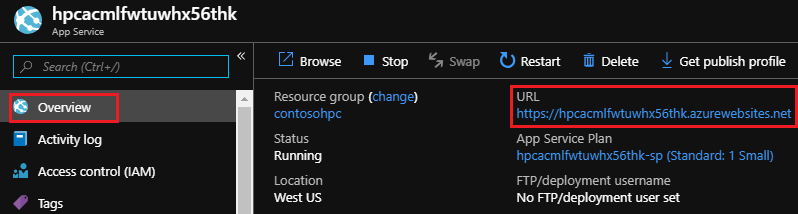
Go to the resource group you just created, and find the resource with App service type on the Overview page. And then click the resource to find the portal URL.