Manage a Microsoft Dev Box project
In this article, you learn how to manage a Microsoft Dev Box project by using the Azure portal.
A project is the point of access to Microsoft Dev Box for the development team members. A project contains dev box pools, which specify the dev box definitions and network connections used when dev boxes are created. Dev managers can configure the project with dev box pools that specify dev box definitions appropriate for their team's workloads. Dev box users create dev boxes from the dev box pools they have access to through their project memberships.
Each project is associated with a single dev center. When you associate a project with a dev center, all the settings at the dev center level are applied to the project automatically.
Project admins
Microsoft Dev Box makes it possible for you to delegate administration of projects to a member of the project team. Project administrators can assist with the day-to-day management of projects for their team, like creating and managing dev box pools. To provide users permissions to manage projects, add them to the DevCenter Project Admin role. The tasks in this article can be performed by project admins.
To learn how to add a user to the Project Admin role, refer to Provide access to projects for project admins.
Important
A user who is assigned the Dev Box User role or the Project Admin role can create a dev box.
Permissions
To manage a dev box project, you need the following permissions:
| Action | Permission required |
|---|---|
| Create or delete dev box project | Owner, Contributor, or Write permissions on the dev center in which you want to create the project. |
| Update a dev box project | Owner, Contributor, or Write permissions on the project. |
| Create, delete, and update dev box pools in the project | - Owner, Contributor permissions on an Azure subscription or a specific resource group. - DevCenter Project Admin permissions for the project. |
| Manage a dev box within the project | DevCenter Project Admin. |
| Add a dev box user to the project | Owner permissions on the project. |
Create a Microsoft Dev Box project
The following steps show you how to create and configure a Microsoft Dev Box project.
Sign in to the Azure portal.
In the search box, enter projects. In the list of results, select Projects.
On the Projects page, select Create.
On the Create a project pane, on the Basics tab, enter the following values:
Setting Value Subscription Select the subscription in which you want to create the project. Resource group Select an existing resource group, or select Create new and then enter a name for the new resource group. Dev center Select the dev center that you want to associate with this project. All the settings at the dev center level apply to the project. Name Enter a name for the project. Description Enter a brief description of the project. 
On the Dev box management tab, ensure No is selected.
You can select Yes to limit the number of dev boxes per developer, and specify the maximum number of dev boxes a developer can create. The default, No, means developers can create an unlimited number of dev boxes.
To learn more about dev box limits, see Tutorial: Control costs by setting dev box limits on a project.
(Optional) On the Tags tab, enter a name/value pair that you want to assign.
Select Review + Create.
On the Review tab, select Create.
Confirm that the project is created successfully by checking the notifications. Select Go to resource.
Verify that the project appears on the Projects page.

As you create a project, you might see this informational message about catalogs:

Because you're not configuring Deployment Environments, you can safely ignore this message.
Delete a Microsoft Dev Box project
You can delete a Microsoft Dev Box project when you're no longer using it. Deleting a project is permanent and can't be undone. You can't delete a project that has dev box pools associated with it.
Sign in to the Azure portal.
In the search box, enter projects. In the list of results, select Projects.
Open the dev box project that you want to delete.
Select Delete.
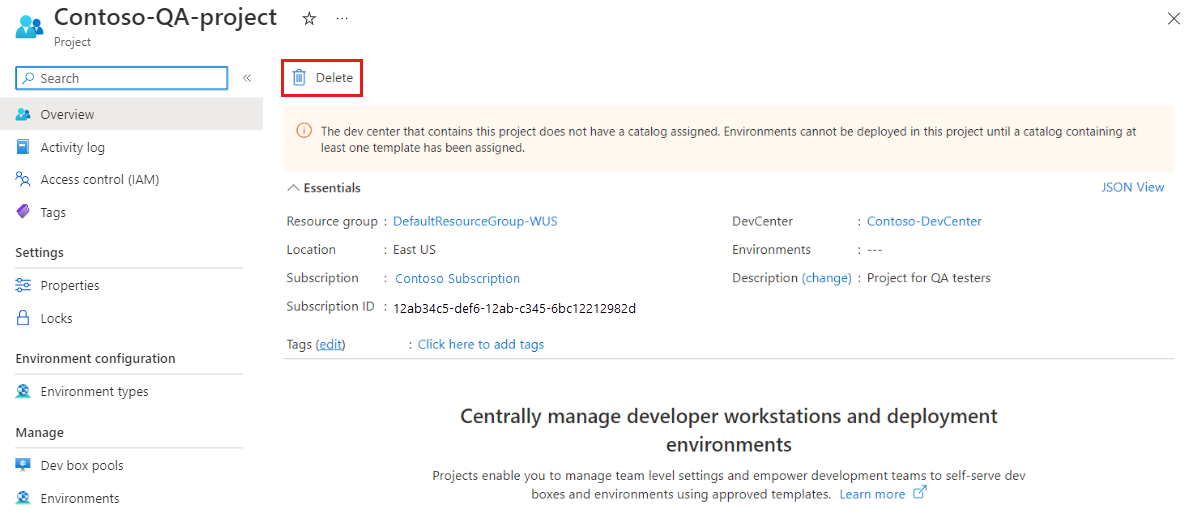
In the confirmation message, select OK.


Provide access to a Microsoft Dev Box project
Before users can create dev boxes based on the dev box pools in a project, you must provide access for them through a role assignment. The Dev Box User role enables dev box users to create, manage, and delete their own dev boxes. You must have sufficient permissions to a project before you can add users to it.
Sign in to the Azure portal.
In the search box, enter projects. In the list of results, select Projects.
Open the dev box project that you want to provide your team members access to.
On the left menu, select Access Control (IAM), and then select Add > Add role assignment.

Assign the following role. For detailed steps, see Assign Azure roles using the Azure portal.
Setting Value Role Select DevCenter Dev Box User. Assign access to Select User, group, or service principal. Members Select the users or groups you want to have access to the project. 


The user is now able to view the project and all the pools within it. They can create dev boxes from any of the pools and manage those dev boxes from the developer portal.
To assign administrative access to a project, select the DevCenter Project Admin role. For more information on how to add a user to the Project Admin role, see Provide access to projects for project admins.
Related content
Feedback
Coming soon: Throughout 2024 we will be phasing out GitHub Issues as the feedback mechanism for content and replacing it with a new feedback system. For more information see: https://aka.ms/ContentUserFeedback.
Submit and view feedback for