Manage paid access for users
Azure DevOps Services | Azure DevOps Server 2022 - Azure DevOps Server 2019
You can assign and remove users and get billed according to those assignments, rather than complete a purchase process. This article helps you take advantage of the tools we have for managing paid access for users. This way you only pay for what you need.
For more information, learn how to manage paid access to Azure Boards, Azure Repos, and Azure Test Plans.
Visual Studio subscribers get access included with their subscription, and their subscription gets detected when they sign in to Azure DevOps for the first time.
Tip
To estimate costs for Azure DevOps, see the Pricing calculator or the Azure DevOps pricing page.
Prerequisites
Ensure you have the following items in place:
- You must have licensing set up for your organization via Azure
- You must be a member of the Project Collection Administrators group. Organization owners are automatically members of this group.
Pay via Azure
Complete the following steps to pay via Azure.
- Create an Azure DevOps organization, even if you don't intend to use it.
- Set up billing using an Azure subscription and add users or buy CI/CD.
- Assign licenses to users.
You're entitled to the same number of user licenses to be used in the server.
Prerequisites
Ensure you have the following items in place:
- Billing is set up for your organization
- You have permissions allocated as an organization Owner or a member of the Project Collection Administrators group
Assign Basic or Basic + Test Plans
The easiest way to control paid access is to manually assign an access level. You can assign the access level when you add a new user to your organization. Also, remove users when they leave your organization.
Keep the following information in mind:
- Visual Studio subscribers get detected automatically when they sign in. There's no extra charge for users with a Visual Studio subscription.
- Stakeholder is a free access level with limited functionality.
- Basic is free for the first 5 users, and paid for 6 or more users.
- Basic + Test Plans is paid only, but is free to try for 30 days.
Select default access level for new users
All new users get the free Stakeholder access if they're added directly to a project.
To change the access level for new users added to projects, do the following steps:
Sign in to your organization (
https://dev.azure.com/{yourorganization}).Select
 Organization settings.
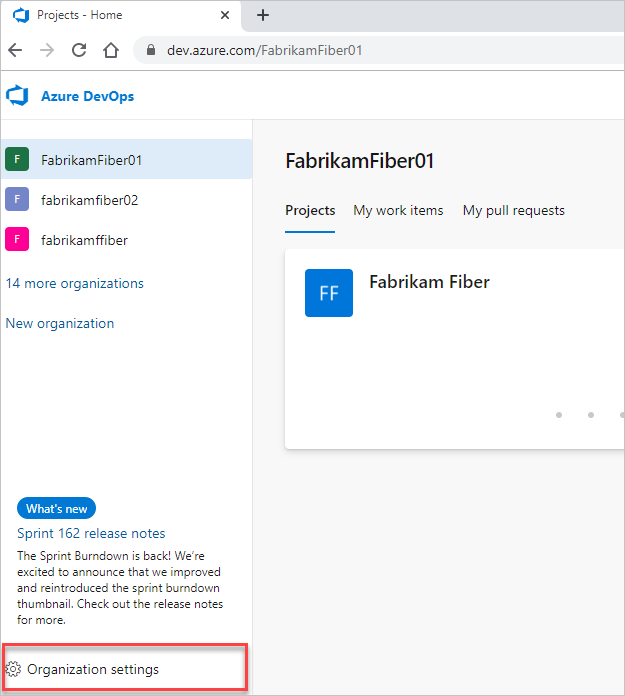
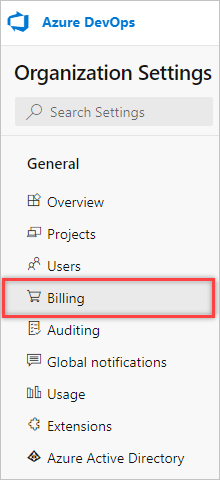
Select Billing.
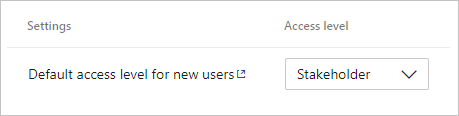
Next to Default access level for new users, choose Basic from the dropdown menu.
Automate access with group rules
Group rules provide a great way to automate access level assignment for your organization. This way, you don't have to manually assign access each time a user gets added or removed. For more information, see Group rules.
Note
A group rule supersedes the default access level. For instance, if a user's part of a group that's assigned Basic access level, they get Basic, even if the default access level's set to Stakeholder. The default access level applies to users who aren't part of any group rules.
Reduce charges for users with no access
Billing stops automatically when users get removed from your organization or are assigned the free Stakeholder access level.
To find out if you have users who are no longer using Azure DevOps, do the following steps:
Sign in to your organization (
https://dev.azure.com/{yourorganization}).Select
Organization settings.Select Users and then sort by Last Access.

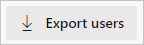
If there are users who haven't signed in, you can find out how recently they were added by exporting the list of users and checking the Date Created column.
Pay for a user once across multiple organizations
If you're a member of more than one Azure DevOps organization, you can turn on multi-organization billing and pay for each Basic or Basic + Test Plans human user once, for all organizations under the same billing Azure subscription. Multi-organization billing doesn't apply to service principals, which you must pay for each organization the service principal was added to where the service principal has Basic or Basic + Test Plans.
For more information, see multi-organization billing FAQs. Complete the following steps.
Sign in to your organization (
https://dev.azure.com/{yourorganization}).Select
Organization settings.Select Billing.
Select Configure user billing.

Select Multi-organization, and then select Save.

Next steps
Related articles
Feedback
Coming soon: Throughout 2024 we will be phasing out GitHub Issues as the feedback mechanism for content and replacing it with a new feedback system. For more information see: https://aka.ms/ContentUserFeedback.
Submit and view feedback for