Use managed identities to access Azure Data Explorer from an Azure Stream Analytics job
Azure Stream Analytics supports managed identity authentication for Azure Data Explorer output. Managed identities for Azure resources is a cross-Azure feature that enables you to create a secure identity associated with the deployment under which your application code runs. You can then associate that identity with access-control roles that grant custom permissions for accessing specific Azure resources that your application needs.
With managed identities, the Azure platform manages this runtime identity. You do not need to store and protect access keys in your application code or configuration, either for the identity itself, or for the resources you need to access. For more information on managed identities for Azure Stream Analytics, see Managed identities for Azure Stream Analytics.
This article shows you how to enable system-assigned managed identity for an Azure Data Explorer output of a Stream Analytics job through the Azure portal. Before you can enable system-assigned managed identity, you must first have a Stream Analytics job and an Azure Data Explorer resource.
Note
Azure Data Explorer supports only managed identities. You will not be able to authenticate to your Azure Data Explorer clusters with connection string.
Create a managed identity
First, you create a managed identity for your Azure Stream Analytics job.
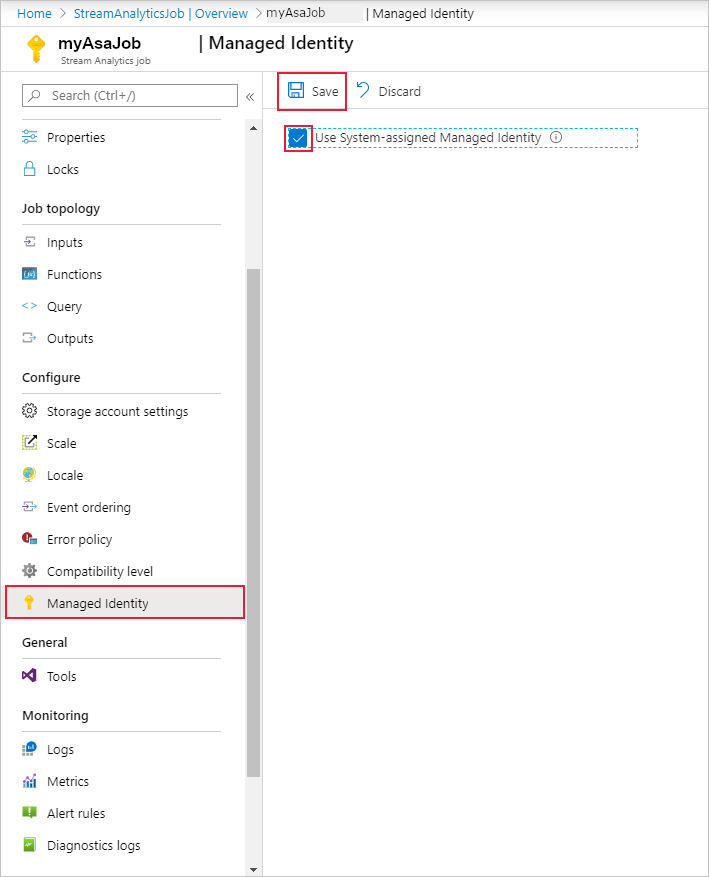
In the Azure portal, open your Azure Stream Analytics job.
From the left navigation menu, select Managed Identity located under Configure. Then, check the box next to Use System-assigned Managed Identity and select Save.
A service principal for the Stream Analytics job's identity is created in Azure Active Directory. The life cycle of the newly created identity is managed by Azure. When the Stream Analytics job is deleted, the associated identity (that is, the service principal) is automatically deleted by Azure.
When you save the configuration, the Object ID (OID) of the service principal is listed as the Principal ID as shown below:
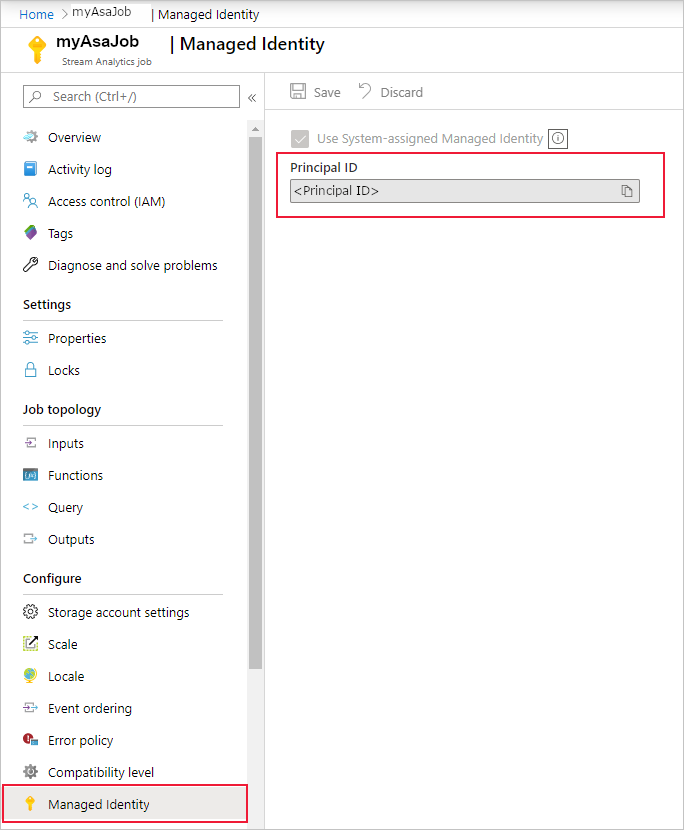
The service principal has the same name as the Stream Analytics job. For example, if the name of your job is
MyASAJob, the name of the service principal is alsoMyASAJob.
Grant the Stream Analytics job permissions to access Azure Data Explorer
For the Stream Analytics job to access your Azure Data Explorer cluster using managed identity, the service principal you created must have special permissions to your Azure Data Explorer resource. In this step, you can assign a role to your stream analytics job's system-assigned managed identity. Azure provides the below Azure built-in roles for authorizing access to an Azure Data Explorer namespace. For Azure Stream Analytics you would need these roles:
| Role | Permissions |
|---|---|
| Data ingestor | Can ingest data into all existing tables in the database, but can't query the data. |
| Data monitor | Can execute .show commands in the context of the database and its child entities. |
Select Access control (IAM).
Select Add > Add role assignment to open the Add role assignment page.
Assign the following role. For detailed steps, see Assign Azure roles using the Azure portal.
Setting Value Role Data ingestor and Data monitor Assign access to User, group, or service principal Members <Name of your Stream Analytics job> 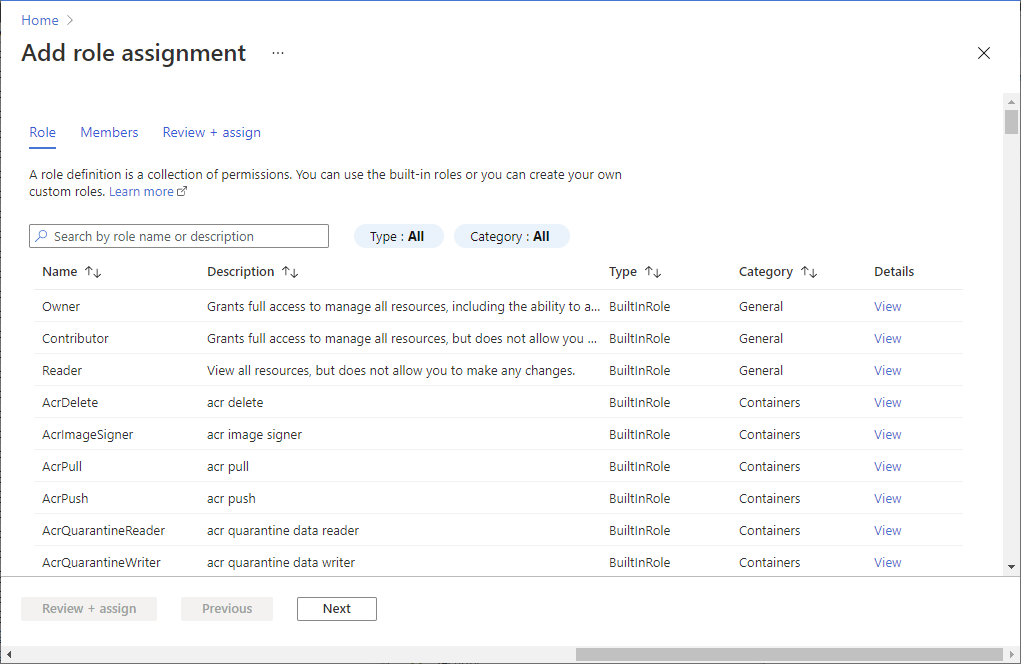
Note
Due to global replication or caching latency, there may be a delay when permissions are revoked or granted. Changes should be reflected within 8 minutes.
Add Azure Data Explorer as an output
Now that your managed identity is configured, you're ready to add the Azure Data Explorer resource as an output to your Stream Analytics job.
Go to your Stream Analytics job and navigate to the Outputs page under Job Topology.
Select Add > Azure Data Explorer. In the output properties window, search and select your Azure Data Explorer (kusto) cluster or type in the URL of your cluster and select Managed Identity: System assigned from the Authentication mode drop-down menu.
Fill out the rest of the properties and select Save.
Next steps
Feedback
Coming soon: Throughout 2024 we will be phasing out GitHub Issues as the feedback mechanism for content and replacing it with a new feedback system. For more information see: https://aka.ms/ContentUserFeedback.
Submit and view feedback for