Note
Access to this page requires authorization. You can try signing in or changing directories.
Access to this page requires authorization. You can try changing directories.
This tutorial provides step-by-step instructions for creating and implementing an application hiding Rule Set, which "hides" the Google Chrome browser for specific users.
- Create your first Rule Set
- Test your hiding rules
- Create assignments for your Rule Set
- Deploy your Rule Set
- Download and install:
- Install Google Chrome
Open the FSlogix Rules Editor.
Tip
If you plan to test this Rule Set in the next section, open the FSLogix Rules Editor as Administrator.
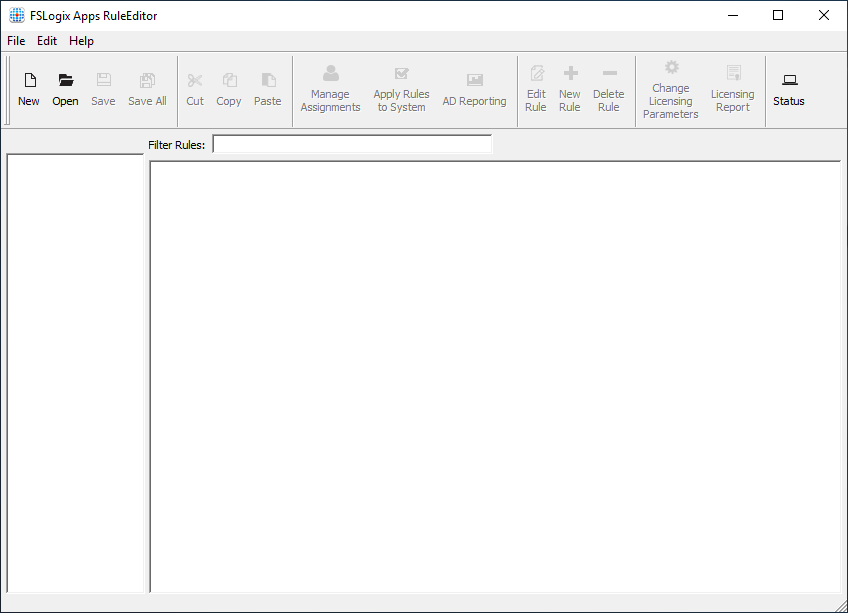
Figure 1: Create new Rule Set
Select File -> New to create a new Rule Set.
Enter the name, Google_Chrome.
Select Enter file name to create the Rule Set and open the rule wizard dialog.
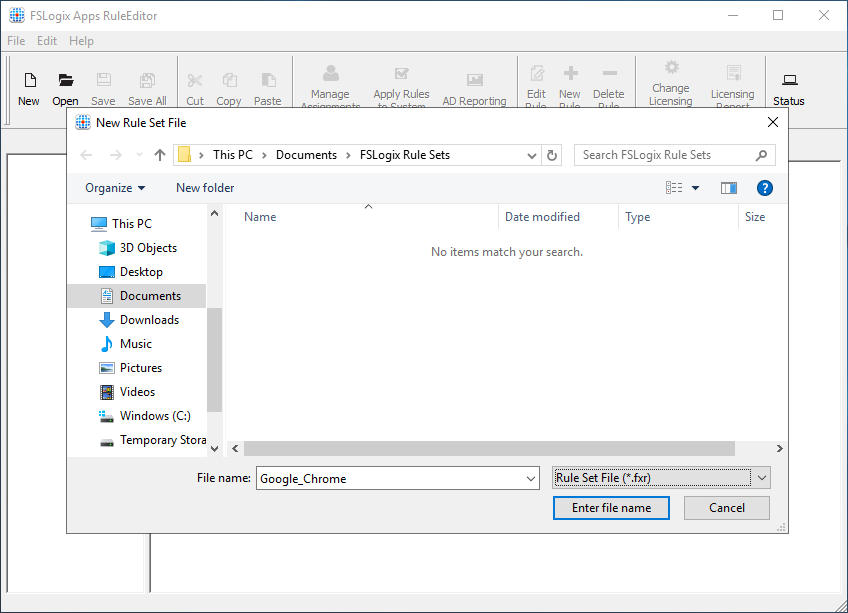
Figure 2: New Rule Set
Select Choose from installed programs:.
select Google Chrome.
Select Scan.
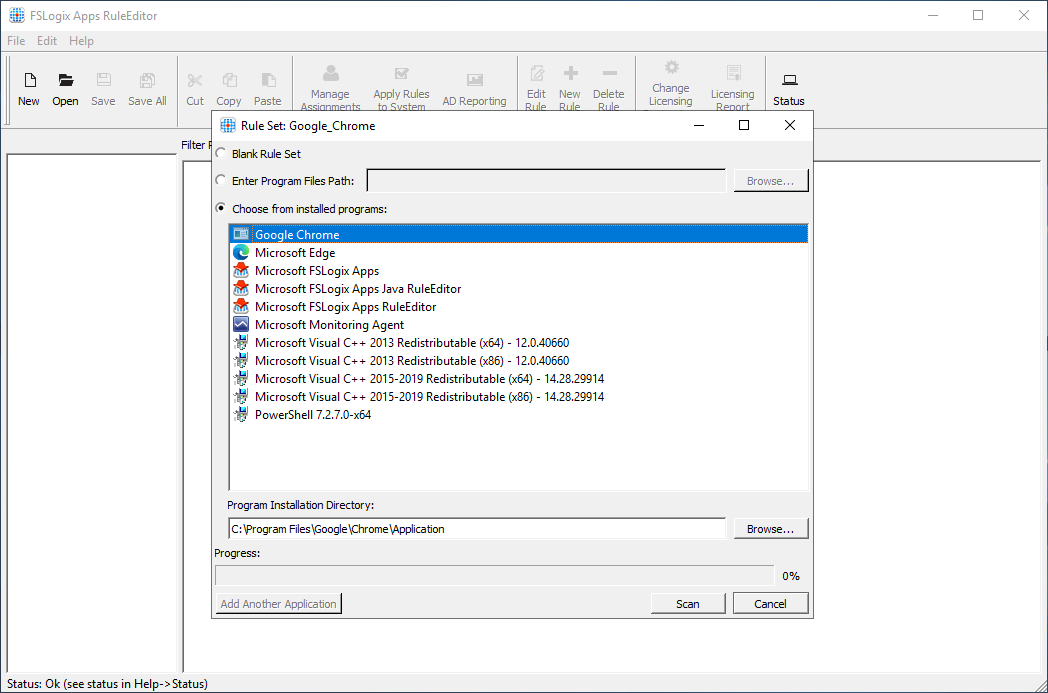
Figure 3: Rule Set Wizard
Note
This will scan the system for all relevant items for the application and include them as hiding rules.
When complete, the Scan button changes. Select OK to display the automatic hiding rules.
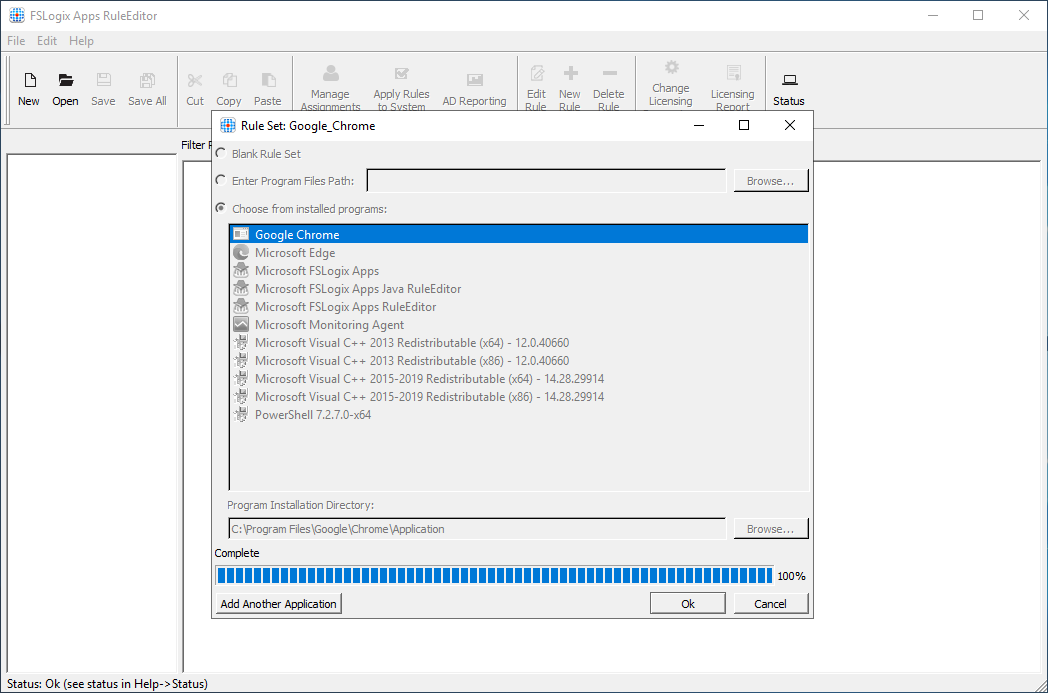
Figure 4: Application scan complete
The Rule Editor now displays all the items to be hidden that are related to Google Chrome and you've created your first Rule Set.

Figure 5: Rule Set rules
The Rule Editor automatically saves the Rule Set file once the rules have been added.
Testing your hiding rules on the system where the rules were created is one way to validate the rules work as intended. Check out the Configuring FSLogix Apps Rule Sets page for an in-depth guide.
To test the hiding rules:
Be sure the Google_Chrome Rule Set is selected in the left pane.
From the action bar, select Apply Rules to System.
- This action immediately applies these rules and you should no longer be able to see or open Google Chrome.
Figure 6: Rule Set Rules
When complete, select Apply Rules to System again and the rules no longer apply.
- Google Chrome should reappear and can be opened.
Rule Set Assignments specify how and to whom the Rules in the Rule Set apply.
To create the assignments:
Be sure the Google_Chrome Rule Set is selected in the left pane.
From the action bar, select Manage Assignments.
Figure 7: Manage Assignments
Select Add.
Select Group.
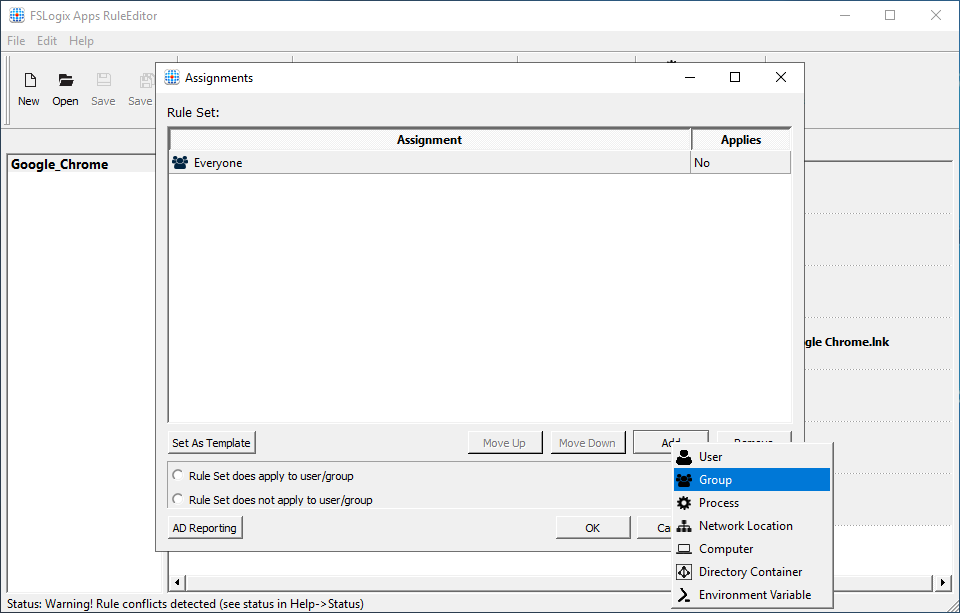
Figure 8: Add Assignments
The Select Group dialog box appears.
Select the 'Person' icon to the right of the Group textbox.
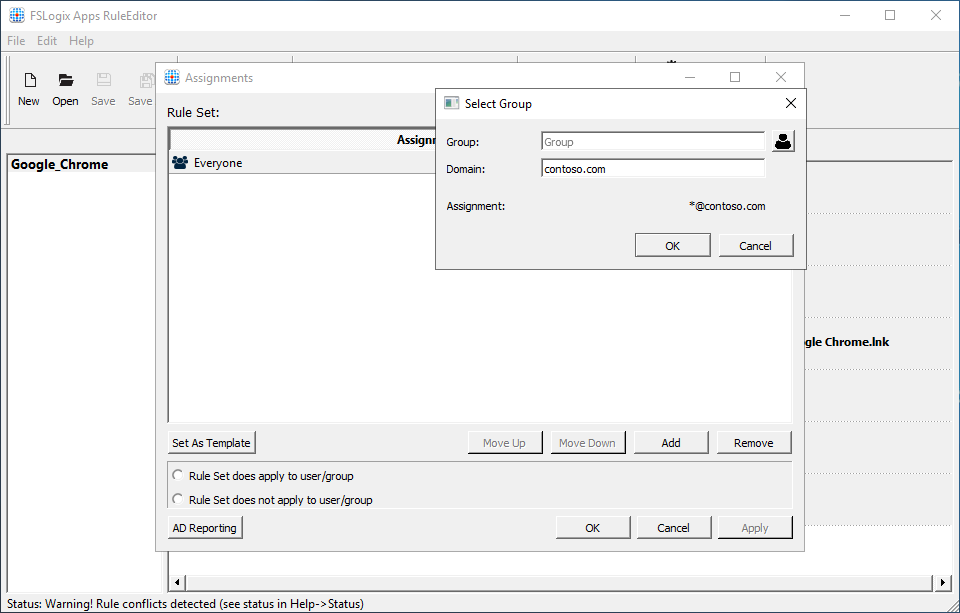
Figure 9: Select Assignments
Type 'Domain Users' and select OK.
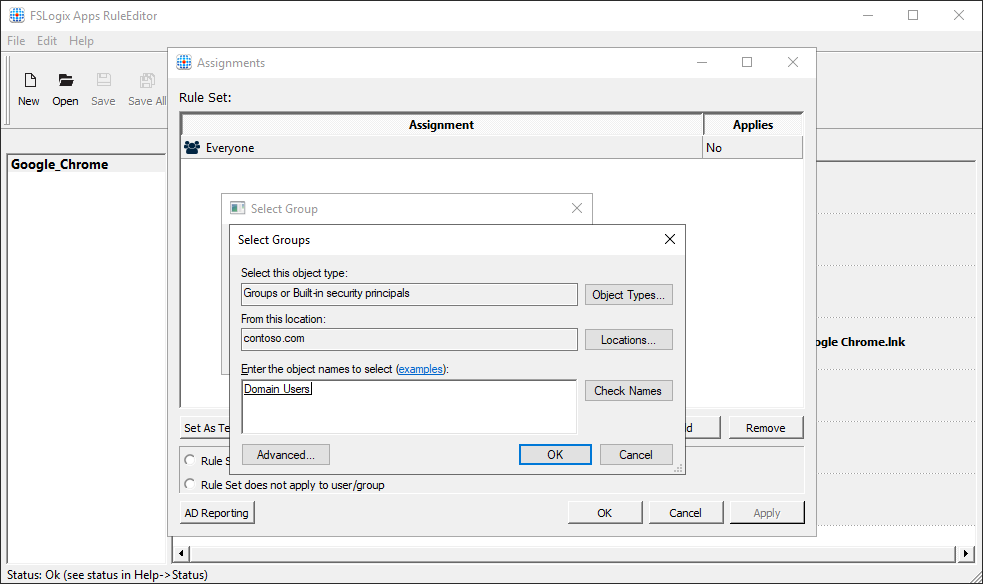
Figure 10: AD Group
The Assignments window now shows:
- 'Everyone', Applies 'No'
- 'CONTOSO\Domain Users', Applies 'Yes'
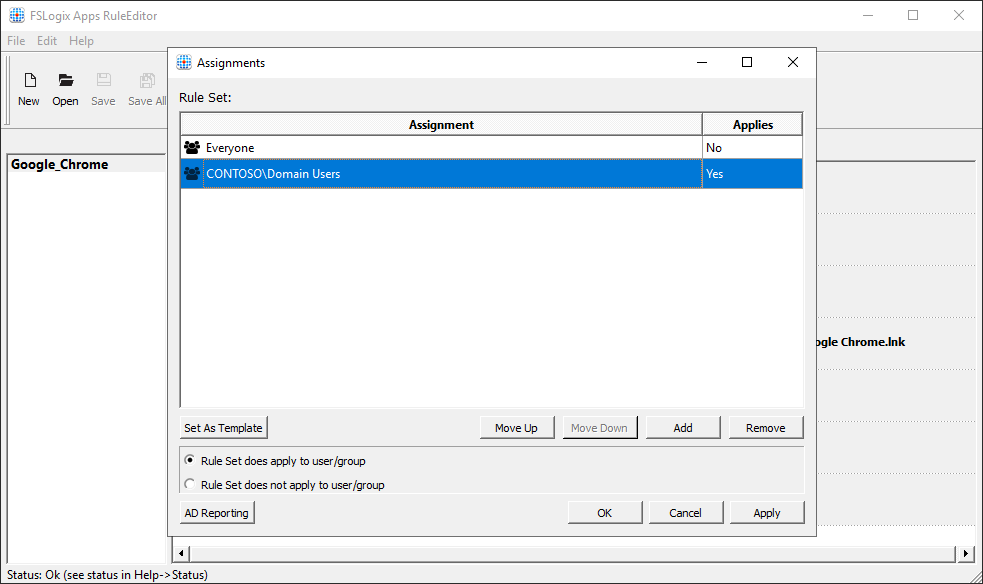
Figure 11: Assignments
Select OK and you've successfully created an assignment for your Rule Set.
FSLogix Rule Sets are saved as two (2) separate files:
- Assignment file (.fxa)
- Rule File (.fxr)
Rule Set files should be copied to the virtual machine. Copy the files to C:\Program Files\FSLogix\Apps\Rules. Once the files are copied to this location, the FSLogix Apps Services uses them immediately.