Add, configure, move, or delete sections on a form
A section on a form occupies the space available in a tab. Sections have several configurable properties including a label that can be displayed.
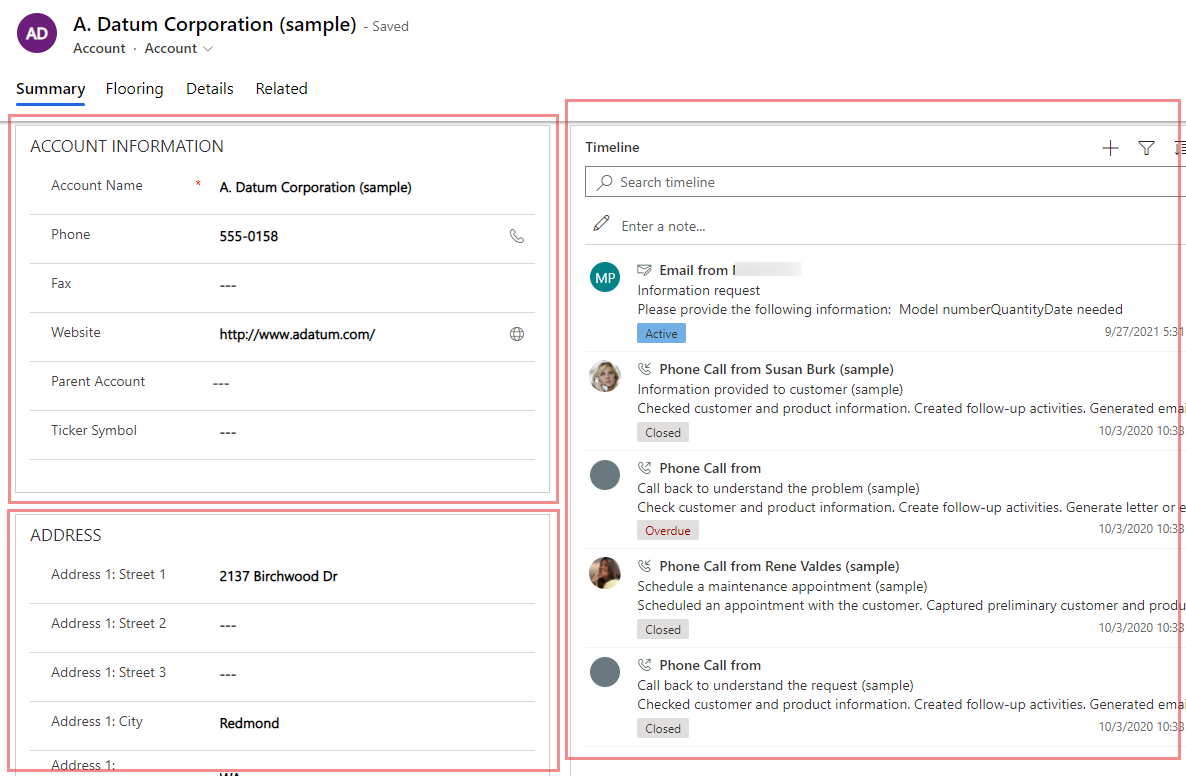
Sections help you group similar components in an area of a form tab, such as the ACCOUNT INFORMATION, ADDRESS, and Timeline single column sections on the main account form Summary tab. Sections can have up to four columns.
Add sections to a form
To add sections to a form, use the Components pane.

Note
Sections can only be added on main forms and quick view forms. More information: Form types. In Unified Interface, empty sections will not render in runtime and will be automatically hidden.
Add sections to a form using drag and drop
Note
When adding or moving sections using drag and drop be aware that the form preview is responsive and may be rendering multiple tab columns as stacked. To ensure that the section being added or moved is in the correct tab column, drop or paste it anchored to another section that is already in that tab column.
- Open the form designer to create or edit a form. More information: Create a form or Edit a form
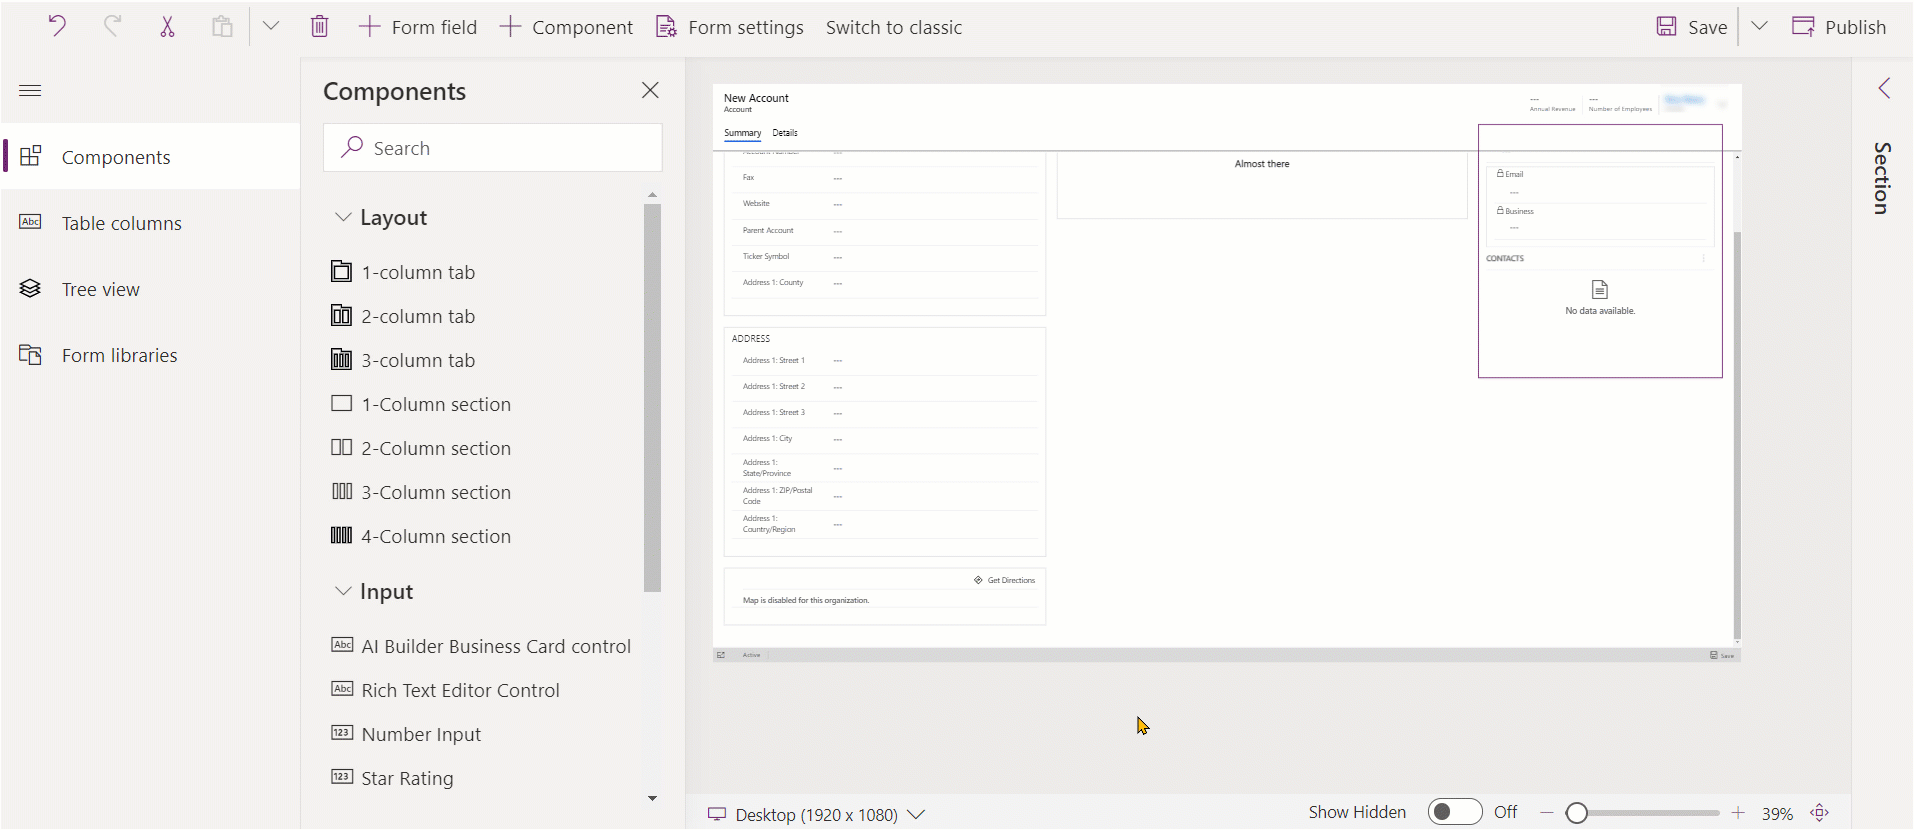
- On the command bar, select Add component, or in the left pane, select Components.
- In the Components pane, select a section component and drag it onto the form preview. As you drag the section on the form preview, you will see drop targets where you can add the section.
- Drop the section in the location you want. Note the following behavior:
- Sections can be dropped before or after any existing section.
- Sections can also be dropped in the empty area within a tab. In this case, the section will be added in an available space so as to evenly distribute sections across the tab columns.
- Hovering over a tab header when dragging a section changes the currently selected tab, allowing you to add the section to a different tab.
- Repeat steps 3-4 above if you want to add more sections.
- On the command bar, select Save to save the form, or select Publish if you want to save and make your changes visible to users.
Add sections to a form using selection
- Open the form designer to create or edit a form. More information: Create a form or Edit a form
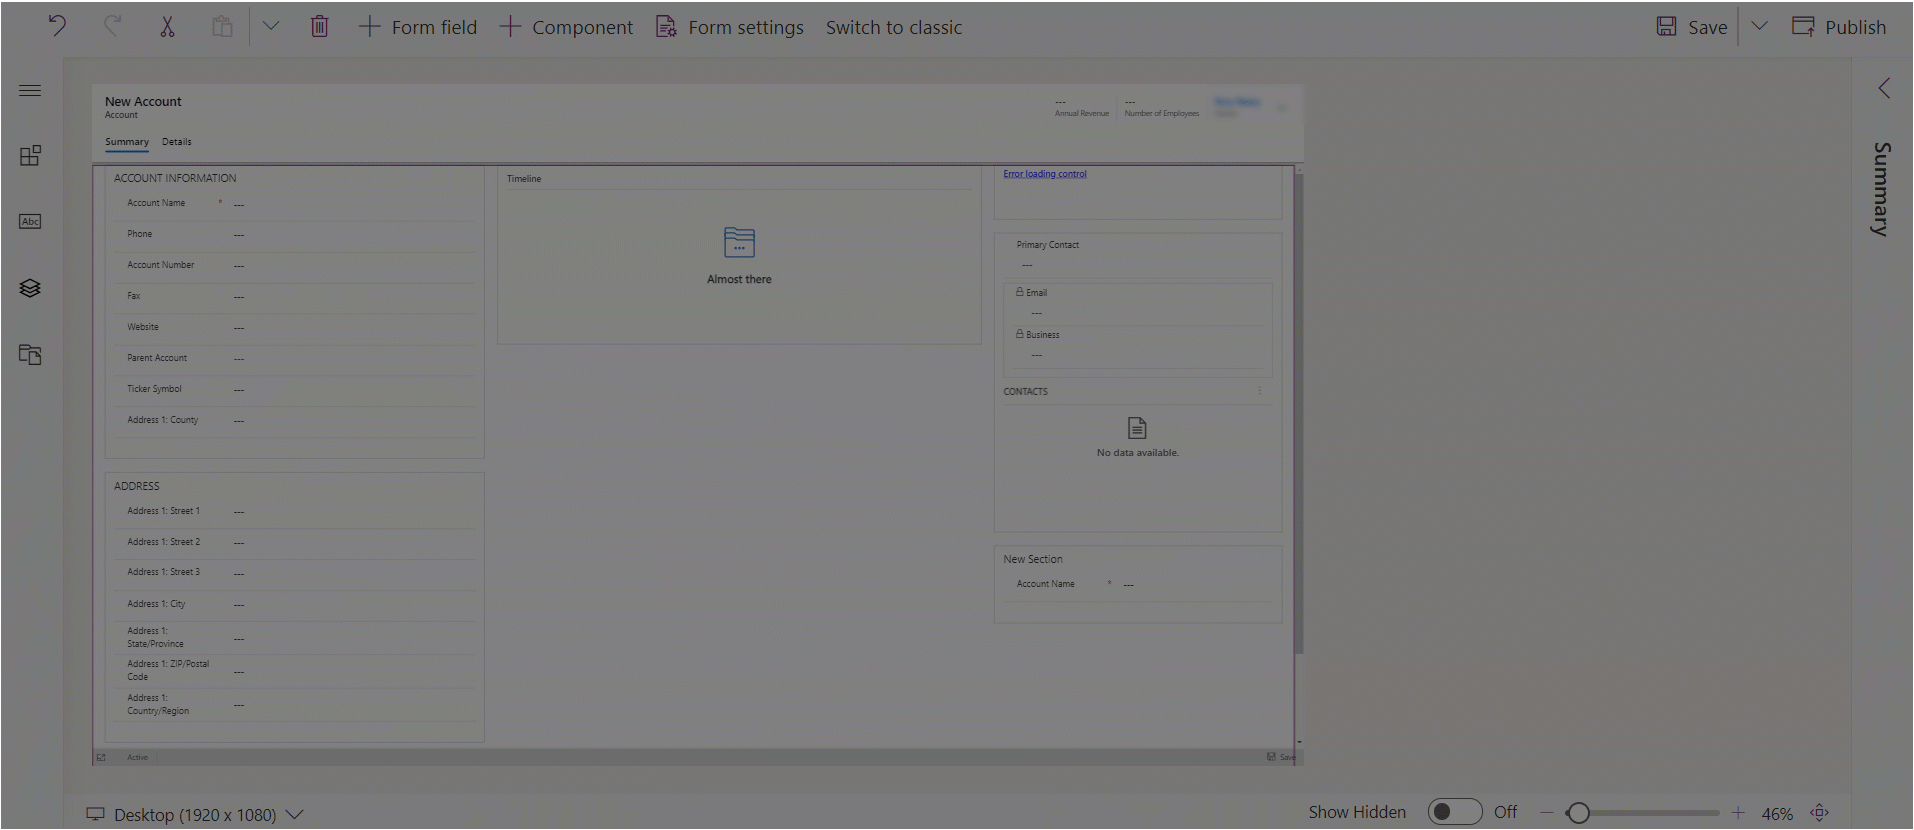
- In the form preview, select another existing section or tab. Note the following behavior:
- When you select an existing section, the new section is added after the existing section.
- When you select a tab, the new section is added in an available space so as to evenly distribute sections across the tab columns.
- On the command bar, select Add component, or in the left pane, select Components.
- In the Components pane, select a section component to add it to the form. Alternatively, select ... next to the section component you want, and then select Add to selected tab.
- Repeat steps 2-4 above if you want to add more sections.
- On the command bar, select Save to save the form. Select Publish to save and make your changes visible to users.
Configure sections on a form
These are the properties available to configure a section when you create or edit a form using the form designer.
| Area | Name | Description |
|---|---|---|
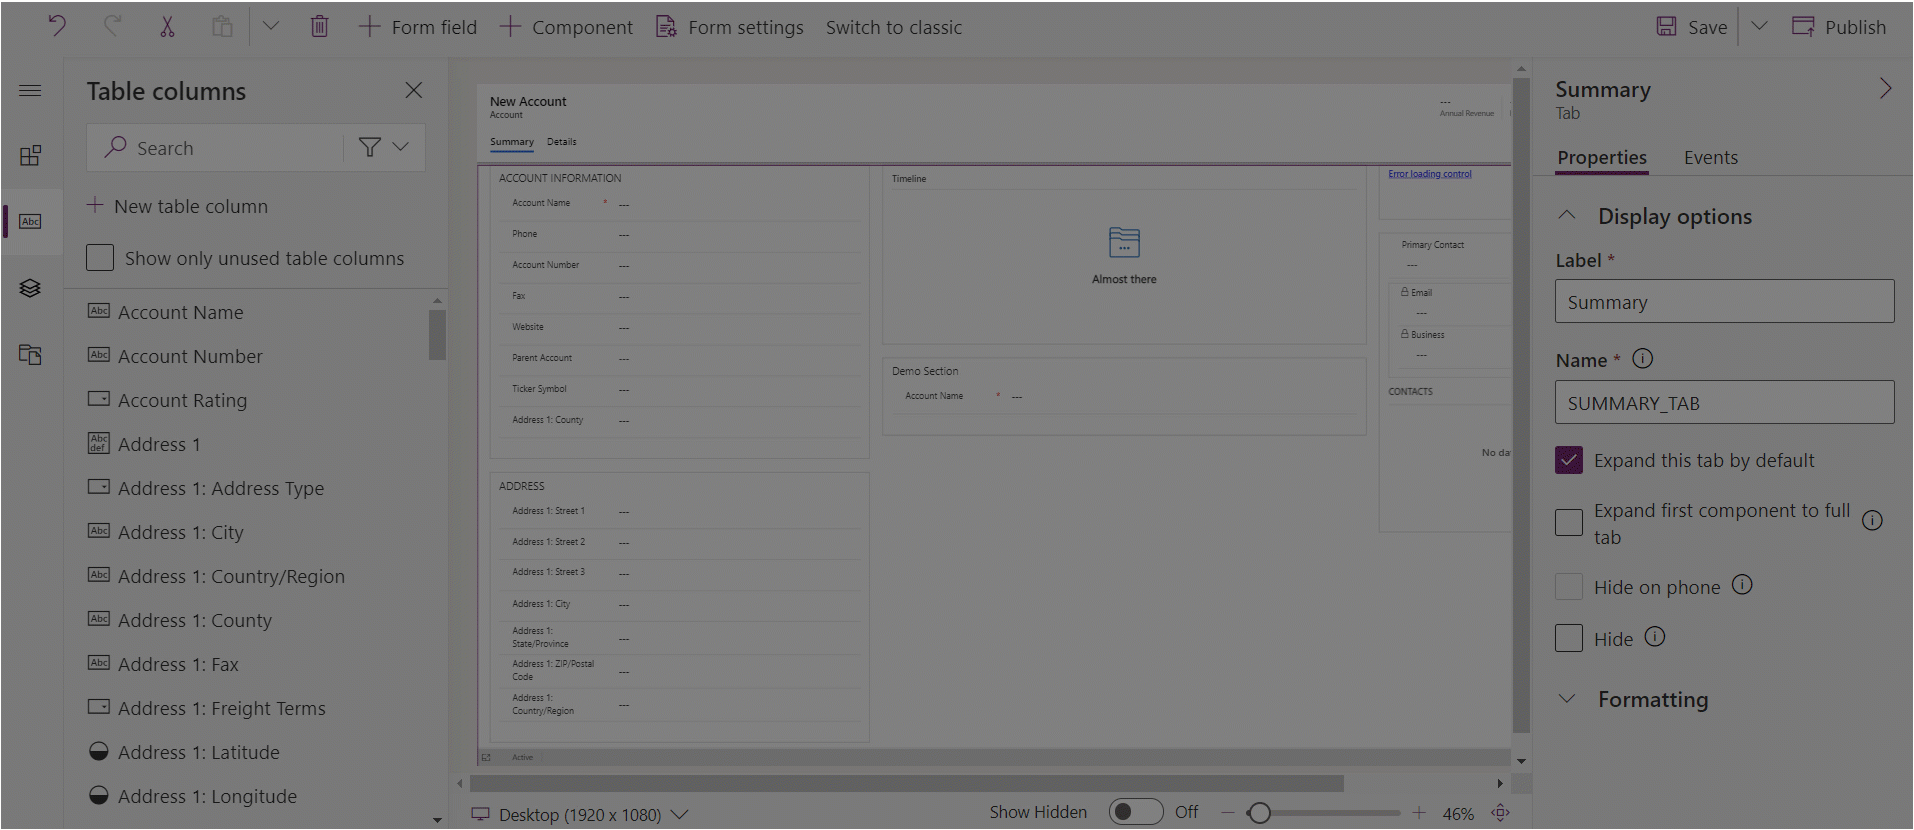
| Display options | Label | The localizable label for the section visible to users. This property is required. |
| Display options | Name | The unique name for the section that is used when referencing it in scripts. The name can contain only alphanumeric characters and underscores. This property is required. |
| Display options | Hide label | When selected, the section label is hidden. |
| Display options | Hide on phone | The section can be hidden to render a condensed version of this form on phone screens. |
| Display options | Hide | When selected, the section is hidden by default and can be shown using code. |
| Display options | Lock | Lock this section to keep it from being removed. |
| Formatting | Columns | Specify up to four columns for the section. |
| Formatting | Component label position | Determines the position for the component label. Select Left to display the label to the left of the value or Top to place the label above the value. |
Note
We recommend limiting the length of section label text to about 50 characters. Section label text doesn't wrap and can truncate on devices with small screens.
Sections that don't have any columns or controls will be hidden at runtime in Unified Interface.
Move sections on a form
You can move sections using drag and drop or cut and paste actions.
Move sections on a form using drag and drop
- Open the form designer to create or edit a form. More information: Create a form or Edit a form
- In the form preview, select the section label or empty space within the section that you want to drag and drop. As you drag the section on the form preview, you will see drop targets where you can move the section to.
Note the following behavior:
- Sections can be dropped before or after any existing section.
- Sections can also be dropped in the empty area within a tab. In this case, the section will be added in an available space to evenly distribute sections across the tab columns.
- Hovering over a tab header when dragging a section changes the currently selected tab, allowing you to add the section to a different tab.
- Repeat step 2 above if you want to move more sections.
- On the command bar, select Save to save the form, or select Publish if you want to save and make your changes visible to users.
Move sections on a form using cut and paste
- Open the form designer to create or edit a form. More information: Create a form or Edit a form
- In the form preview, select the section that you want to move.
- On the command bar, select Cut.
- In the form preview, select another existing section or tab. You can also switch to a different tab if needed.
- On the command bar, select Paste or select the chevron, and then select Paste before. Note the following behavior:
- When you select Paste, the section being moved is pasted after the existing section.
- When you select Paste before, the section being moved is pasted before the existing section.
- When you select a tab, the section moved is added in an available space to evenly distribute sections across the tab columns. The Paste before action is not applicable and therefore not available in this case.
- Repeat steps 2-5 above if you want to move more sections.
- On the command bar, select Save to save the form, or select Publish if you want to save and make your changes visible to users.

Delete sections on a form
Open the form designer to create or edit a form. More information: Create a form or Edit a form
In the form preview, select the section that you want to delete from the form.
On the command bar, select Delete.
Repeat steps 2-3 above if you want to delete more sections.
On the command bar, select Save to save the form, or select Publish if you want to save and make your changes visible to users.
Note
- Sections can only be deleted on main forms and quick view forms. More information: Form types
- If you delete a section by mistake, on the command bar, select Undo to revert the form to its previous state.
- You can't delete a section that contains a column that is required or locked.
- You can't delete a section that is locked.
- A tab needs to have at least one section in each tab column. If you delete the last remaining section in a tab column a new section will be automatically added.
- In Unified Interface, sections won't be rendered if you have selected to hide them including the title and the border. This is different than the legacy web client, and is by design to ensure proper rendering of the form across differing view ports from extra wide to narrow.
See also
Overview of the model-driven form designer
Create, edit, or configure forms using the form designer
Add, configure, move, or delete columns on a form
Add, configure, move, or delete components on a form
Add, configure, move, or delete tabs on a form
Feedback
Coming soon: Throughout 2024 we will be phasing out GitHub Issues as the feedback mechanism for content and replacing it with a new feedback system. For more information see: https://aka.ms/ContentUserFeedback.
Submit and view feedback for