Events
May 19, 6 PM - May 23, 12 AM
Calling all developers, creators, and AI innovators to join us in Seattle @Microsoft Build May 19-22.
Register todayThis browser is no longer supported.
Upgrade to Microsoft Edge to take advantage of the latest features, security updates, and technical support.
Azure DevOps Services | Azure DevOps Server 2022 - Azure DevOps Server 2019
Create test plans and test suites to track manual testing for sprints or milestones. That way, you can see when the testing for a specific sprint or milestone is complete. For more information about manual testing, see What is Azure Test Plans?.
For example, you're building version 1.* of your product and you might create several test cases for that version. Each of these test cases can be updated, and more added, at any time. For each development cycle and release of your product, you create a test plan and import the existing test cases into that plan. You can also, if you wish, divide the test cases into separate test suites within the plan to enable easier management and monitoring of these separate sets of test cases.
After you create your test plan, you assign test configurations and assign testers to cover the required test matrix. These testers run the tests and gauge the quality of the product. Testers continue testing until the product meets exit criteria. For the next development cycle and release, you can create a new test plan and reuse the same test cases. Repeat this development-test-release cycle by importing the same test cases into each new test plan.
Because test plans refer to test cases, updates to a test case automatically reflect in all the test plans and test suites that use it.
In the next version of the product, you can reuse the existing test cases. However, a better option might be to copy or clone the test cases. A copy creates a new baseline. Changes to these new test cases don't affect your previous test plans.
Tip
For more information about the ways you can work with test plans, test suites, and test cases, see the FAQs for manual testing.
| Category | Requirements |
|---|---|
| Access levels | - At least Basic access, with permissions to view work items under the corresponding Area Path. - To add test plans and test suites, delete test artifacts, and define test configurations: Basic + Test Plans access. Or, one of the following Visual Studio subscriptions: - Enterprise - Test Professional - MSDN Platforms |
| Permissions | - To add or modify test plans, test suites, test cases, or other test-based work item types: Edit work items in this node permission set to Allow under the corresponding Area Path. - To modify test plan properties such as build and test settings: Manage test plans permission set to Allow under the corresponding Area Path. - to create and delete test suites, add and remove test cases from test suites, change test configurations associated with test suites, and modify a test suite hierarchy (move a test suite): Manage test suites permission set to Allow under the corresponding Area Path. |
For more information, see Manual test access and permissions.
In general, you create test plans to test requirements. Before you create a test plan, define your backlog of requirements.
Sign in to your Azure DevOps project and select Test Plans > Test Plans.
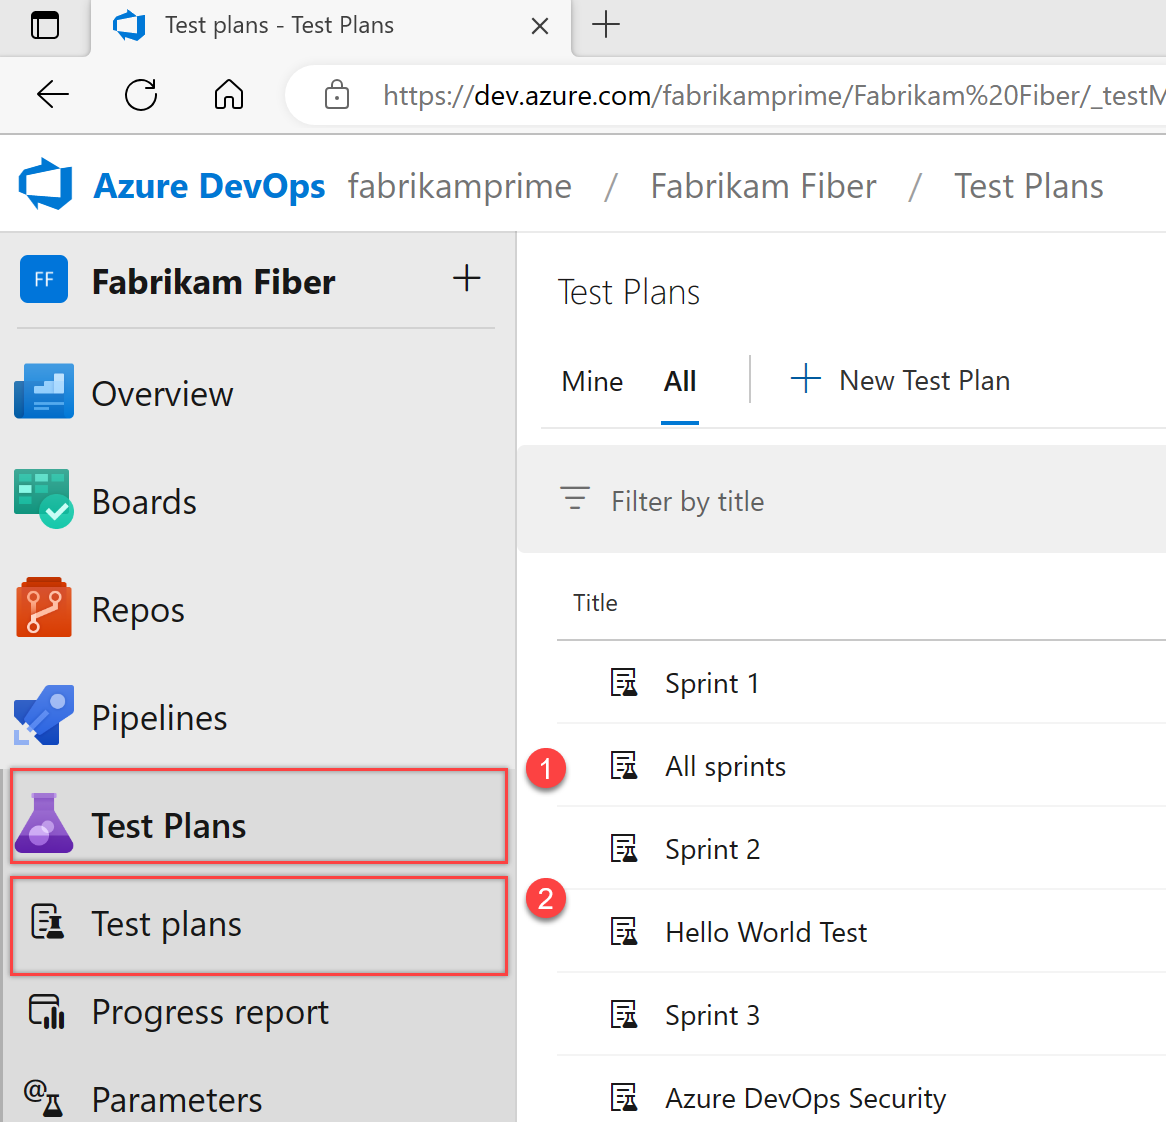
Select + New Test Plan.

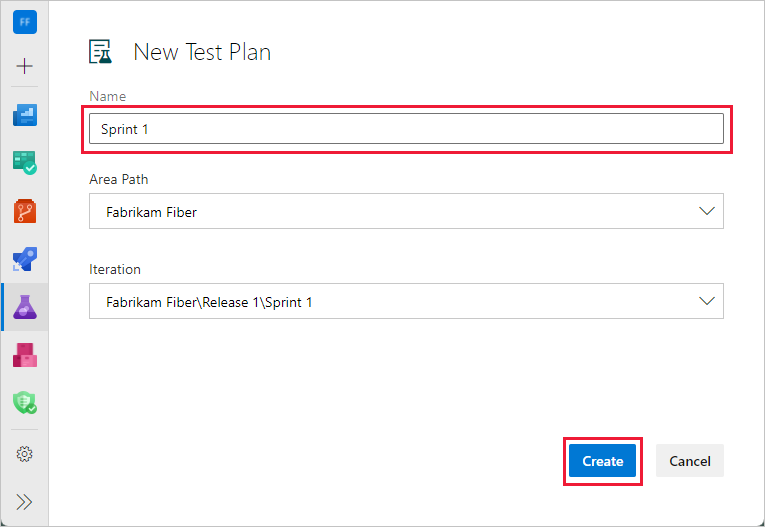
Enter a name for the test plan, verify that the area path and iteration are set correctly, and then select Create.
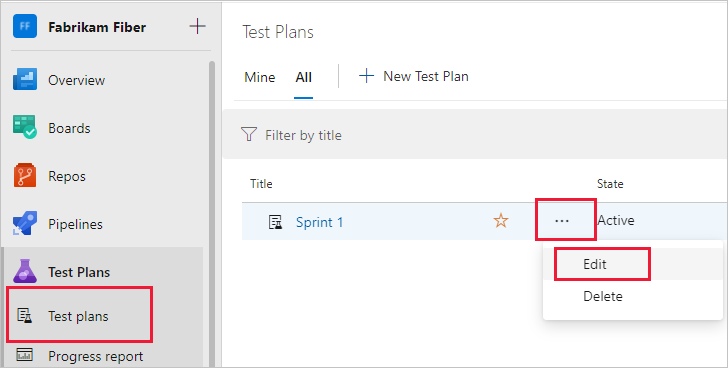
To rename a test plan, do the following steps.
Select Test Plans.
Next to the test plan name, select More Actions > Edit.
Change the name and then select Save & Close.
You can make other changes to the test plan here.
To delete a test plan, do the following steps.
Select Test Plans.
Next to the test plan name, select More Actions > Delete.
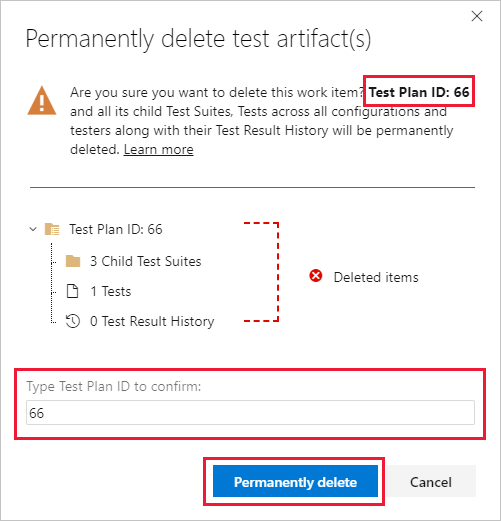
The Permanently delete test artifacts dialog box explains exactly what gets deleted. Enter the test plan ID to confirm that you want to delete, and then select Permanently delete.
Now add test suites for the backlog items that need manual tests. These tests could be user stories, requirements, or other work items based your project.
Note
Requirement tracking is supported only for test cases linked through a Requirement-based test suite. Work items include a User Story (Agile), Product Backlog Item (Scrum), Requirement (CMMI), and Issue (Basic). The association between a requirement work item and manual test execution is only formed when the test case is linked by using a Requirement-based test suite.
To add a suite to a test plan, select More options for the test suite, and then select New Suite > Requirement based suite.

You use requirement-based suites to group your test cases together. That way, you can track the testing status of a backlog item. Each test case that you add to a requirement-based test suite is automatically linked to the backlog item.
In Create requirement-based suites, add one or more clauses to filter your work items by the iteration path for the sprint. Run the query to view the matching backlog items.
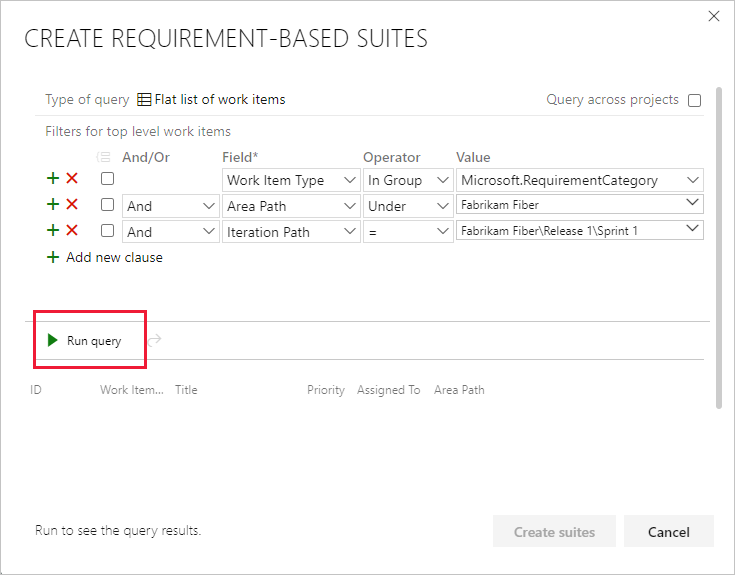
In the list of work items returned by the query, select the backlog items you want to test in this sprint. Select Create suites to create a requirement-based suite for each one.

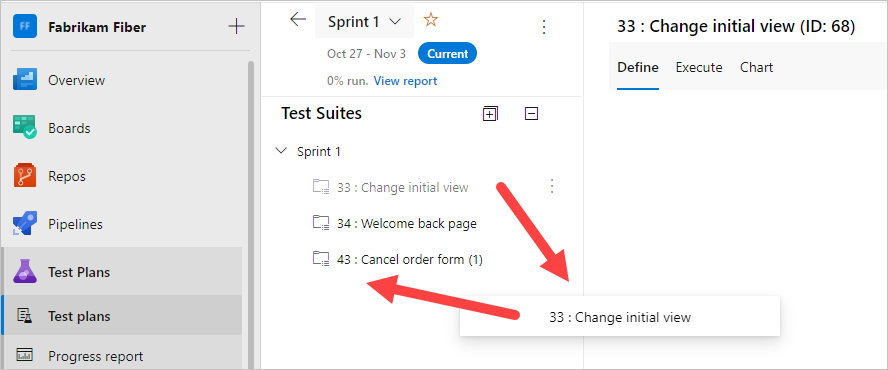
You can create a static test suite that can contain any type of test suites. Use these test suites like folders. Drag test suites to group them in a static test plan. Drag and drop tests to reorder them.
You can track changes to test plans and test suites. Open the work item for the test plan or test suite, then view the work item history.
For test suites, other actions are tracked in the Test Suite Audit field. For example, adding and removing test cases from a test suite are tracked in this field.
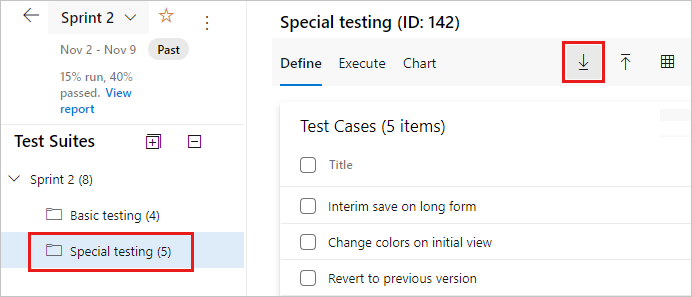
Export test plans, test suites, and test cases.
Select Export test cases to CSV.
Change the test case fields in the report by adding or removing columns from the list view of the test suite.
Important
You can't' export more than 75 Test Suites in a single operation. The email supports up to 1MB of data.
In Test Plans for your test plan, use the ![]() filter icon to show the search and filter list. It can help find the tests you want.
filter icon to show the search and filter list. It can help find the tests you want.

Events
May 19, 6 PM - May 23, 12 AM
Calling all developers, creators, and AI innovators to join us in Seattle @Microsoft Build May 19-22.
Register todayTraining
Module
Use Power Apps Test Studio to improve your canvas app - Training
Explore how to utilize Power Apps Test Studio for building automated tests, ensuring high-quality canvas apps.
Certification
Microsoft Certified: Azure Virtual Desktop Specialty - Certifications
Plan, deliver, manage, and monitor virtual desktop experiences and remote apps on Microsoft Azure for any device.