Support for Surface Hub 2S devices running Windows 10 Team edition ends on October 14, 2025. To avoid service disruption, we recommend using the seamless software migration option to move to Microsoft Teams Rooms on Windows at any time before the end of support.
Unlike the standard versions of Windows 10, there's no extended support option for Windows 10 Team edition when support ends.
When you first start Surface Hub, the device automatically enters first-time setup mode to guide you through account configuration and related settings.
As a companion to this article, we recommend using the Surface Hub and Microsoft Teams Rooms automated setup guide when signed in to the Microsoft 365 Admin Center. This guide customizes your experience based on your environment. If you're hosted in Exchange Online and using Microsoft Teams, the guide will automatically create your device account with the correct settings. Or use it to validate existing resource accounts to help turn them into compatible Surface Hub device accounts. To review best practices without signing in and activating automated setup features, go to the Microsoft 365 Setup portal.
Note
You can automate the setup process with a Provisioning package to ensure a consistent experience across multiple Surface Hubs.
Get started
By default, Cortana is enabled to guide you through the process. To turn off Cortana assistance, select the microphone icon.
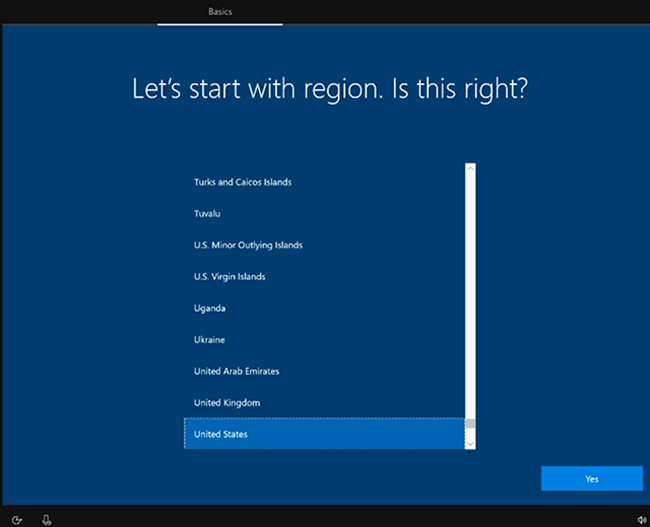
Select your region. Confirm the autodetected region and select Yes.
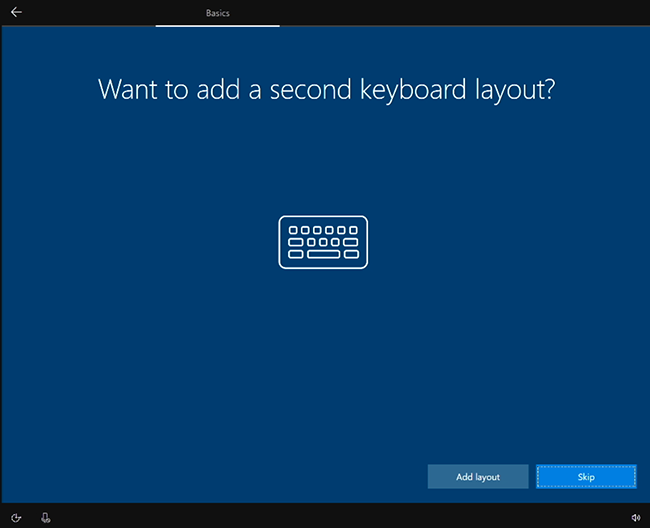
Confirm keyboard layout. Select Yes.
To add a second keyboard, select Add layout. Otherwise, select Skip.
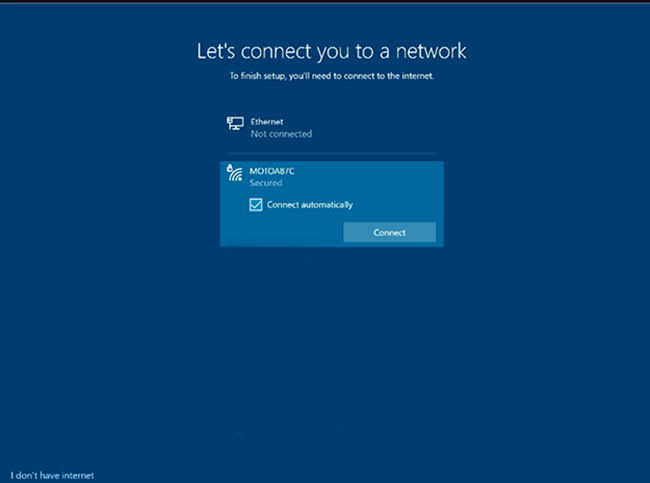
Connect to a network. If you have already attached an Ethernet cable, Surface Hub automatically connects to your network. Alternatively, you can connect to a wireless network. Note: You can't connect to a wireless network in hotspots (captive portals) that redirect sign-in requests to a provider's website. Select Next.
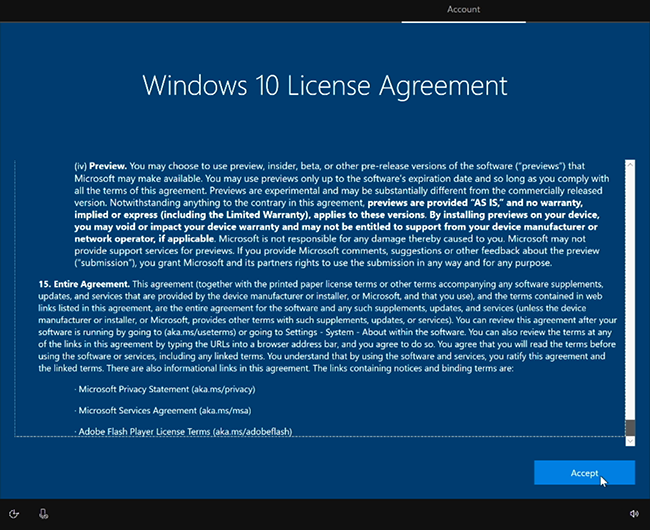
Accept Windows 10 License Agreement. Select Accept.
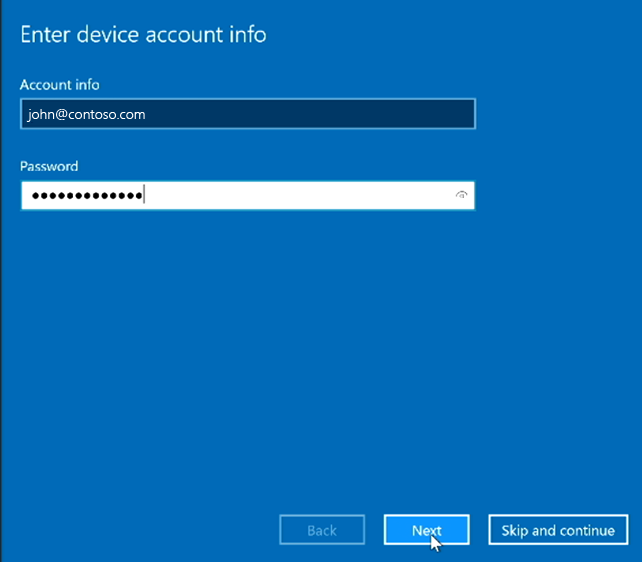
Enter Device account info using a UPN address (user@contoso.com) or a down-level domain address (CONTOSO\user). Use the format that matches your environment and enter the password.
Environment
Required format for device account
Device account is hosted only online
username@contoso.com
Device account is hosted only on-premises
CONTOSO\user
Device account is hosted online and on-premises (hybrid)
CONTOSO\user
Note
You can skip device account setup, but the device won't be fully integrated into your infrastructure. If skipped, you can add a device account later in the Settings app.
Enter your password and select Next.
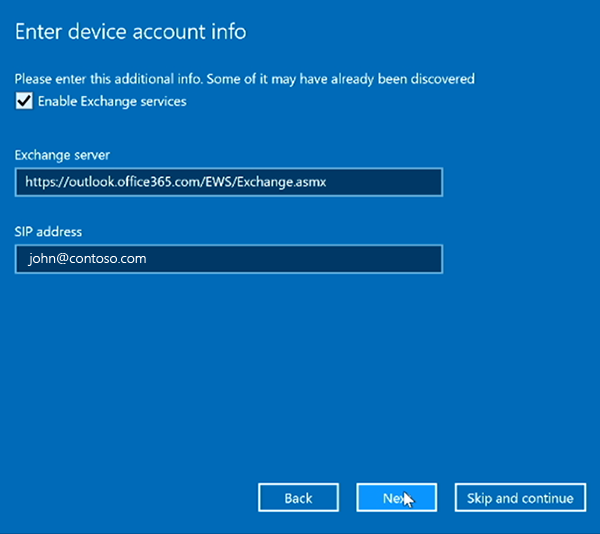
Surface Hub automatically detects Exchange server and SIP address information from the domain entered in the previous step. Or, if needed, provide your Exchange server address and select Next.
Name this device. Enter a name for your device or use the suggested one. Select Next.
The Friendly name is visible on the bottom left corner of Surface Hub 2S and is shown when projecting to the device.
The Device name identifies the device when affiliated with Active Directory or Microsoft Entra ID and when enrolling the device with Intune.
If you want to enable Miracast over Infrastructure, the device name must be discoverable via DNS. You can achieve this by allowing your Surface Hub to register automatically via Dynamic DNS or manually creating an A or AAAA record for the Surface Hub's device name.
Configure device admin accounts
You can only set up device admins during first-time Setup. For more information, see:
Choose the type of admin account. Select one of the following options: Active Directory Domain Services, Microsoft Entra ID, or Local admin.
Active Directory Domain Services
If you intend to use Surface Hub in an on-premises environment, you can affiliate it with Active Directory Domain Services. Enter the credentials of a user with permissions to join the device to Active Directory.
Select the Active Directory Security Group containing members allowed to sign in to the Settings app on Surface Hub 2S.
Select Finish. The device restarts.
Microsoft Entra ID
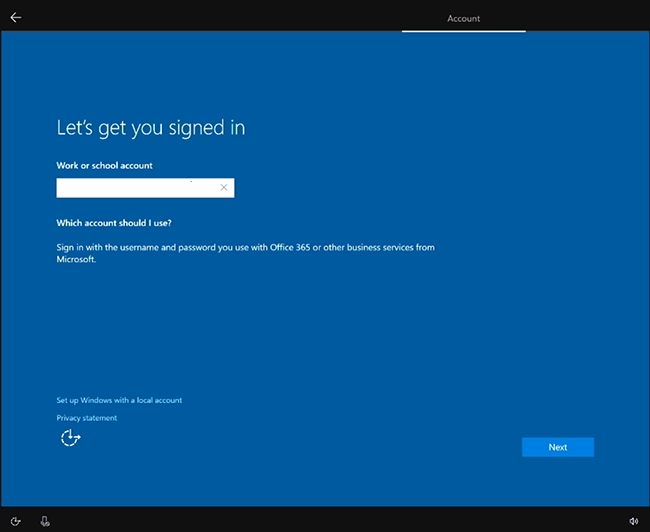
If you intend to manage Surface Hub from the cloud using Microsoft Intune or an MDM provider, select Microsoft Entra ID.
Select Next and sign in with a work or school account. If redirected, authenticate using your organization’s sign-in page and provide more credentials if requested. Otherwise, enter your password and select Next.
Important
Microsoft recommends that you use roles with the fewest permissions. This helps improve security for your organization. Global Administrator is a highly privileged role that should be limited to emergency scenarios when you can't use an existing role. To learn more, see the recommended guidance in Configure non-Global Admin accounts on Surface Hub.
Tip
To manage who can access the Settings app on Surface Hubs, make sure automatic Intune enrollment is enabled in your tenant before joining the device to Microsoft Entra ID. You can then use Intune policies to configure non-Global admins.
Local Administrator account
Enter a username and a memorable password for your local admin. (If you forget the local admin password, you'll need to recover your device and repeat the setup process.)
Choose privacy settings for your device
Select from the available privacy settings and select Accept.
Use provisioning packages
You can customize first-time setup options to ensure a consistent experience across multiple Surface Hubs.
Review the documentation in Create provisioning packages and save the provisioning package to a USB thumb drive.
Insert the USB thumb drive into one of the USB ports when you see the License Agreement page (step 6 in the "Get started" steps above).
When prompted, choose the provisioning package you'd like to use.
Follow the rest of the steps, and remove the USB drive at the first reboot that occurs in the setup process.
Learn how to change or update the Surface Hub device account, including adding new accounts, modifying properties, and ensuring compatibility with Exchange and Microsoft Teams services
Plan and execute an endpoint deployment strategy, using essential elements of modern management, co-management approaches, and Microsoft Intune integration.