Import SOAP API to API Management
APPLIES TO: All API Management tiers
This article shows how to import a WSDL specification, which is a standard XML representation of a SOAP API. The article also shows how to test the API in API Management.
In this article, you learn how to:
- Import a SOAP API
- Test the API in the Azure portal
Note
WSDL import to API Management is subject to certain limitations. WSDL files with wsdl:import, xsd:import, and xsd:include directives aren't supported. For an open-source tool to resolve and merge these dependencies in a WSDL file, see this GitHub repo.
Prerequisites
An API Management instance. If you don't already have one, complete the following quickstart: Create an Azure API Management instance.
Azure CLI
Use the Bash environment in Azure Cloud Shell. For more information, see Quickstart for Bash in Azure Cloud Shell.

If you prefer to run CLI reference commands locally, install the Azure CLI. If you're running on Windows or macOS, consider running Azure CLI in a Docker container. For more information, see How to run the Azure CLI in a Docker container.
If you're using a local installation, sign in to the Azure CLI by using the az login command. To finish the authentication process, follow the steps displayed in your terminal. For other sign-in options, see Sign in with the Azure CLI.
When you're prompted, install the Azure CLI extension on first use. For more information about extensions, see Use extensions with the Azure CLI.
Run az version to find the version and dependent libraries that are installed. To upgrade to the latest version, run az upgrade.
Azure PowerShell
- If you choose to use Azure PowerShell locally:
- Install the latest version of the Az PowerShell module.
- Connect to your Azure account using the Connect-AzAccount cmdlet.
- If you choose to use Azure Cloud Shell:
- See Overview of Azure Cloud Shell for more information.
- If you choose to use Azure PowerShell locally:
Import a backend API
In the Azure portal, navigate to your API Management instance.
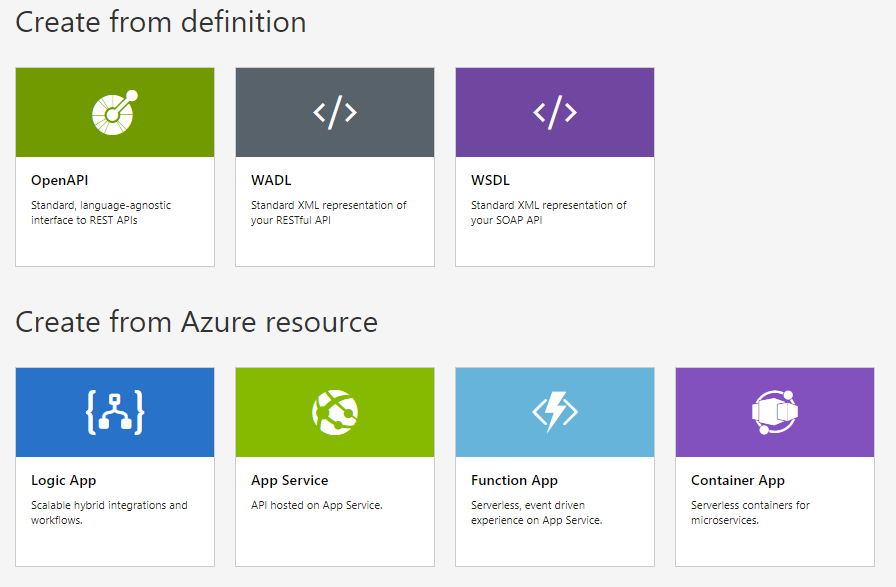
In the left menu, select APIs > + Add API.
Under Create from definition, select WSDL.
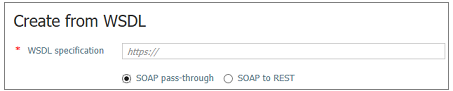
In WSDL specification, enter the URL to your SOAP API, or click Select a file to select a local WSDL file.
In Import method, SOAP pass-through is selected by default. With this selection, the API is exposed as SOAP, and API consumers have to use SOAP rules. If you want to "restify" the API, follow the steps in Import a SOAP API and convert it to REST.
The following API settings are filled automatically based on information from the SOAP API: Display name, Name, Description. Operations are filled automatically with Display name, URL, and Description, and receive a system-generated Name.
Enter other API settings. You can set the values during creation or configure them later by going to the Settings tab.
For more information about API settings, see Import and publish your first API tutorial.
Select Create.
Test the new API in the portal
Operations can be called directly from the portal, which provides a convenient way for administrators to view and test the operations of an API.
Select the API you created in the previous step.
Select the Test tab.
Select an operation. The page displays fields for query parameters and fields for the headers.
Note
In the test console, API Management automatically populates an Ocp-Apim-Subscription-Key header, and configures the subscription key of the built-in all-access subscription. This key enables access to every API in the API Management instance. Optionally display the Ocp-Apim-Subscription-Key header by selecting the "eye" icon next to the HTTP Request.
Depending on the operation, enter query parameter values, header values, or a request body. Select Send.
When the test is successful, the backend responds with a successful HTTP response code and some data.
Tip
By default, the test console sends a request to API Management's CORS proxy, which forwards the request to the API Management instance, which then forwards it to the backend. This proxy uses public IP address 13.91.254.72 and can only reach public endpoints. If you want to send a request directly from the browser to the API Management service, select Bypass CORS proxy. Use this option when you want to use the test console and your API Management gateway is network-isolated or doesn't allow traffic from the CORS proxy.
To debug an API, see Tutorial: Debug your APIs using request tracing.
Wildcard SOAP action
If you need to pass a SOAP request that doesn't have a dedicated action defined in the API, you can configure a wildcard SOAP action. The wildcard action will match any SOAP request that isn't defined in the API.
To define a wildcard SOAP action:
- In the portal, select the API you created in the previous step.
- In the Design tab, select + Add Operation.
- Enter a Display name for the operation.
- In the URL, select
POSTand enter/soapAction={any}in the resource. The template parameter inside the curly brackets is arbitrary and doesn't affect the execution.
Append other APIs
You can compose an API of APIs exposed by different services, including:
- An OpenAPI specification
- A SOAP API
- A GraphQL API
- A Web App hosted in Azure App Service
- Azure Function App
- Azure Logic Apps
- Azure Service Fabric
Append a different API to your existing API using the following steps.
Note
When you import another API, the operations are appended to your current API.
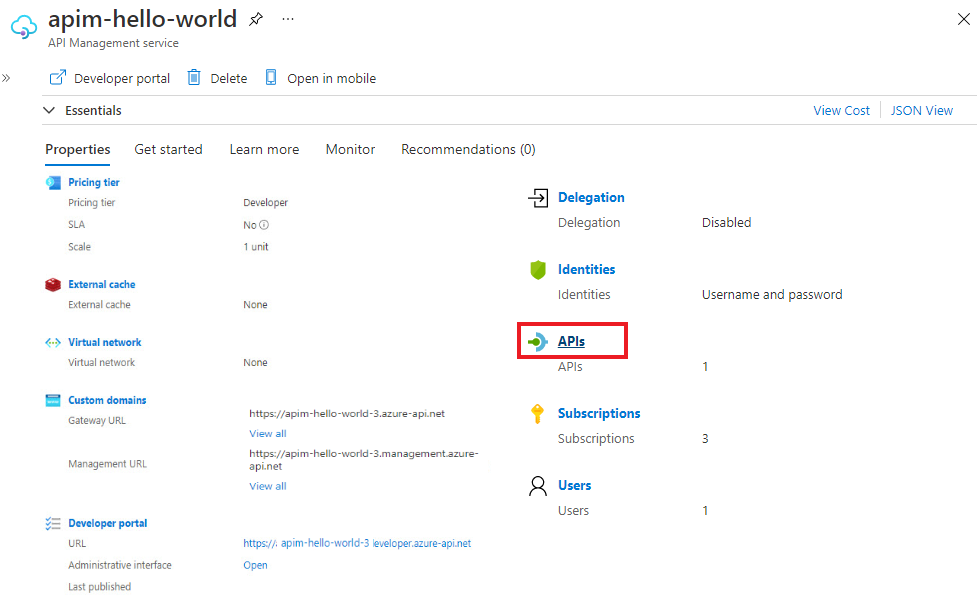
Go to your Azure API Management instance in the Azure portal.

Select APIs on the Overview page or from the menu on the left.
Click ... next to the API that you want to append another API to.
Select Import from the drop-down menu.

Select a service from which to import an API.
Related topics
- API import limitations
- Import an OpenAPI specification
- Import a SOAP API
- Import a SOAP API and convert to REST
- Import an App Service API
- Import a Container App API
- Import a WebSocket API
- Import a GraphQL API
- Import a GraphQL schema and set up field resolvers
- Import an Azure Function App
- Import an Azure Logic App
- Import a Service Fabric service
- Import an OData API
- Import SAP OData metadata
- Import a gRPC API
- Edit an API
Next steps
Feedback
Coming soon: Throughout 2024 we will be phasing out GitHub Issues as the feedback mechanism for content and replacing it with a new feedback system. For more information see: https://aka.ms/ContentUserFeedback.
Submit and view feedback for